I know what boys like, I know what guys want . . .

...well, not really. But, I am dedicating the month of June on the blog to MEN! That's right....it's time for:

Desserts for Dudes!

We do a lot of cute around here and I thought the month of Fathers' Day was the perfect time to go macho and honor our dads, husbands, sons, brothers, uncles with sugar. On the blog and twitter, I asked what your dad's favorite dessert is. Turns out, dads have a lot of favorites. But, there was a winner.....PIE, and not just any pie, pecan pie!

This recipe I cut out of a magazine years ago. There isn't a magazine name at the bottom, but just "October/November 2004." I knew I was hanging on to this baby for a reason!

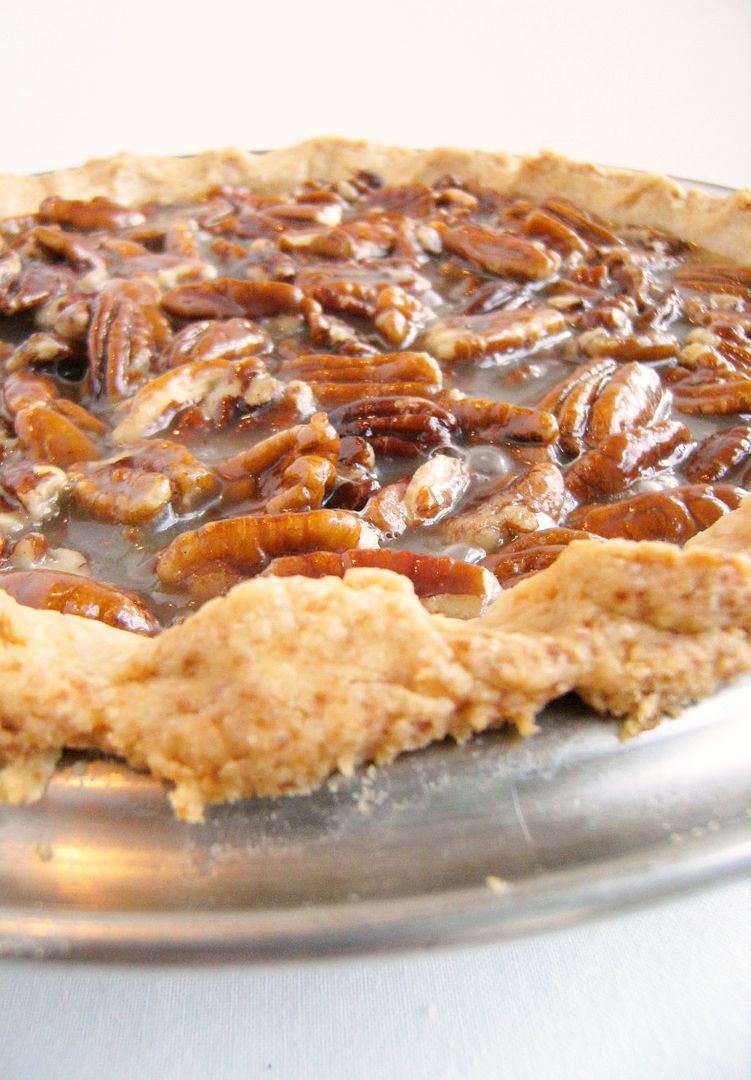
Caramel Pecan Pie
{adapted from unknown magazine 2004 :)}

crust:
1 c. unbleached, all-purpose flour
1/2 c. cake flour
1 TBSP sugar
1/2 tsp. coarse salt
6 TBSP unsalted butter, cut into pieces
3 TBSP shortening, chilled
3-4 TBSP ice water

filling:
1 c. heavy whipping cream
2 TBSP unsalted butter, cut into pieces
1 & 1/3 c. sugar
1/2 c. water
1 TBSP corn syrup
2 & 1/2 c. pecan halves
2 tsp. vanilla
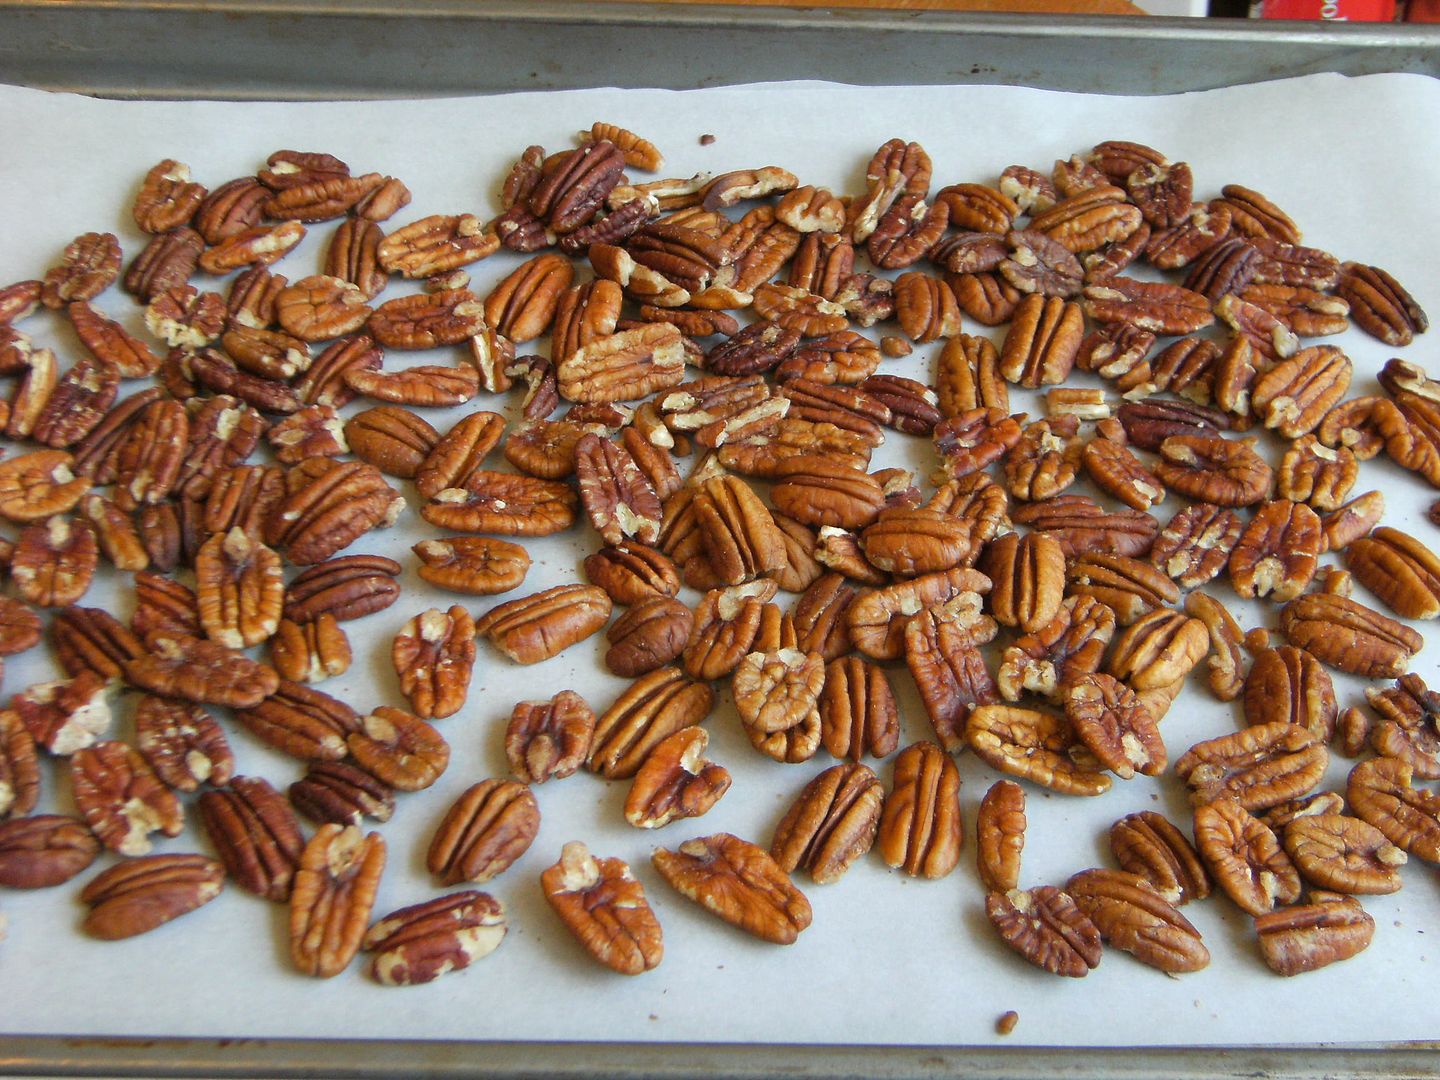

Line a baking sheet with parchment. Place pecans on a baking sheet in a single layer and bake at 350 for 5 minutes. Set aside to cool.

In a food processor, pulse the flours, sugar and salt until combined. Add the butter and cold shortening; pulse until the mixture looks like coarse crumbs with a few pea-sized clumps. Add 3 TBSP water and pulse until a dough just begins to form. Add more water, 1 teaspoon at a time if needed.

Dump the dough onto a lightly floured surface and roll into a 12" circle. Place in a 10" (9" is ok) pie tin. Trim and flute the edges. Place in the freezer for 30 minutes, or until firm.

Preheat the oven to 375. Line the crust with foil and fill with dried beans or pie weights. Bake in the lower half of the oven 15 minutes; remove foil and beans and bake an additional 20 minutes, until the crust is golden brown. Cool on a wire rack.

For the filling, heat the cream and 2 TBSP butter in a small saucepan over medium heat. When butter melts and the mixture is hot, remove from heat and cover to keep warm.

Combine sugar, water and corn syrup in a medium saucepan. Cover and cook over medium heat, without stirring, until sugar dissolves.

Dip a pastry brush in water. Uncover the pan and brush the sides with the wet pastry brush to brush down any stray sugar crystals. Increase heat to med-high and boil until sugar becomes a golden brown (about 5 minutes).

Remove from heat. Slowly add the cream, the mixture WILL bubble up, and stir until the boiling stops and the mixture is smooth. Stir in the pecans and vanilla.

Let sit 15 minutes (I forgot to do this...oh, no! This may be why mine was a little runny.)
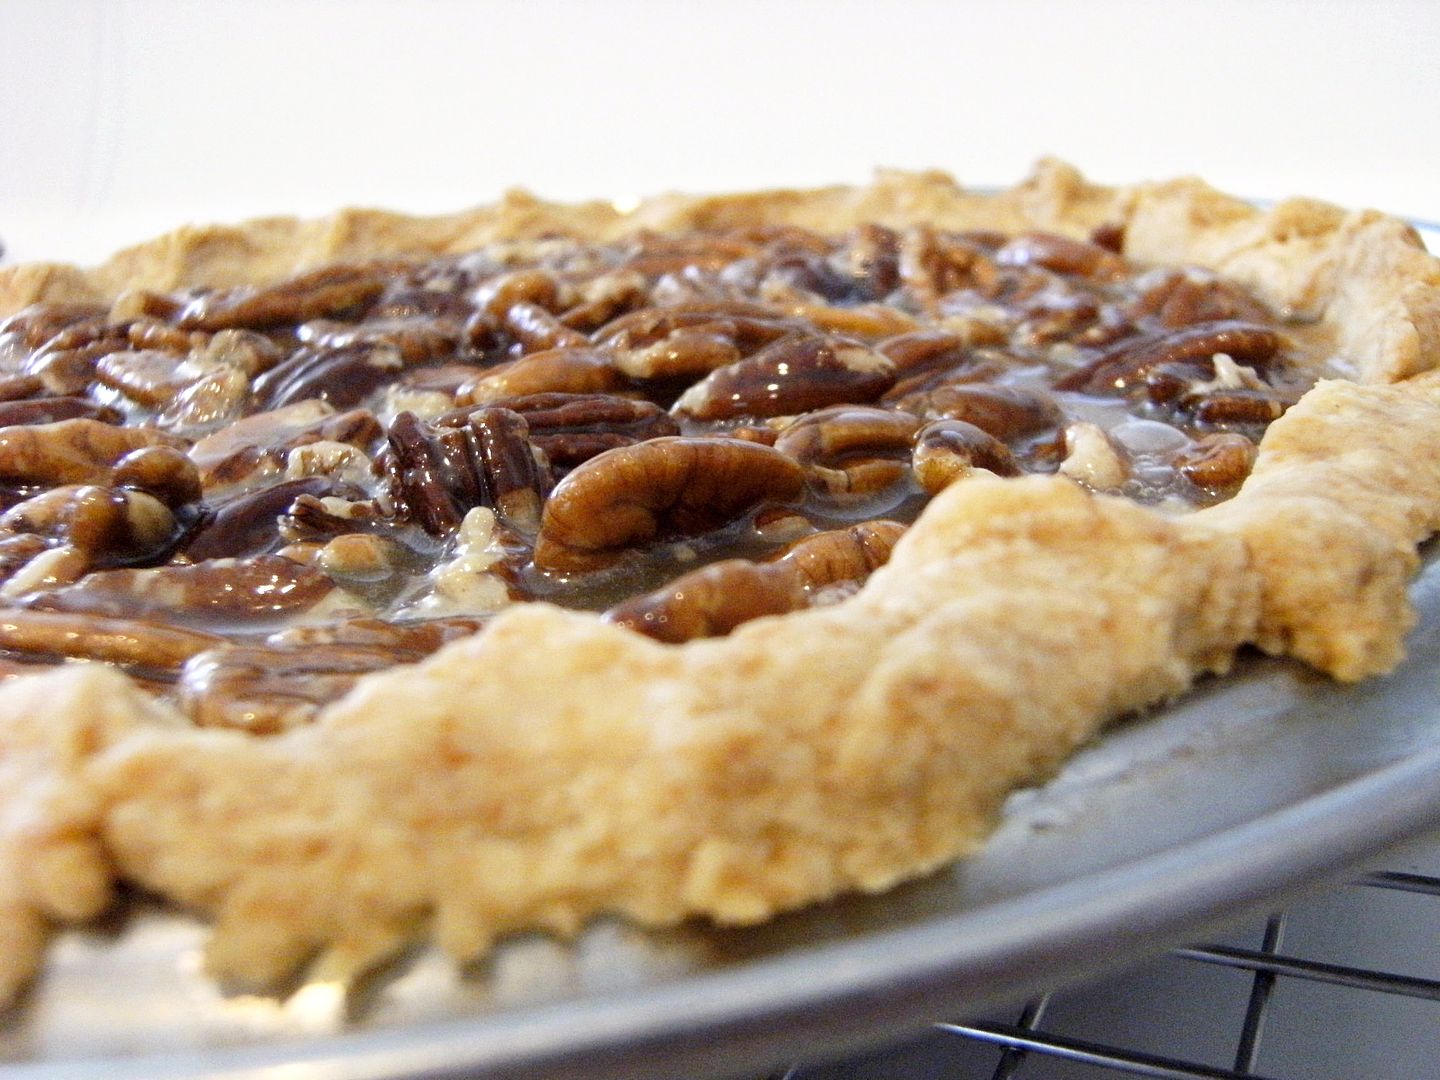
Pour into baked crust and let sit at least 3 hours until cooled and set. (You can stick in the the fridge once cooled.)


Now, *I* thought a brown sugar whipped cream would be delicious with this. Mr. E assured me that ice cream is much more manly, soooooooo, top this pie with ice cream.
If you don't have time to (or interest in) making ice cream, let me suggest Haagen-Dazs 5-ingredient ice cream, Vanilla Bean. I am not a big fan of plain ol' vanilla ice cream. This ice cream, though, with its flecks of vanilla bean, I could eat in one sitting. It's creamy, vanilla-y and decadent! Trust me.
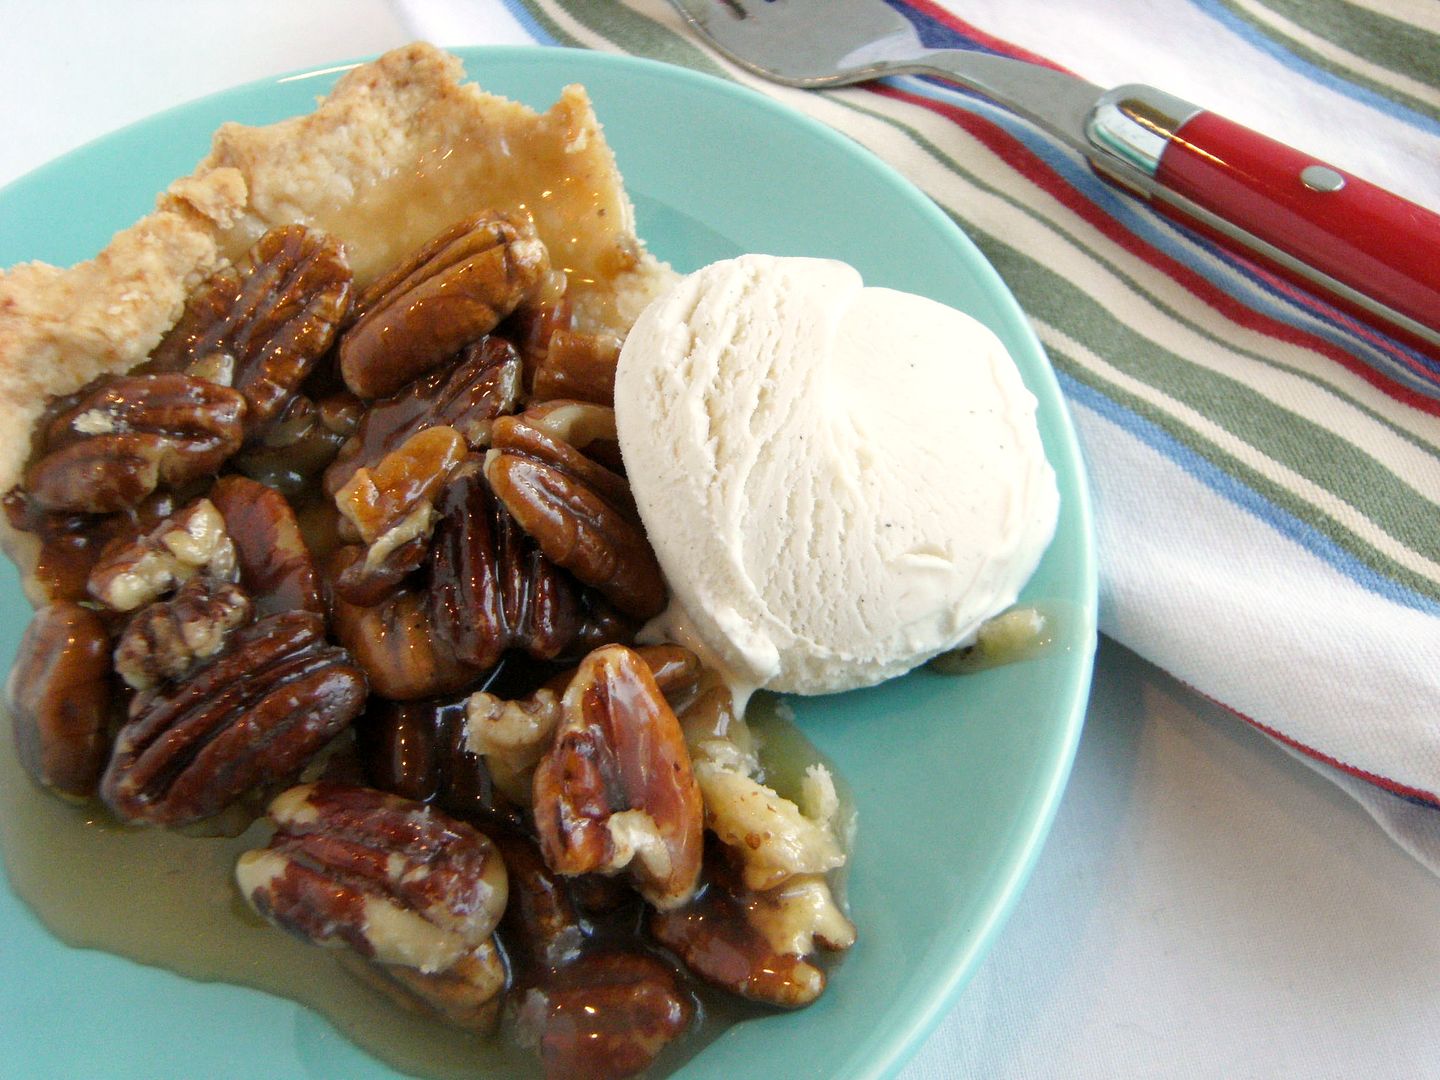

The pie is delicious...the caramel with the pecans all tucked into a buttery crust...but I'll admit, it is a bit soupy. Now, Mr. E assures me this is not a problem...it tastes good and that's what counts. Hey, it's Desserts for Dudes, who am I to argue?

Well, I hope during this month, you'll see one of your dude's favorite desserts! We'll be back to pink and sprinkles next month, not to worry. :)
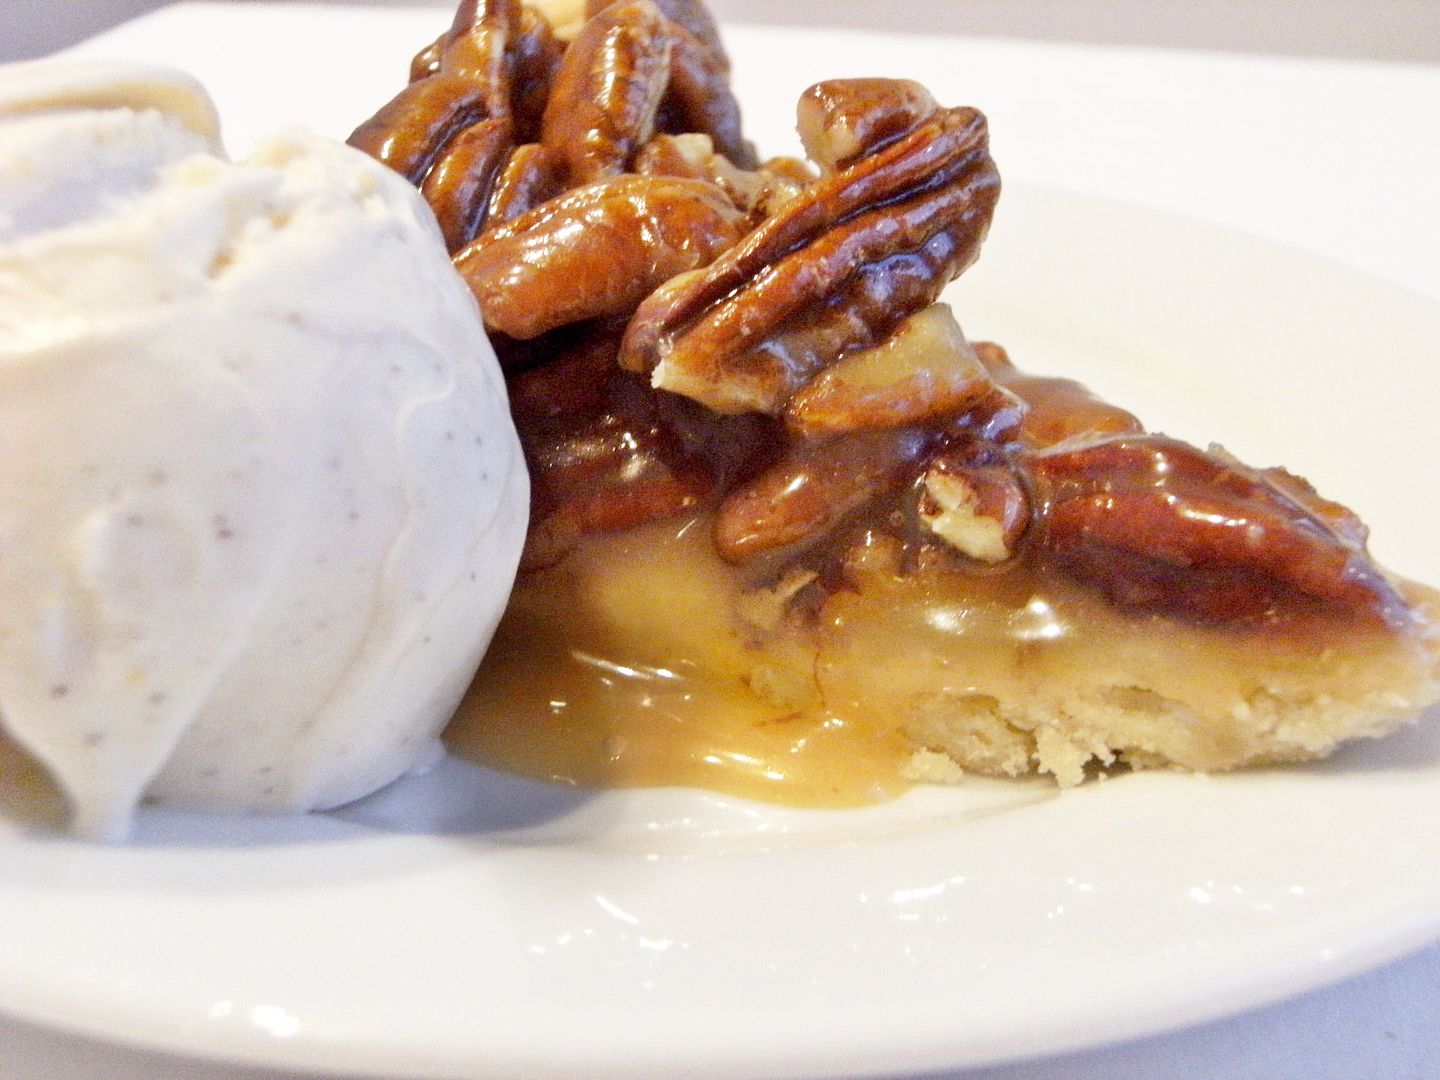
{Now, if you'll excuse me, I have a 2nd piece of pie to eat!}

And, thank you, thank you to MutheringHeight who helped in the naming of this month! Duuude, you rock!

Kiddo in the Kitchen: Chocolate Mint Icebox Cake


I wanted to put this in the post title, but it was too long: "5-ingredient, no-bake, Chocolate Mint Icebox Cake!"

Kiddo picked this recipe from my collection of Everyday Food magazines. Everyday Food is a wonderful little magazine from Martha Stewart. If you've never picked up a copy, you might want to. Unlike some of the more complicated ones in MS Living, Everyday Food is filled with EASY recipes. I had to stop subscribing after a few years because there were so many recipes I wanted to try...I couldn't take any more!


This recipe seems too simple...and like it can't be all that good. Wafers, cream? That's it? Well, once assembled, the wafers soak up that cream and become cakey and soft. Plus, it looks really cool once you cut into it.

Chocolate Mint Icebox Cake
{adapted from Everyday Food}


1 & 3/4 c. heavy cream
3/4 tsp mint extract
1/4 c. sugar
1 (9 oz.) pkg. chocolate wafers
1/3 c. mini chocolate chips


Beat the heavy cream, extract & sugar until stiff peaks form.


Spread about 1 teaspoon of cream on each wafer and form stacks on a plate.


{This would have gone a lot quicker had 5/6ths of the wafers not been cracked. Ahem, chocolate wafer packagers.}


Line a serving platter with two side-by-side sheets of wax paper. (You'll pull these out later.) Lay the stacks horizontally along the seam, pressing gently to form a log.


With an offset spatula, cover the log with the remaining cream. Refrigerate at least 4 hours and up to 2 days.


Before serving, gently pull wax paper from under the cake. Sprinkle with chocolate chips. Slice cake diagonally with a serrated knife.


Kiddo gives this an 8.5....a perfect cold, minty treat for after tossing the football in the backyard.
{You can still see ours in the background.} :)

I'm linking this up to Tidymom's I'm Lovin' It Party. Have you been? Lots of great ideas and goodies are linked up every Friday!

Teacher Gift Ideas . . . Works For Me Wednesday

Around here, school is still in session for one more week. What has always worked for us? Well, cookies for teachers, of course.

Besides your child's homeroom teacher, let's not forget....
  • coach
  • music
  • Sunday school
  • scout leaders
  • private lessons
  • tutors
  • the list goes on and on...
And every teacher doesn't have to get a dozen...or even 6! I think a decorated cookie tied with a pretty ribbon and thank you note is perfectly sweet.

Here are some ideas (click the links for more details):


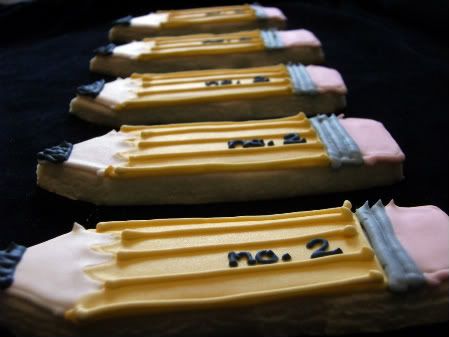
Number 2 pencil cookies


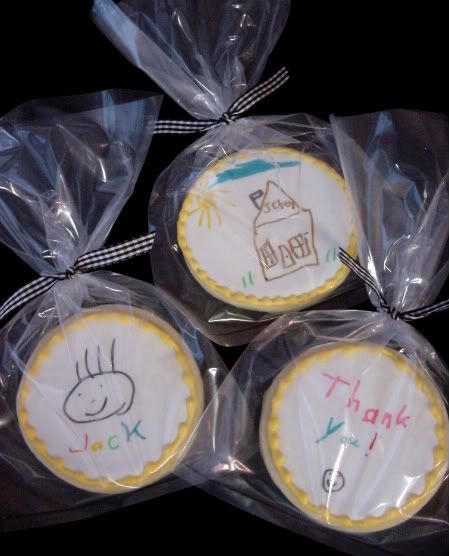
Kid-decorated cookies. {Kiddo made these for his 1st grade teacher....they are still some of my favorites.}


For a very POPular Teacher cookies....you may remember these from earlier this month. The link to that adorable bag topper is in the post.


Thanks for BEEing a great teacher!


What teacher wouldn't love a bouquet of roses?


Cocktails, anyone? Wait...maybe that's not so appropriate. Teachers can give these to EACH OTHER!


We Are THAT Family (who just happens to be my next-door neighbor) hosts Works For Me Wednesday. Click on over for more tips....and see We Are THAT Family's beautiful new blog makeover!

Strawberry Picking


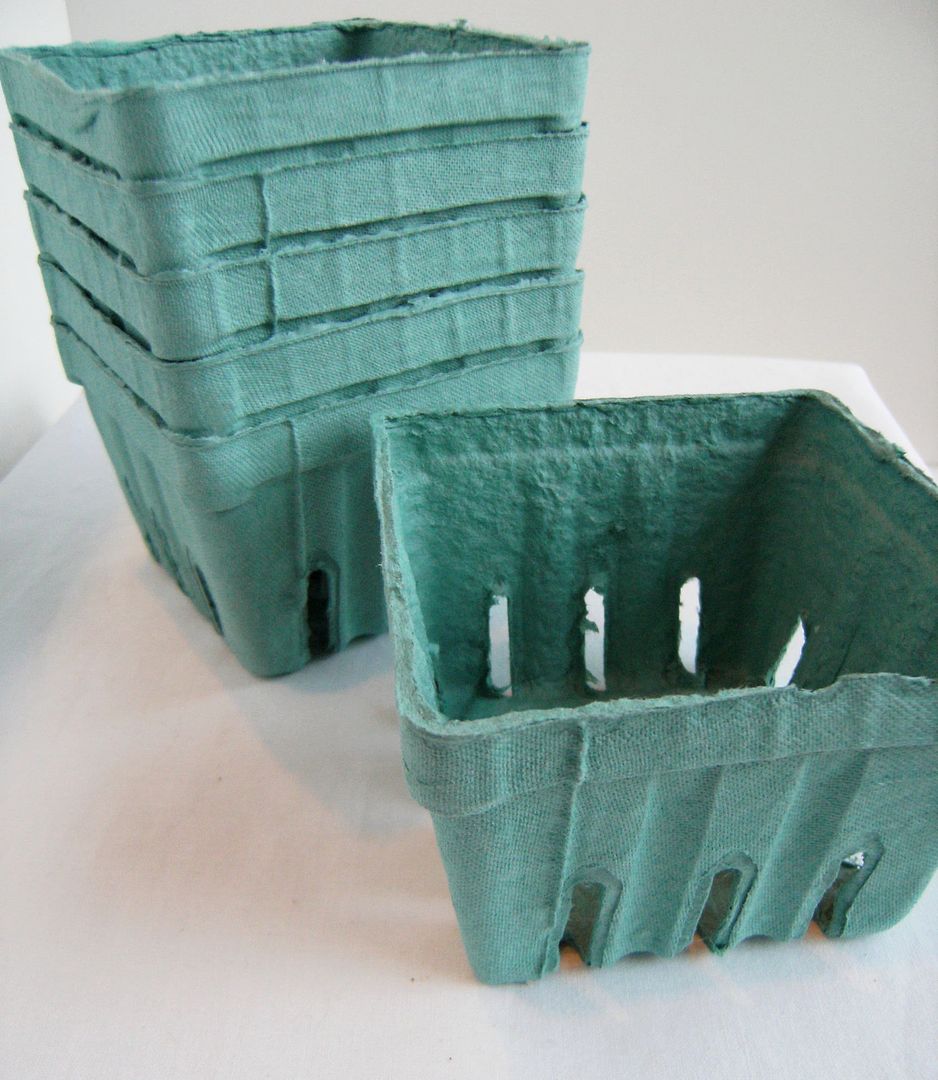
It all started with these darling Berry Baskets from Bake It Pretty.


Of course, I went there to buy food coloring and ended up with berry baskets and candy necklaces in my cart (I'm not sure how that happened).


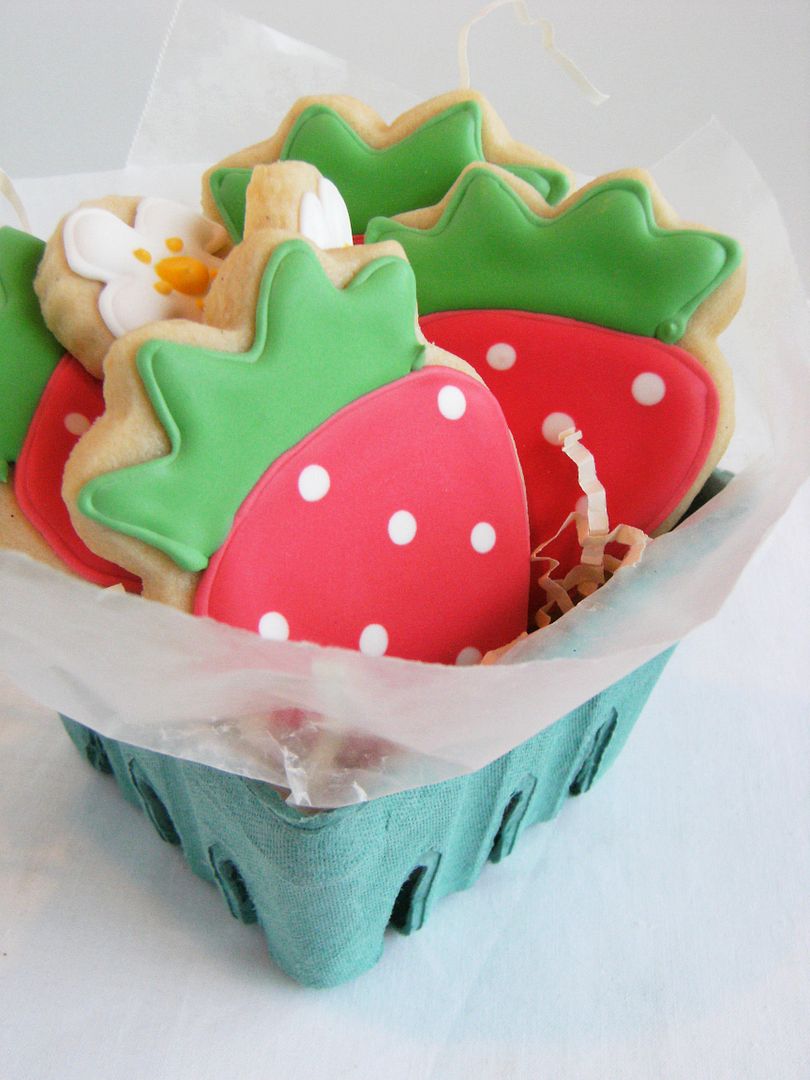
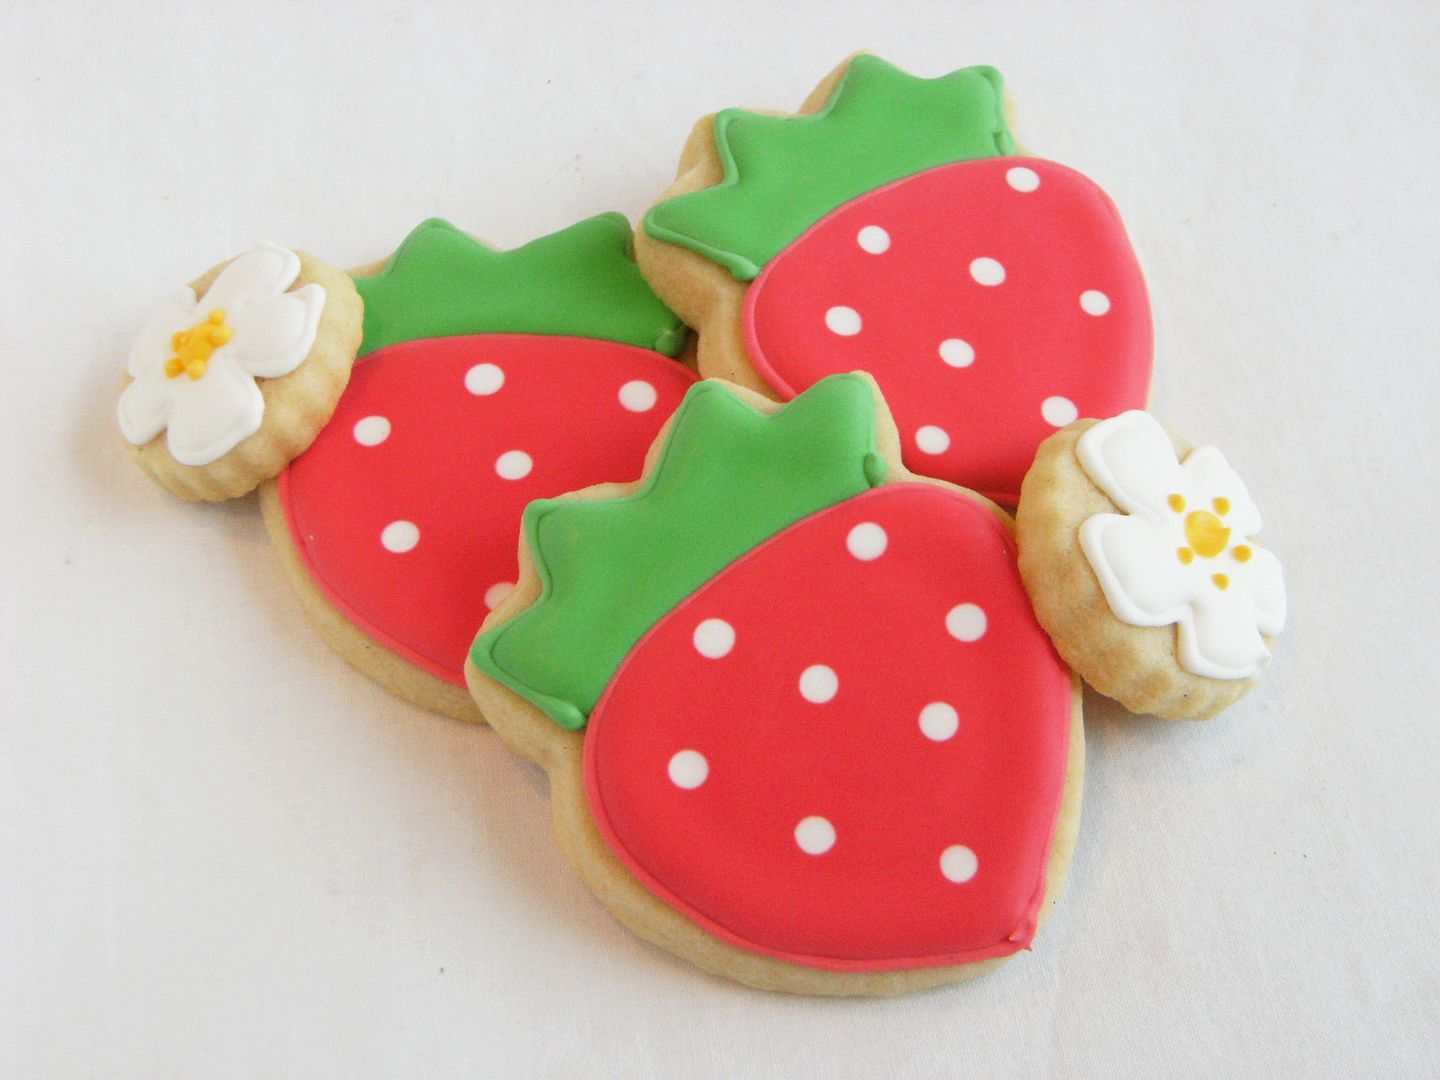
The strawberry cookies are really simple. Just a basic outline and fill in AmeriColor Leaf Green and Super Red.

The white dots are dropped on while the red flood icing is still wet.
Here's a post on getting dotty. :)


I added in a few strawberry flowers, just piped on a small scalloped circle cookie.
{Is is just me or are bite-size cookies the hardest to resist eating?}

I told Mr E. (hubby) that I was sending him to his meetings with cookies. When he saw the cute little berry baskets lined up on the table, I could see the look of panic spread across his face. Not to worry, though, the berry baskets were for MY cookie deliveries....I sent him off with cookies in a much more masculine pink bakery box.

Amanda from Bake It Pretty mentioned to me that these baskets are not "grease resistant," so I lined each one with wax paper before filling with a little paper shred and cookies.


I want to see what you all have been baking this spring! Link up below.

{This is a new PICTURE linky. Once you enter your info, you'll have a choice of what picture to choose for the thumbnail link. Just remember to link to a specific post, not your blog's main page.}

Banana-Apricot Hemp Smoothie

Creamy banana apricot smoothie recipe that is dairy free and vegan
Frosty banana apricot smoothie with hemp milk.

It's been a week of bland soft foods. I've dubbed this week the No Pointy Foods Diet. Mashed potatoes. Creamy rice. Squash puree. No nuts, seeds, or chips. No crunch. No snap. No spices. Talk about not sexy. Suddenly, I'm the Goddess of Bland. Slurping tiny bites of baby food.

Lucky for me, bananas are doable. Especially if they're frozen and whipped into a frothy silky smoothie.


Continue reading

Peanut Butter + Chocolate = LOVE


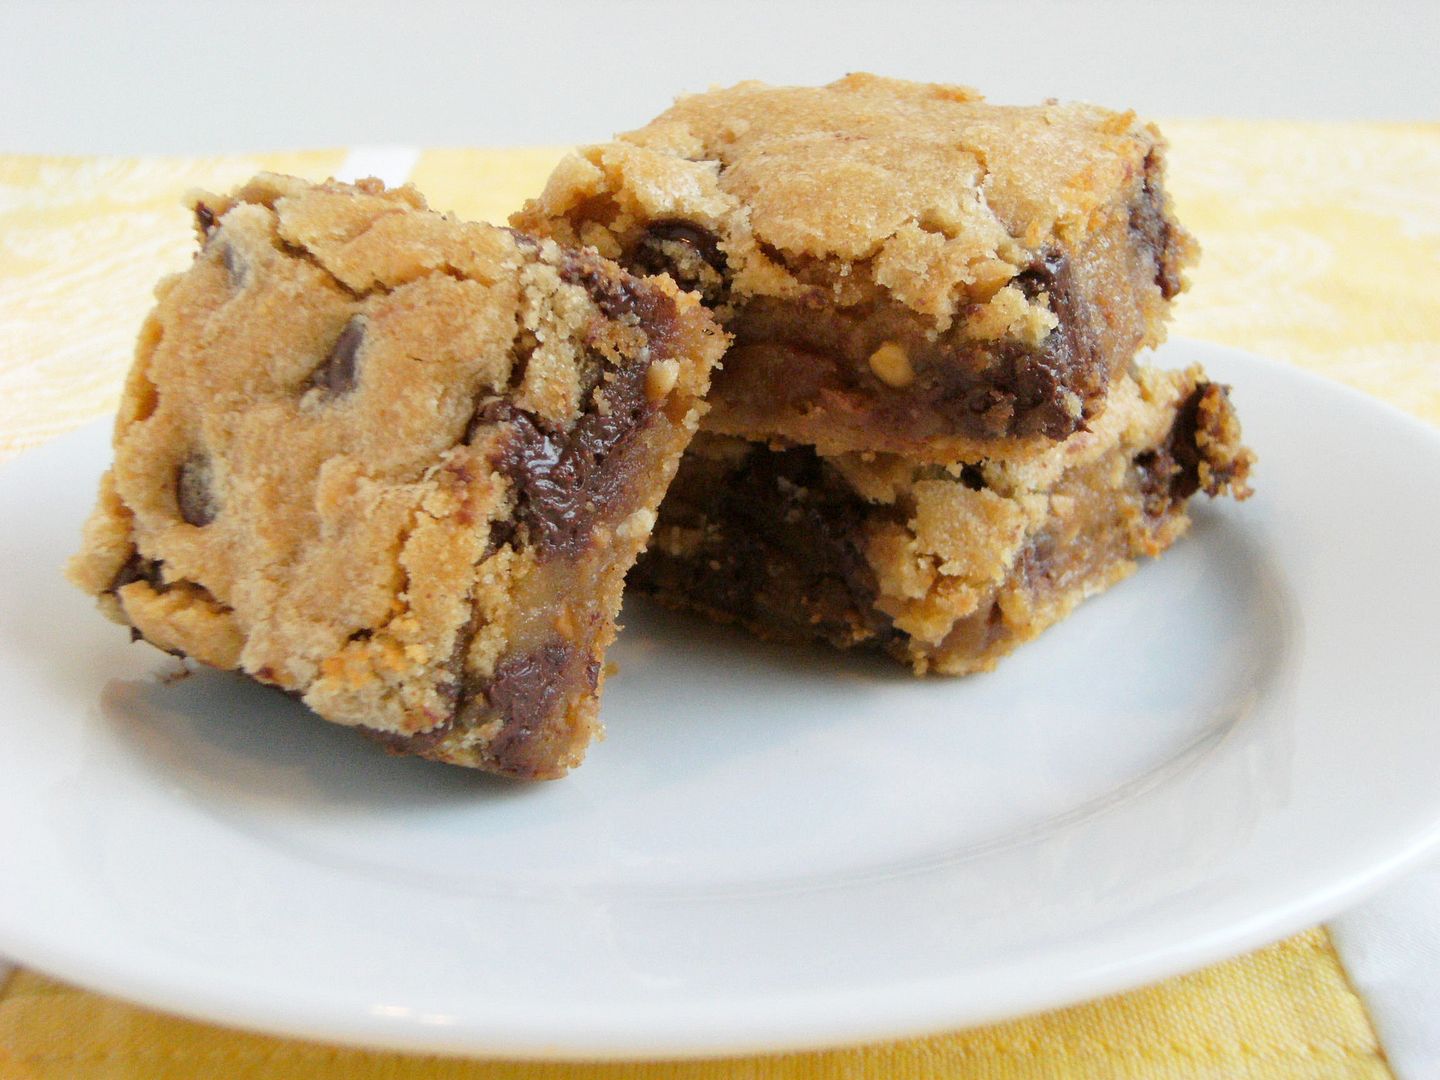
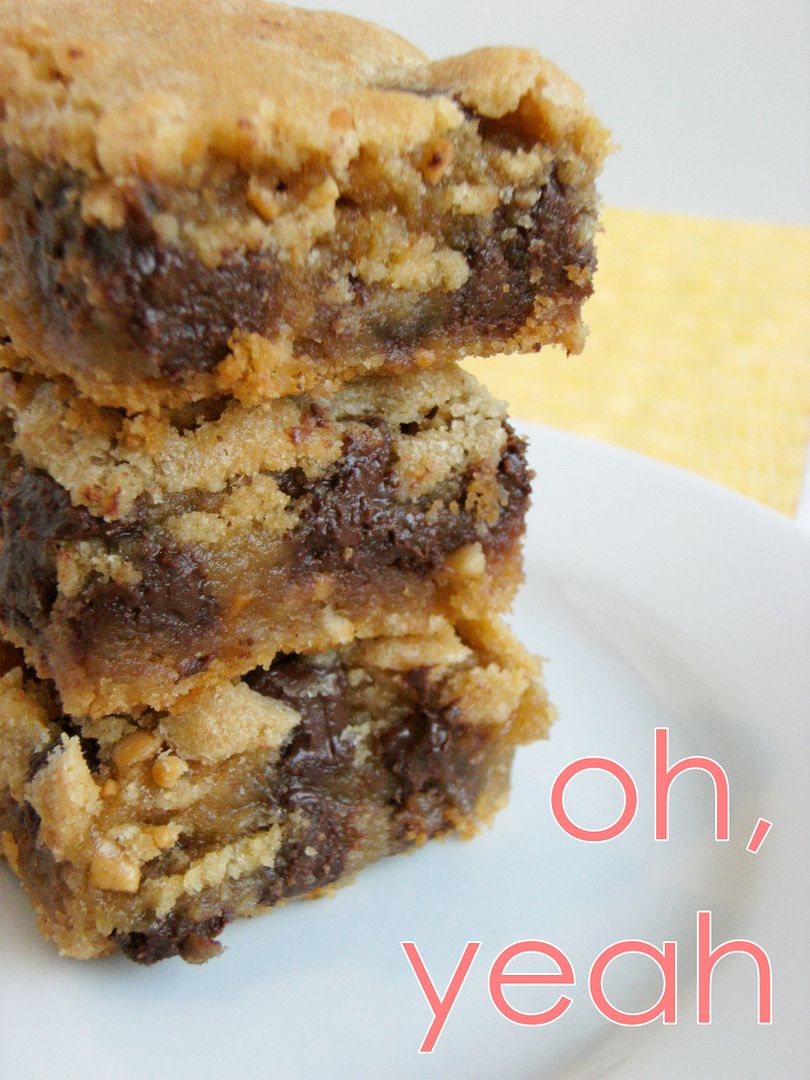
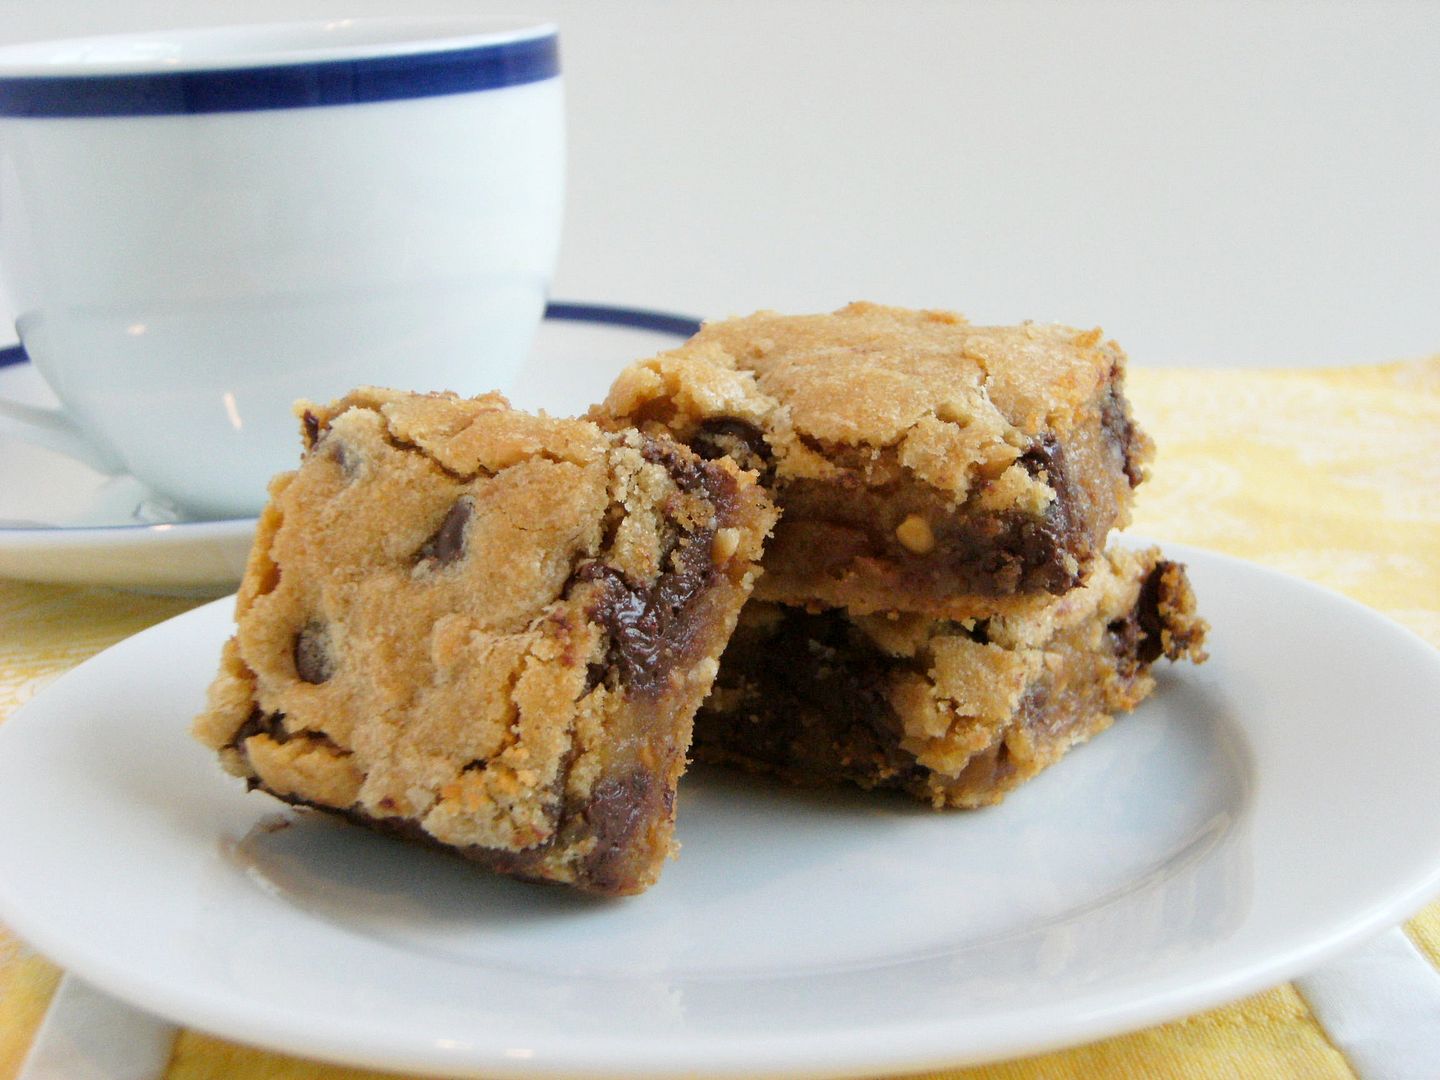
What is it about the combination of peanut butter and chocolate that is so magical? I'm not a girl to eats peanut butter by the spoonful, but combine it with chocolate...I can't resist.

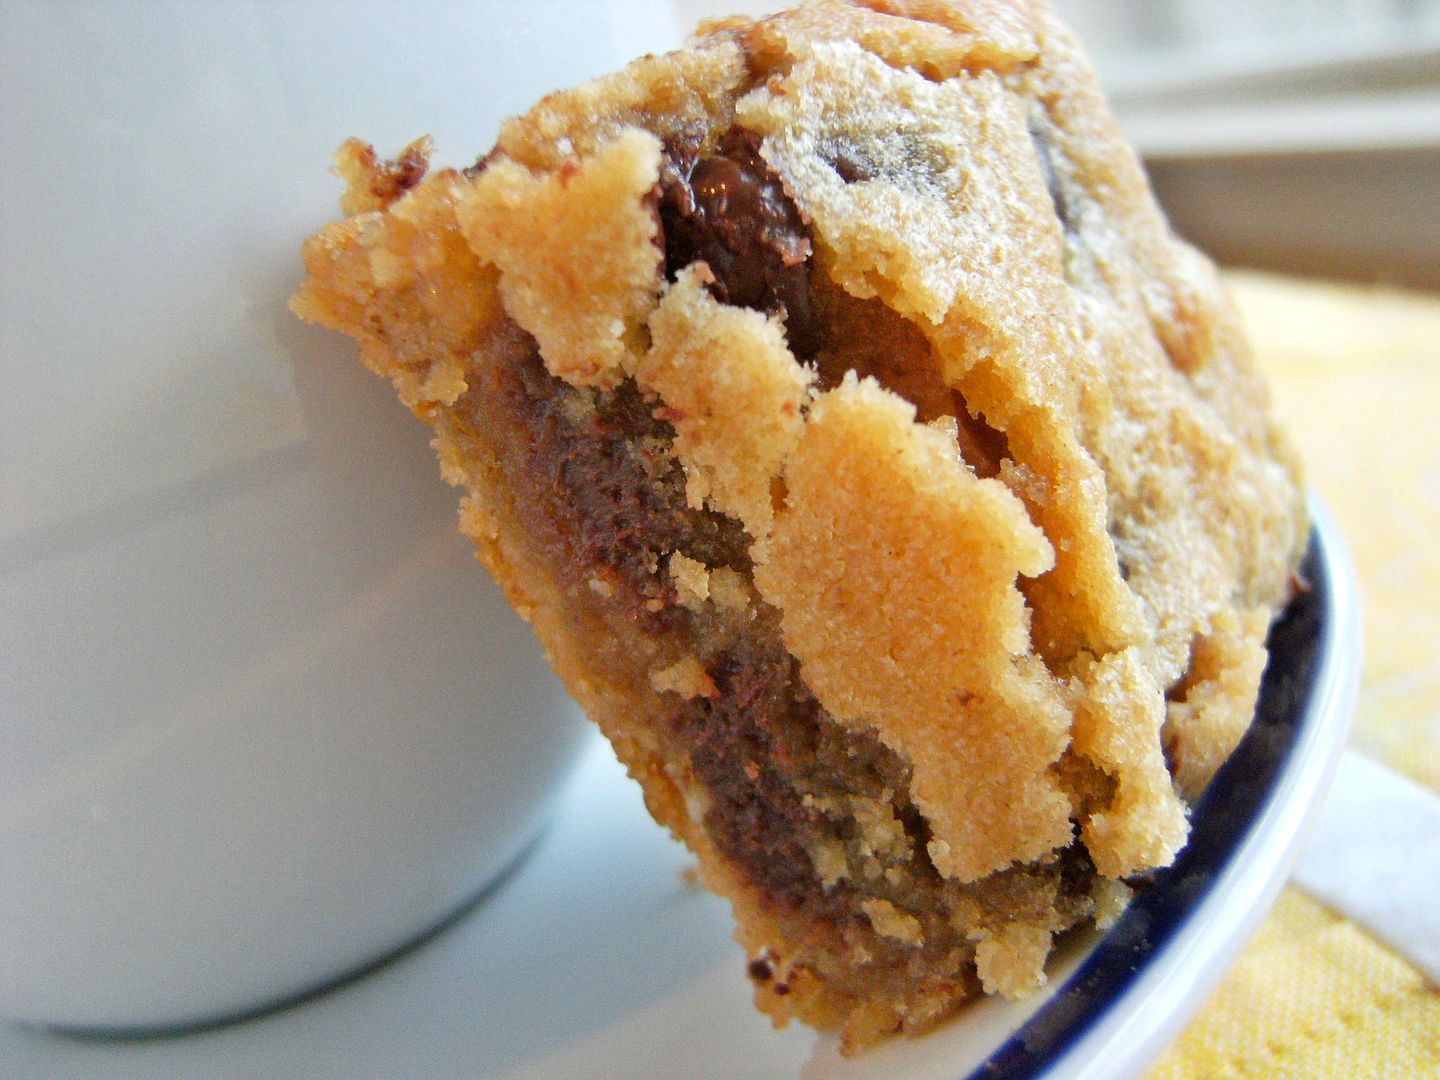
Now, my sister, on the other hand, is a true peanut butter lover. She used to eat peanut butter on pancakes and peanut butter & pickle sandwiches (yep...it's true), so I thought she'd like these Peanut Butter Chocolate Chip Bars.


{And, it's a good idea to get them out of the house. I "tested" one and almost inhaled the entire pan.}

Peanut Butter Chocolate Chip Bars
{adapted from Peanut Butter Smoothies from The King Arthur Flour's Cookie Companion}

6 TBSP unsalted butter
1/2 c natural chunky peanut butter (I use Skippy Natural)
1 c sugar
1/4 c light brown sugar, packed
2 eggs
1 tsp vanilla
1 c flour
1/4 tsp coarse salt
1 tsp baking powder
1 c chocolate chips (semi-sweet)

Preheat oven to 350. Lightly grease an 8 x 8" pan

Whisk together the flour, salt and baking powder. Set aside.

Cream the butter and peanut butter together until smooth. Beat in the sugars until combined.

Add the eggs, one at a time, scraping down the bowl after each addition. Stir in the vanilla.

Stir in the flour mixture. Add the chocolate chips, stirring until combined.

Spread the batter into the prepared pan (you WILL want to lick the spoon...it's yummy!). Bake for about 30- 32 minutes. Cool completely before cutting.


Align Center
Now, I thought I was pretty smart, handing these over to my sister and her family to avoid all those calories. My sister sent me home with a plate of the Pioneer Woman's Lemon Crumb Squares. {Paybacks are heck.}


PS....there is a new video over at University of Cookie! Yours truly showing the very BASICS of outlining and filling/flooding cookies. Come on over and see! :)

PS #2....this post will be linked to I'm Lovin' It over at my friend TidyMom's blog 'cause I'm LOVIN' peanut butter and chocolate!


Alien Juice . . . Works For Me Wednesday

You can admit it....you thought our family's diet consisted of sugar and butter alone.


Because we have our fair share of sugar around here, I really try to make sure that we're getting our 5 fruits & veggies a day (or at least that kiddo eats his).

After Christmas, we got hooked on Amanda's Blueberry Kale Smoothies (the only way my boys will eat kale willingly). One reason I love that smoothie is that it calls for just water and the fruit/veggies. No yogurt, no milk, no tofu....just water. So easy!


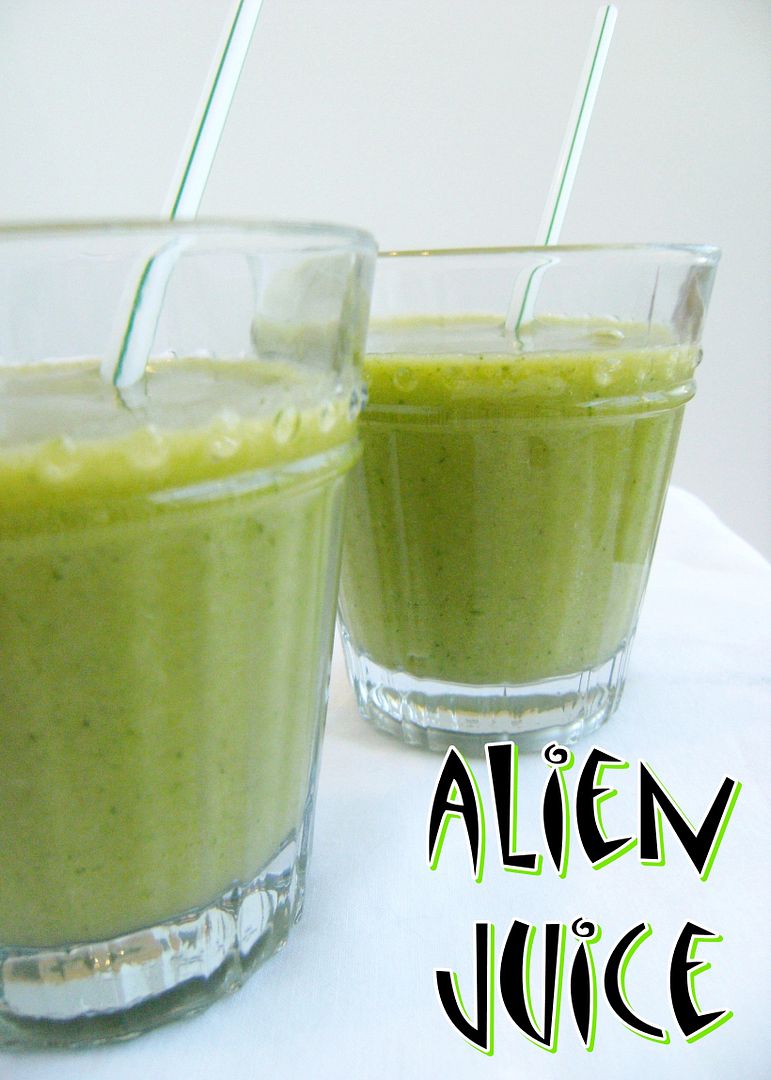
Here's a smoothie we came up with....ALIEN JUICE!!!

{I had every intention of calling these "Chic Chartreuse Smoothies," but as soon as kiddo saw them, he dubbed the smoothies, "Alien Juice!"}

All you need...


1 c water
1 c (organic if you can find it) frozen mango chunks
1 handful rinsed organic baby spinach
(you *have* seen the report on pre-washed spinach, right? No? Take my word for it....RINSE IT!)
1 banana
juice from 1/2 small lemon

Blend it all together. That's it!


I use my handy-dandy immersion blender. Sur La Table sells these pretty Cuisinart blenders (mine is Buttercup!) for only $29.95. I LOVE it!!! If you have one, just blend the ingredients in one at a time rather than all at once.

So, smoothies work for us. Sometimes, kiddo even asks for these instead of a cookie!!! {What is wrong with that child?}

What's your vote?

Alien Juice...


or, Chic Chartreuse Smoothie?

Gut Instinct


Nine days in the hospital. This is what a monkey gut can do. Nagging, for years, with its hot little protests and complaints. You blame gluten, or milk, or a parade of assorted culprits, from chili peppers to chai. And while these offenders may indeed play a part in the long burning dance of your life with food, a new realization begins to poke its way into existence. 

Your brain has a twin.


Continue reading

Pony Party


I know, I know, the Kentucky Derby is over. I still had to post them because...

a. I promised a few twitter friends that I would (I could never deny my twitter friends!), and
b. don't you think they would be cute for a birthday party?


My dad belongs to a group that holds a Kentucky Derby fundraiser each year. (You can read more about it in this post...it's a great event.) This is the 3rd year (or 4th?) they've ordered cookies for the event...and for the week prior to the Derby, our house is covered in horsies.


To make some ponies of your very own:


  • In royal icing, outline the "saddle" in the color of your choice with a #2 tip.
  • With another #2 tip, outline the shape of the horse in brown (AmeriColor Chocolate Brown).
  • Thin a contrasting color royal icing and the brown to the consistency of maple syrup; let sit several minutes covered with a damp dish towel. (Details on how to thin royal icing are here.)
  • Run a rubber spatula gently through the icing to pop any large air bubbles and transfer to a squeeze bottle.

  • Fill in the saddle area, using a toothpick to guide into corners.
  • Fill in the horse in brown, using a toothpick to guide into corners.
  • Let sit at least one hour.

{You can see I've lost my natural light from the pictures...sometimes decorating cookies is an all day, or multi day, project.}
  • With a #2 tip, add the detailing in the contrasting color and go back over the outline of the saddle.
  • With a #2 tip, add the mane, eye, tail and hooves to the horse.

  • Let dry overnight.

Giddy up!


There is a new video over at University of Cookie! Renee of Kudos Kookies shows the basics of PAINTING on cookies. It is very cool and a whole new way to decorate cookies. Be sure to check it out!