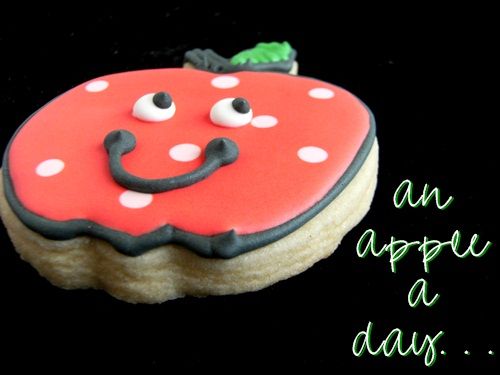
How 'bout THEM apples?!?

I volunteered to make cookies for a teacher appreciate dinner last week and since it was September, and the beginning of the school year, I had apples on the brain.

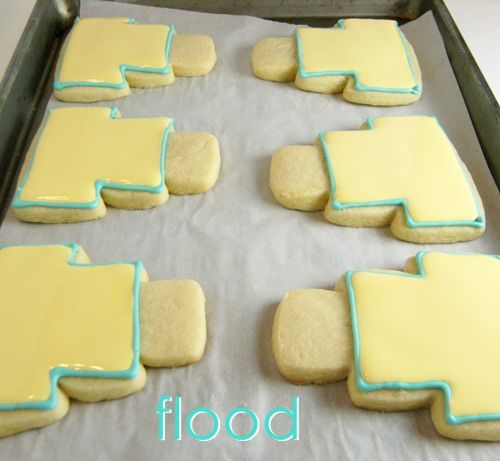
These apples are inspired by my friend, Jennifer, a FABULOUS cookie decorator who makes cookies for Frost Bake Shoppe.  This summer, she made these cute little sun cookies...aren't they darling?!?  Well, I thought my apples needed smiles as well.


{One note on these...the dots are just a lighter red, but next time I make them, I'll make the dots a bit darker....I think the eyes blend in a little too much with them. And wouldn't green apples be fun, too?}

To make them, you'll need:
 
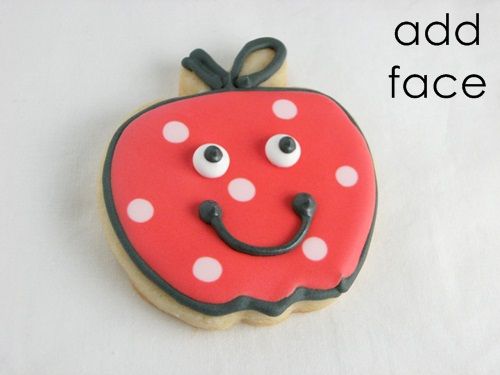
    Using a #3 tip, outline the cookie (apple & leaf) in black icing (I STRONGLY recommend AmeriColor Super Black).  Pipe the stem.

    Because of the black outline, you may want to let the outline set for a bit longer than normal.  One hour should be fine.

    Thin the red and light red icings with water, a bit at a time, until it is the consistency of thick syrup.  Cover with a damp dish towel and let sit several minutes.

    Stir gently with a rubber spatula and transfer both icings to squeeze bottles.

    Working 6-8 cookies at a time, fill in the apples in red, using a toothpick to guide to edges.

    Go back over the same 6-8 cookies and drop dots of the lighter red icing.
    Let stand at least one hour.

    With the #4 tip, pipe eyes on the apples with white icing.

    Using a #2 tip, add the pupils to the eyes and a smile. :)

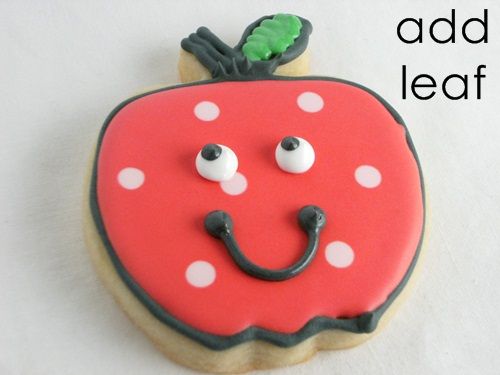
    With another #2 tip, fill in the leaf.

    Let dry overnight.

    You know what they say...
    "An Apple a Day Keeps the Skinny Jeans Away." 
    Or something like that.

    Tidy Mom I'm Lovin It Fridays

    Gluten-Free Crisp Recipe: Cranberry Peach Crumble

    Gluten free cranberry peach crisp crumble recipe
    Gluten-free cranberry peach crumble. Easy as pie. Wait. Easier.


    So I have a question for you. Albeit, rhetorical. Who doesn't love a warm-from-the-oven fruit crisp or crumble? Personally, I'm a big fan. Obviously. Here's why. Imagine tender, juicy melt-in-your mouth bites of sweet fruit. A kiss of brown sugar. A hint of cinnamon.

    And Darling- best of all? Embarrassingly easy.

    Continue reading

    Brownie Batter Ice Cream ( and a giveaway! )


    Have you heard of Naturally Nora?  Naturally Nora is a line of baking mixes, such as cake, frosting and brownie, that is all-natural with no artificial colors, flavors or preservatives. What's more? They're really yummy!

    Naturally Nora sent me a (big!) box of their goodies and wants to send one to a Bake at 350 reader, too!

    {There is something very exciting about a box full of baking mixes arriving on your doorstep!}

    I love to bake from scratch, but I'm not opposed to using a boxed mix....sometimes I need a little help!

    So far, we've made Chocolate Chunk Brownies (no picture as we ate them all too fast), cupcakes from the ALot'a Dots cake and frosting mix and Brownie Batter ice cream from the regular brownie mix.  I think I'm using the next box of cake mix & frosting to make Pumpkin Spice Cake Truffles!

    Everything has been delicious!  And my boys went ga-ga over this ice cream!
    Brownie Batter Ice Cream
    {modified from Ben & Jerry's Homemade Ice Cream Book 's French Vanilla}

    1 tsp. vanilla
    1/2 tsp. instant espresso powder
    2 eggs (pasteurized if you'd like)
    3/4 c. sugar
    2 c. heavy cream
    1 c. milk
    1 c. brownie mix

    Combine the vanilla and espresso powder, set aside.

    Whisk the eggs 1-2 minutes until light and fluffy.  Add the sugar a little at a time, whisking until completely blended.  Once all the sugar is added, whisk for 1 minute more. 
    Add in the cream, milk, vanilla/espresso and brownie mix.  Whisk until smooth. 

    At this point, the mixture can be refrigerated until ready to use or transferred to an ice cream maker.  Follow the manufacturer's instructions for freezing.


    To enter the giveaway for a box of goodies from Naturally Nora:
    • visit Naturally Nora and leave a comment here with the mix you'd most like to try,
    • for an EXTRA entry, tweet about the giveaway and leave a separate comment letting me know that you did: " Win a goodie box of Naturally Nora all-natural baking mixes from @bakeat350tweets http://ow.ly/2L8xP! "
    A winner will be randomly chosen October 3rd at 8pm CST.  Good luck & happy baking! :)

      Gluten-Free Coconut Flour Apple Cake Recipe

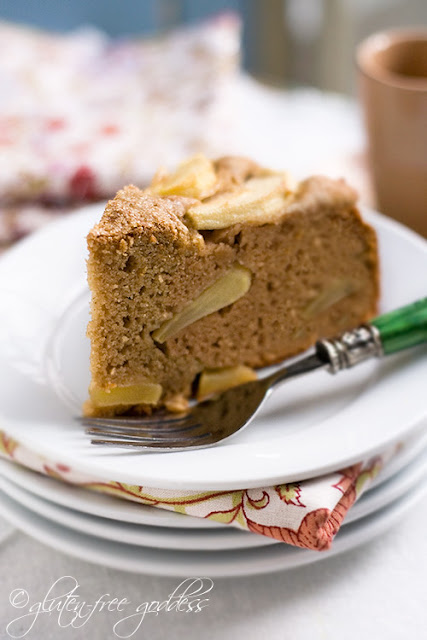
      Gluten free apple cake recipe made with coconut flour
      A lovely gluten-free apple cake with coconut flour.

      The weather here has hula-hooped back into summer. I kid you not. It is ninety-seven degrees here in Little Russia, my West Hollywood neighborhood. As in 97. That's three shy of one hundred, Bubbe. In September. And what am I doing? Baking a cake. Heating up the kitchen. It figures.


      Continue reading

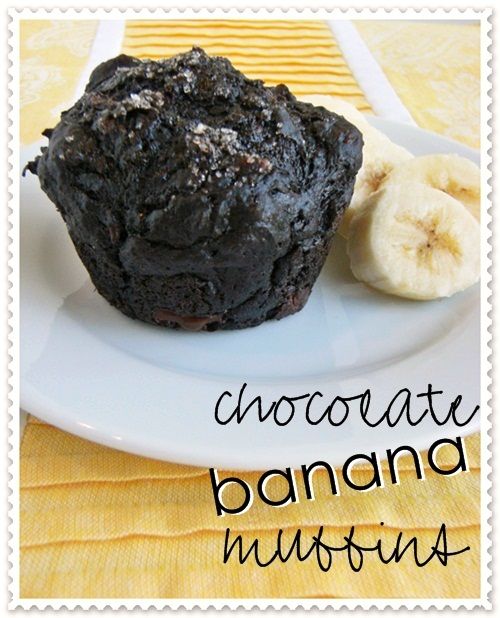
      Spa Sweets : Chocolate Banana Muffins

      What's the first thing you think of when you think of going to a spa?  Food, right?
      I know, it's strange, but when I think of spas, my mind wanders to thoughts of "spa cuisine" (especially if it involves the HERSHEY SPA)!

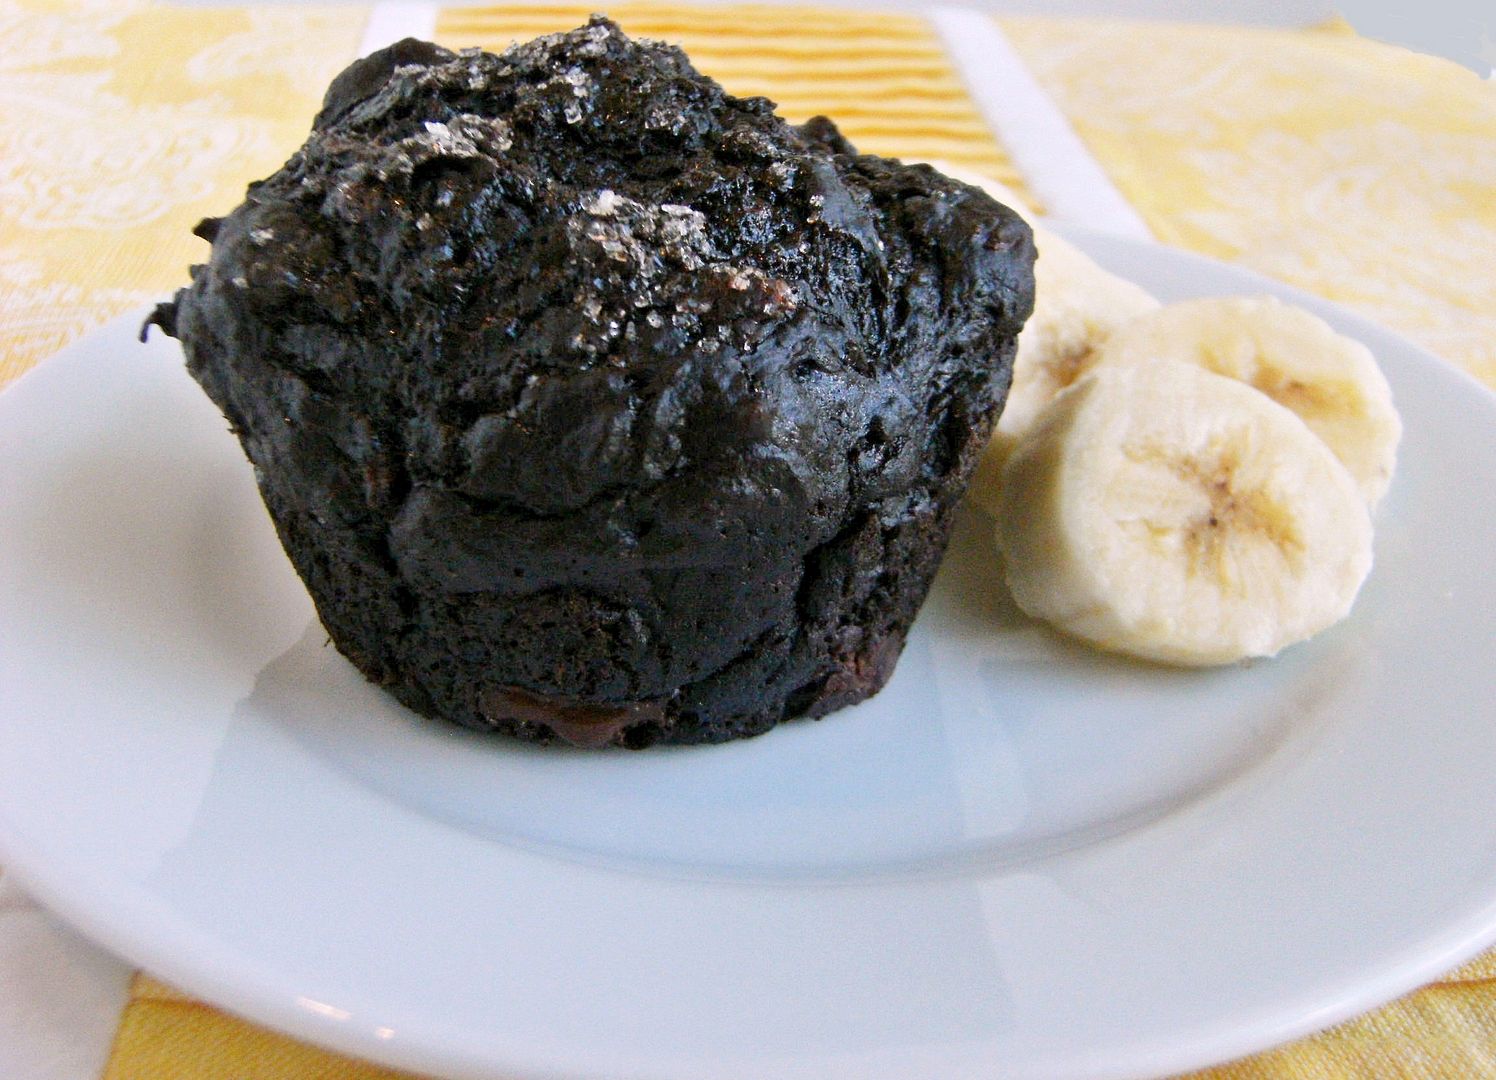
      So, when Chevy sent a friend and me to the spa for 1-hour massages, my mind naturally went to Chocolate Banana Muffins.  Lori from Recipe Girl (love!) featured a recipe from The Rancho La Puerta Cookbook , Chocolate Banana Bread last year and it's delicious!

      I changed it up just a bit and made Chocolate Banana Muffins.  They may just be the unhealthiest, healthy muffins you've ever eaten.  No added sugar...except for the chocolate chips and banana chips, and well, the sprinkling of sugar on top.

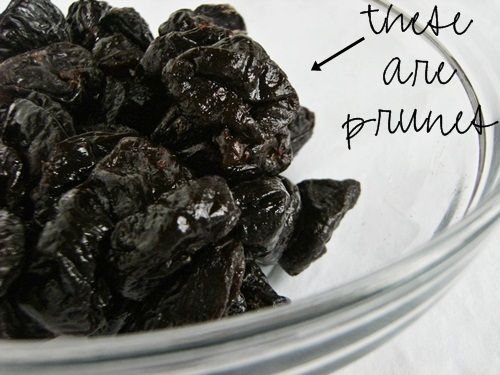
      They also have a secret ingredient: PRUNES!

      Spa Chocolate Banana Muffins
      {adapted from Recipe Girl &The Rancho La Puerta Cookbook }

      10 oz. pitted dried prunes
      2 c. water
      1 c. minus 1 TBSP all-purpose (or WHITE whole wheat) flour
      1/2 c. dutch-process cocoa powder
      2 tsp. baking powder
      2 tsp. cinnamon
      1 and 1/2 tsp. baking soda
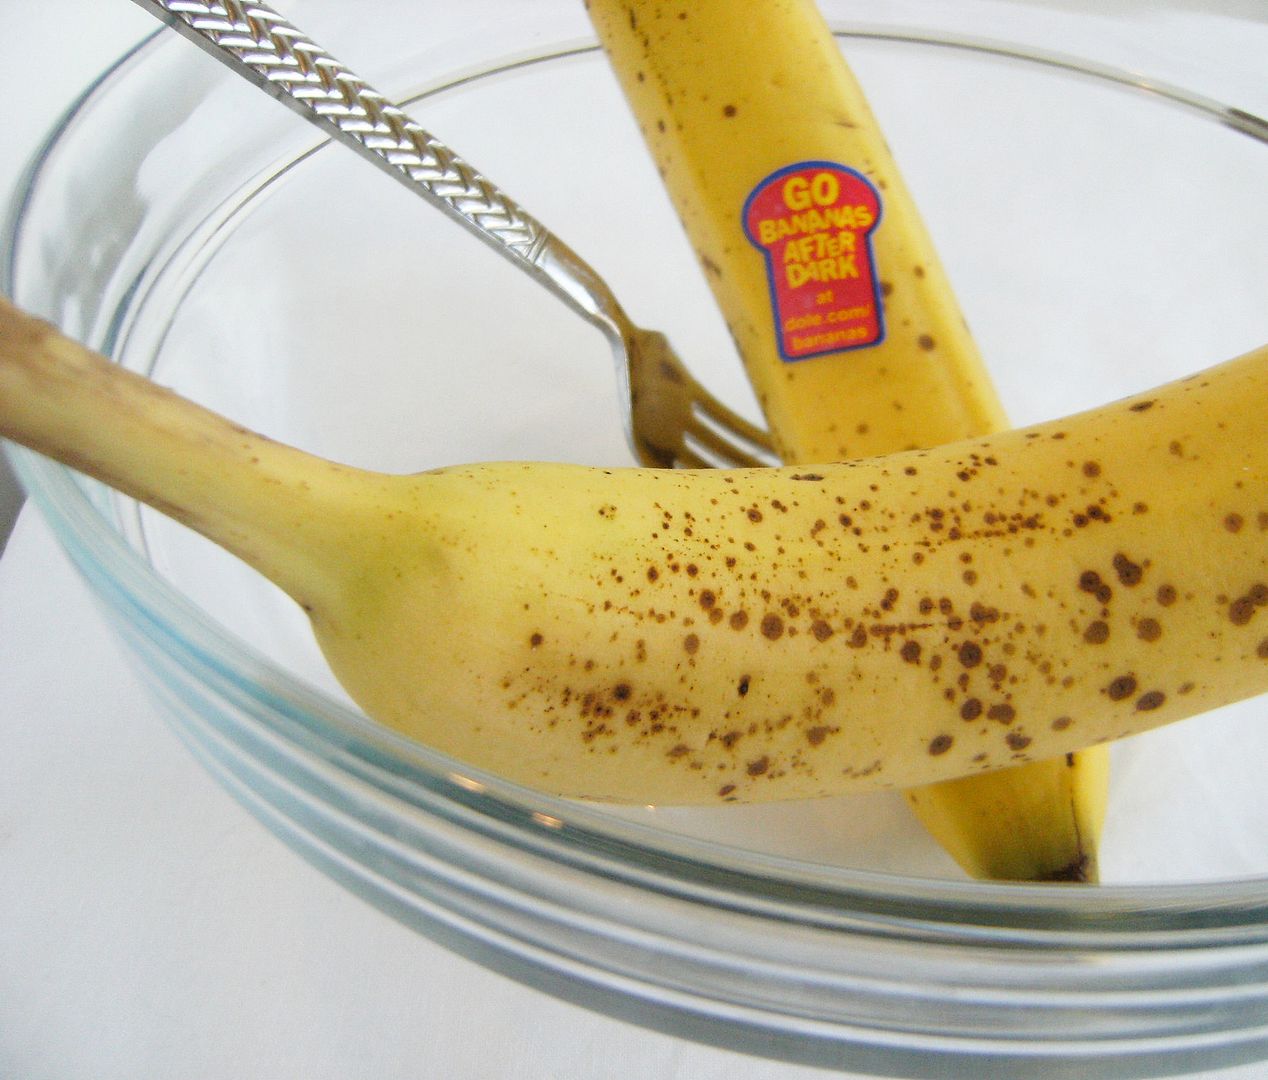
      3/4 c. mashed ripe banana (about 2 bananas)
      2 eggs
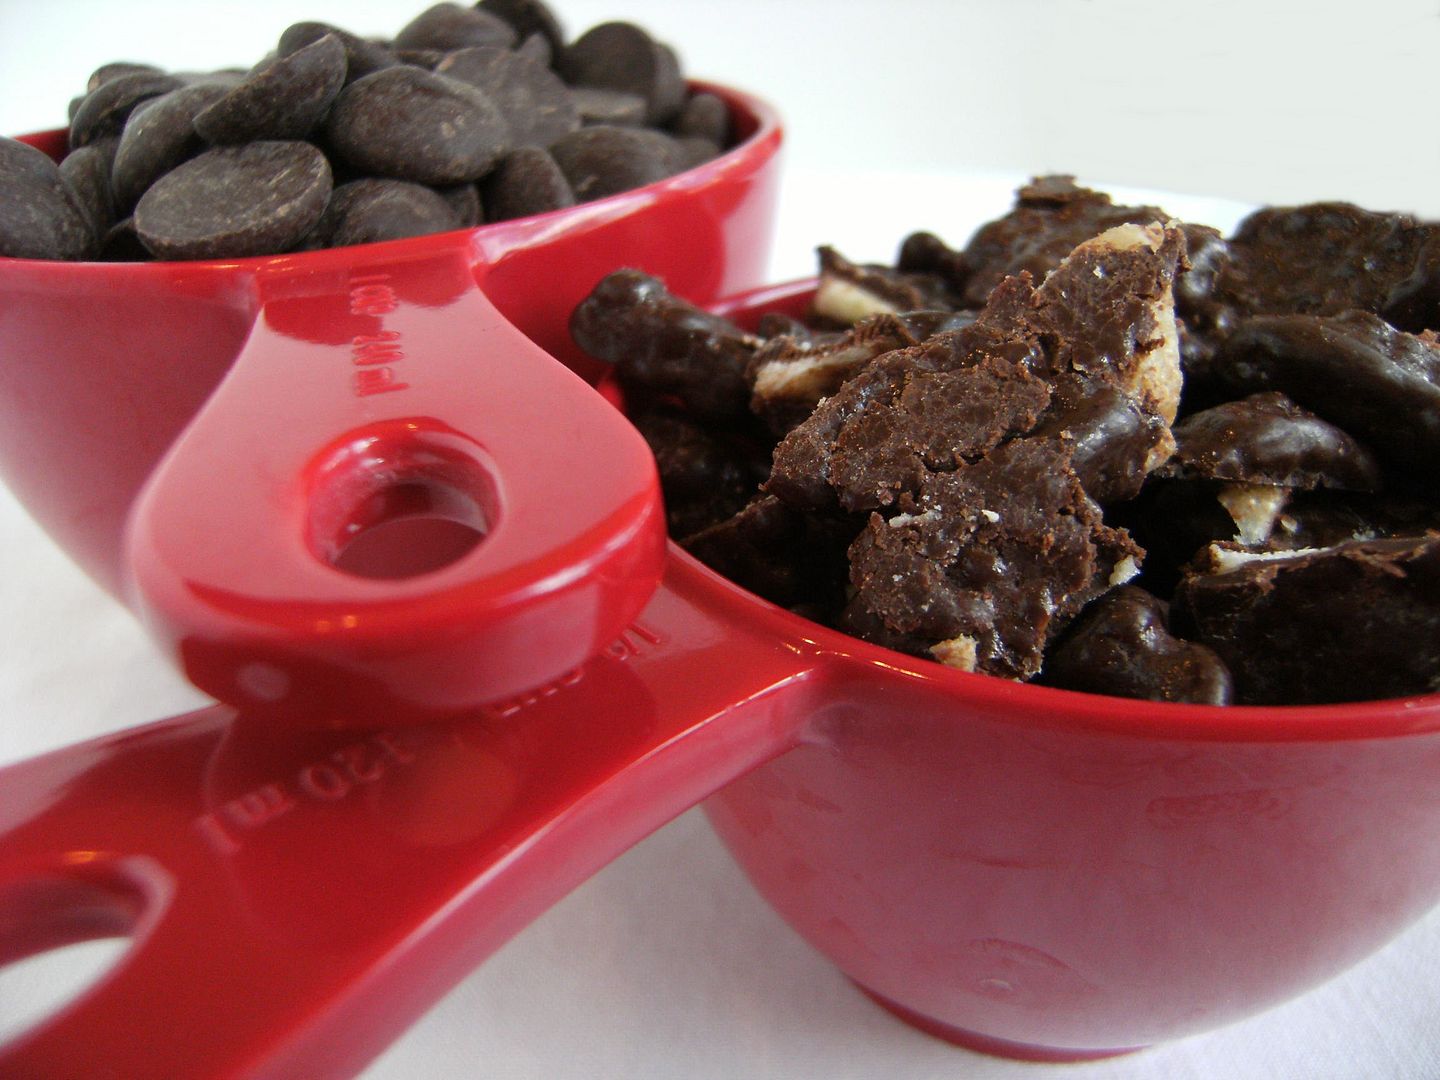
      1/2 c. chocolate-covered banana chips (or reg. banana chips)
      1 c. bittersweet chocolate chips (Ghiradelli)
      sparkling or sanding sugar (optional)

      Combine the prunes and water in a small saucepan.  Bring to a boil over high heat.  Reduce to a simmer  and cook for 20 minutes.  Drain.

      Meanwhile, preheat the oven to 350.  Butter 12 cups of a muffin tin.  If you are really paranoid like me, line the bottoms of the muffin cups with a small circle of parchment paper.

      In a large bowl, whisk flour, cocoa powder, baking powder, cinnamon and baking soda.  Set aside.

      Process the prunes and bananas in a food processor until smooth.  Add eggs and process until combined.

      Stir the prune mixture into the flour until combined. Add in the banana chips and chocolate chips.  Spoon into prepared muffin cups.  Sprinkle with sparkling sugar.

      Bake 16-20 minutes until the tops bounce back when lightly pressed.  Cool on a cooling rack 10 minutes. Remove from pan and let cool completely.  Enjoy!


      {And thank you, Chevy, for the massage! }

      Lucy in the Sky with . . . Polka Dots

      Usually when I use my icing printer, I format the image to the size I want before printing.  I decided to play around with something new and print out a patterned page frosting sheet and cut it to fit my cutters.

      Some of you have asked....my printer is an Epson WorkForce 30 Color Printer ; it is compatible with the food coloring cartridges.  You can find a list of all the compatible printers from KopyKake.  The printer itself is pretty affordable; it's the ink that is expensive....$90 for the set.  {That's why it took me so long to order one!  It was a major dent in my Starbucks fund.}

      First, I ordered some digital paper from etsy.  Oh my gosh, there are SO many cute designs available!  I think I now have 100 digital papers in my arsenal.

      {The smart thing would have been to TRY my idea before buying all of them, but I got a little carried away.}

      Second, I printed the image on a full sheet of icing paper.

      Third, using a food coloring pen, I traced the cookie cutters I used and then cut the icing sheets.
      Forth, the cookies were outlined and filled with white royal icing.  While the flood icing was still wet, I applied the icing sheet.  It's not a perfect fit, so....

      Fifth, after the cookies were dry, I went over the borders and added piping.

      Do I love my icing printer?  Yes.  

      But here's my problem with it...and maybe somebody can help me. 
      The original image was this:

      It looks so different on the cookies.
      But, when I made these cookies, the colors stayed pretty true.  I'm so confused.


      Tidy Mom I'm Lovin It Fridays

      Anyone have experience with this they'd like to share?

      "So, just how long is it going to take me to make and decorate cookies?"

      works for me wednesday at we are that family
      "So, just how long is it going to take me to make and decorate cookies?"   The short answer is...it depends.  It depends on how many you're making, of course, and how many colors of icing you are using, and how detailed the cookie design is, and how you are packaging them. Whew.

      But, let me try to give you a rough idea. Let's go with 2 batches of cookies because if you're going to take the time to make them, you might as well make more than one.
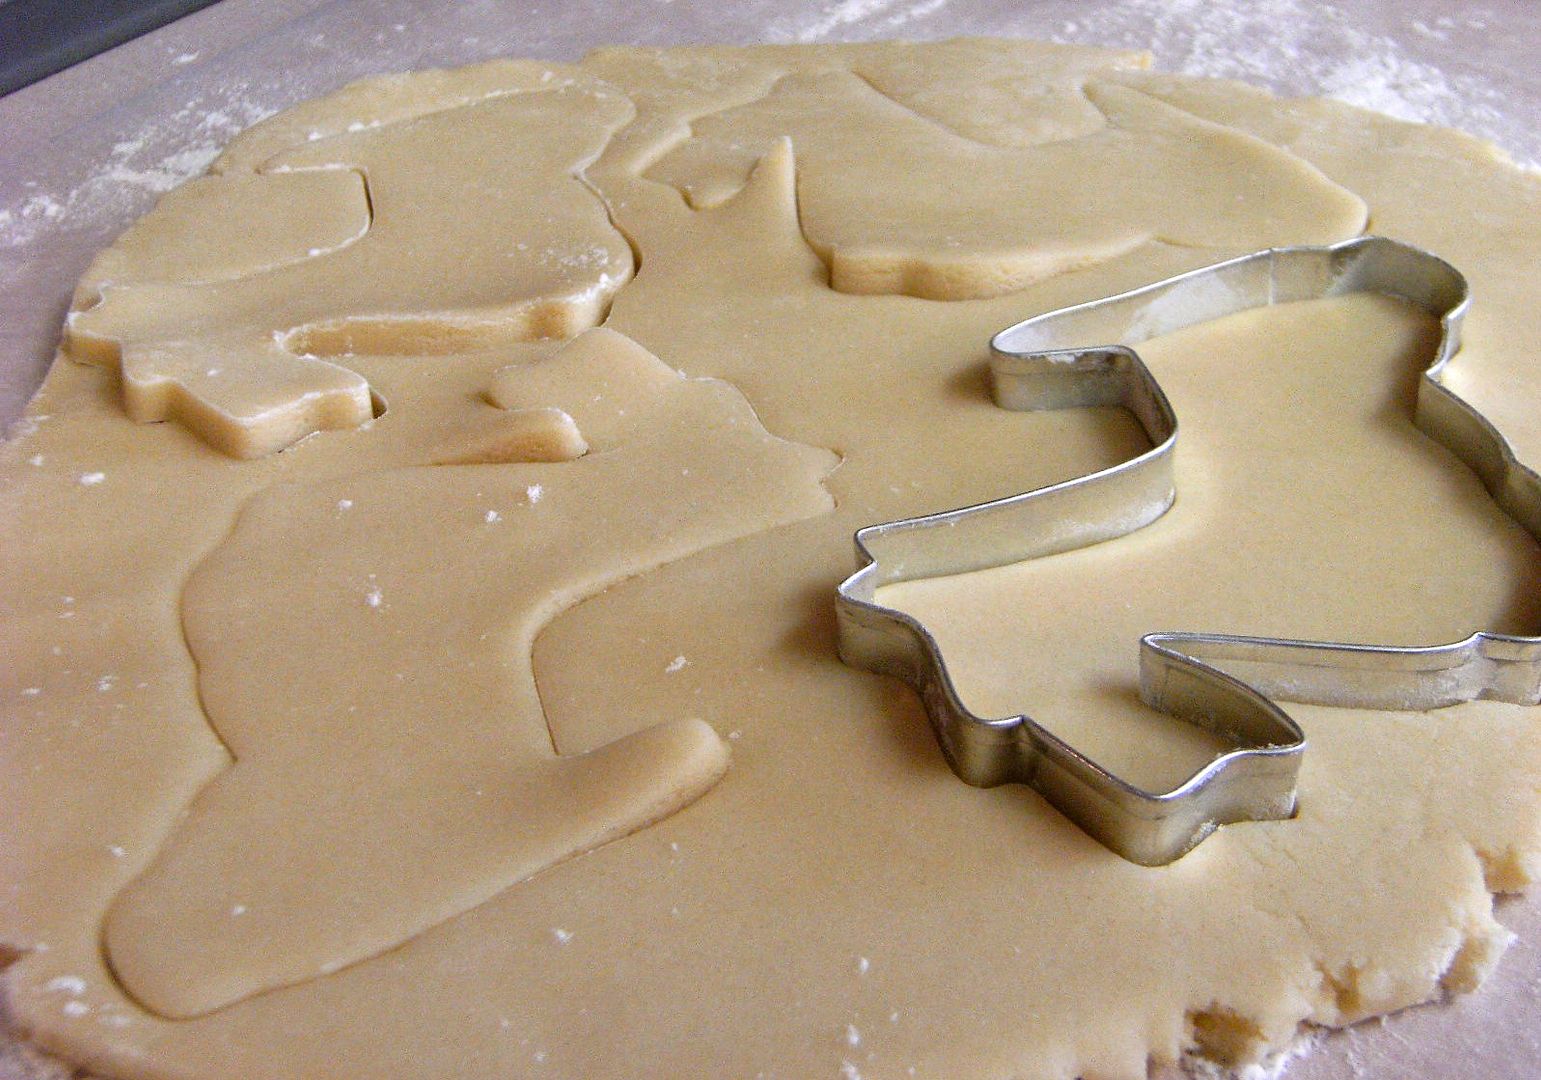
      First, the cookies.  Using this cookie dough recipe, plan on about 1 hour per batch.  With a 4.5" cookie cutter, you'll have around 12 cookies.  I bake mine 6 at a time, since I have a single oven.  I could do 2 sheets and rotate the them during baking, but I am usually too distracted by twitter getting in some housework (ha!) and forget to rotate.

      Cookies (two batches)....2 hours
      Cookies (cool completely)...1 hour

      Next, the icing.  I use royal icing.  It's just as quick to make a double batch as it is to make a single.  I usually double my recipe just to ensure I have enough.  To make the icing and tint it, assuming you're making more than 2 colors, takes about 45 minutes.

      Icing....45 minutes

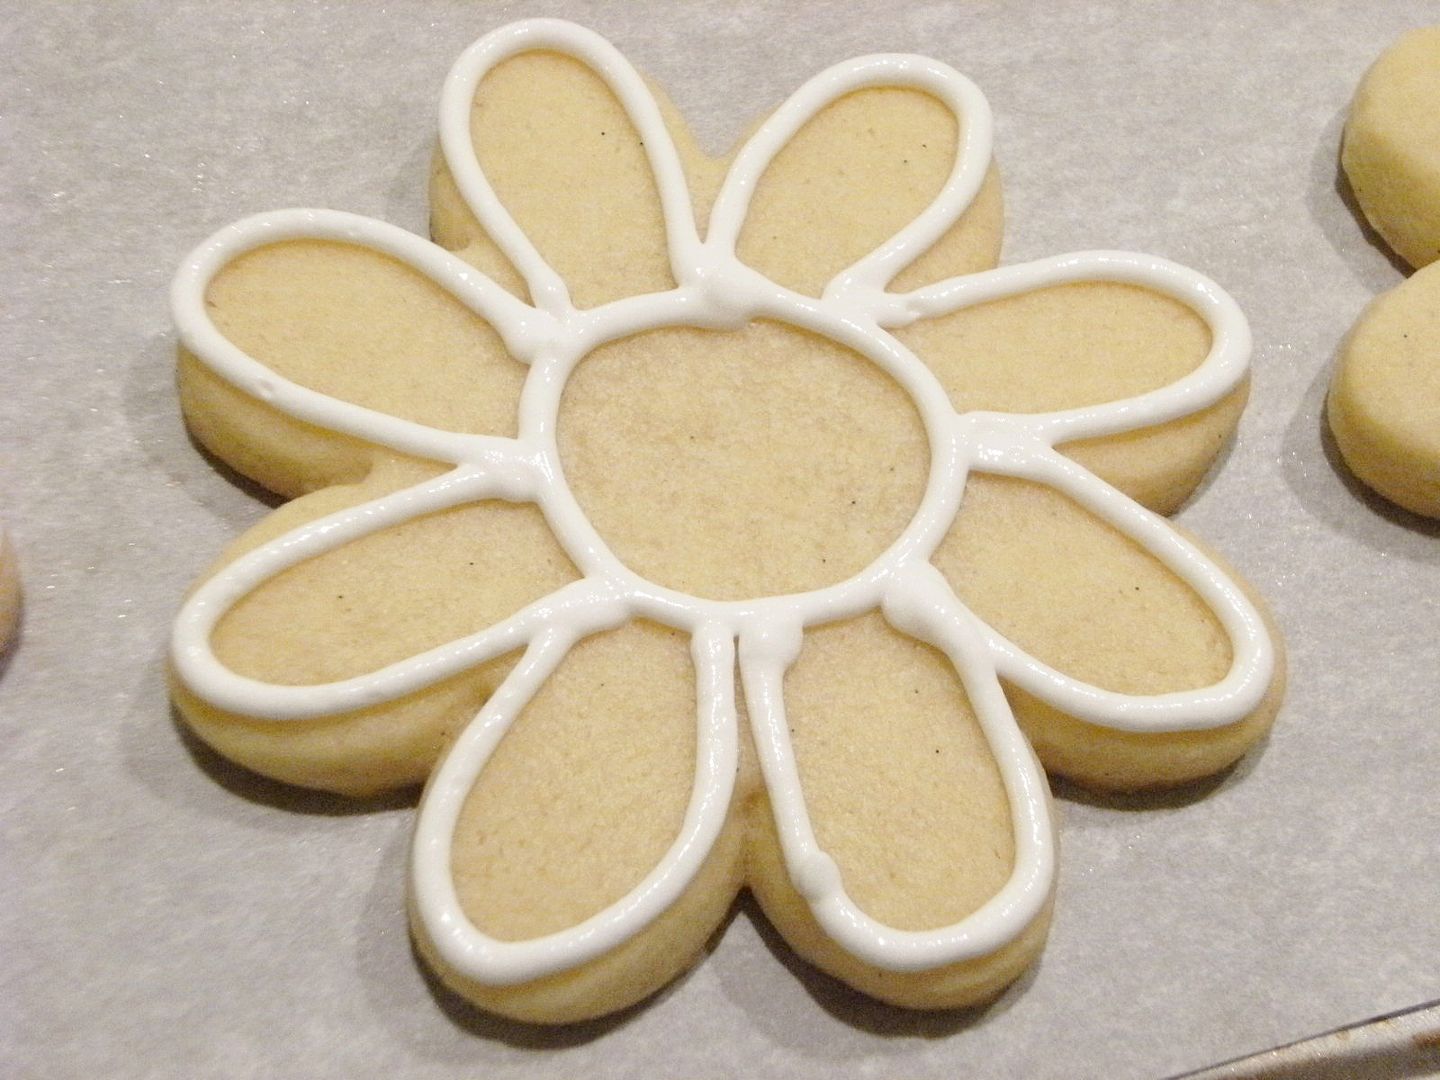
      Decorating the cookies. This is a little difficult to estimate and you'll have some down time here.  Assuming you have 24-30 cookies, you'll need to prep your icing bag and outline your cookies.  For a simple outline, allow 30 minutes.

      Outlining....30 minutes

      Next, you'll want to "flood" the cookies with thinned icing.  For me, thinning takes a while because I add water just a bit at a time.  You'll need to thin the icing, let it sit, stir, then flood.

      Flood icing (thin)....15 minutes
      Flood Icing (rest)....10 minutes
      Flood icing (fill)......45 minutes

      Usually, you'll have some sort of detail to add to the cookies.  First, the filled cookies need to "rest" for an hour or so before the next step.


      Rest....1 hour

      Finally, the detail work.  You may be adding sanding sugar, sprinkles, luster dust, extra piping, or all of the above, so this really varies.  Assuming the detail is a bit of simple piping on each cookie, allow at least a minute per cookie.

      Detail.....30 minutes

      Then, let them dry overnight.

      Dry.....overnight

      ***This does NOT include clean-up time!***

      So, for about 2 dozen, simply decorated cookies, I would allow 5 hours of baking/decorating with 2 hours and 10 minutes plus overnight of inactive/rest time. (Did I add that right?) But, remember, it depends! :) 

      {In other words, don't start a cookie decorating project at 8pm the night before you need them.}

      My advice....make the cookies a day ahead.  Even two days.  Even more than that and freeze them.  Yes, they freeze...even fully decorated.

      Another hint, royal icing can be made ahead of time, too.  The icing will not be as stiff the next day, so if you have fine detail work to do, you may want to make it the same day.  Otherwise, it's fine.

      I love this post from my friend Gail of One Tough Cookie...here's a little nugget of wisdom from her blog: "No matter how much time you allow for decorating the cookies, allow more."    See, she's smart and CRAZY TALENTED!

      That's what works for me.  Do you have any hints for timing your cookie decorating?

      My Favorite Gluten-Free Autumn Recipes

      Gluten free recipes for Fall and Thanksgiving with vegan and dairy free recipes as well
      It's that time of year again. Fall is for baking.

      Celebrate Autumn!

      Welcome to my favorite autumn recipes- my collection of gluten-free comfort food for the fall season. From harvest inspired appetizers to cinnamon laced baked goodies, from pumpkin soups to cozy casseroles, flavors are warm and inviting. Perfect for cool, clear days and early nightfall. So take your inner domestic goddess by the hand. Grab your apron. Rustle up your favorite ingredients. Turn on your oven and fill your kitchen with the scents of apple, cranberry, pumpkin, butternut, maple, nutmeg and curry.

      {For readers Down Under, here are my Favorite Spring recipes}


      Continue reading

      Raw Cashew Hummus

      Raw cashew hummus is creamy, vegan and delicious
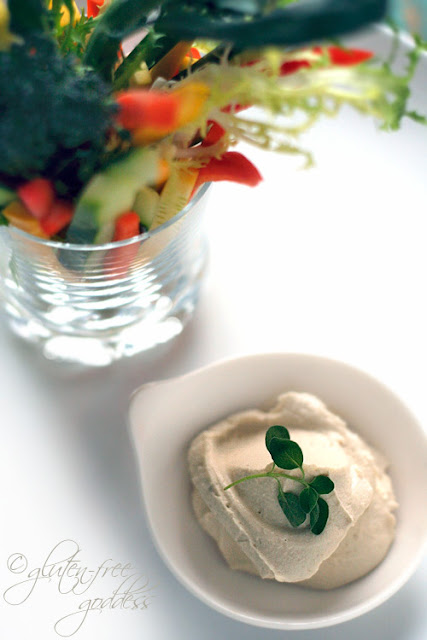
      Eat it raw baby. Crisp fresh veggies and cashew hummus are tasty.

      I've been eating hummus all week. Help. I can't stop. It all started when I whipped up a big batch of my tried and true favorite, a classic chick pea hummus recipe with tahini and lemon (though in full disclosure, I used lime juice instead of lemon). I munched it as a snack, with retro carrot sticks as I caught up on the latest episodes of Mad Men. [Serial television that just keeps getting better and better, does it not? A show with originality, surprises and rare insights into sexual politics, power, marriage and parenting.] I nestled dollops of the stuff on warm and comforting bowls of brown rice and stir-fried vegetables (recovering from said insights).

      I ate and I ate.

      And then there was no more. I was hummus-less. Without hummus. Bereft. An empty fragile goddess sans my favorite vegan protein complement. So I began to scheme. I pined for the opportunity to blog another hummus recipe, but I'd already shared not only my classic style hummus, but my irreverent upstart hummus with jalapenos, lime and peanut butter (which apparently, on some vegetarian forum raised an anti-goddess ruckus). Not to mention, my roasted red pepper hummus, perfect for Party On mode.

      So my thoughts did a shuffle play through new and cool possibilities. And I remembered my raw cashew cream recipe. Why not make it thicker? Why not make it hummus?


      Continue reading

      My new best friend : OnStar (and a tip about white royal icing)

      "People let me tell ya 'bout my best friend..." (Raise your hand if you are old enough to recognize that song.)
      OnStar...yes, OnStar is my new best friend.  There for me in an emergency, always answers my call (no matter the time of day), helps me find my way when I'm lost...sounds like a best friend to me!

      One the perks of test-driving this Chevy Malibu this month is getting to play around with the OnStar system.  I always used to cry during their commercials, but I didn't realize everything else that OnStar does!  The turn-by-turn directions are definitely my favorite part. It's like having my own little concierge right there in the car.

      If only it would go fetch me a Starbucks without my having to leave the house.
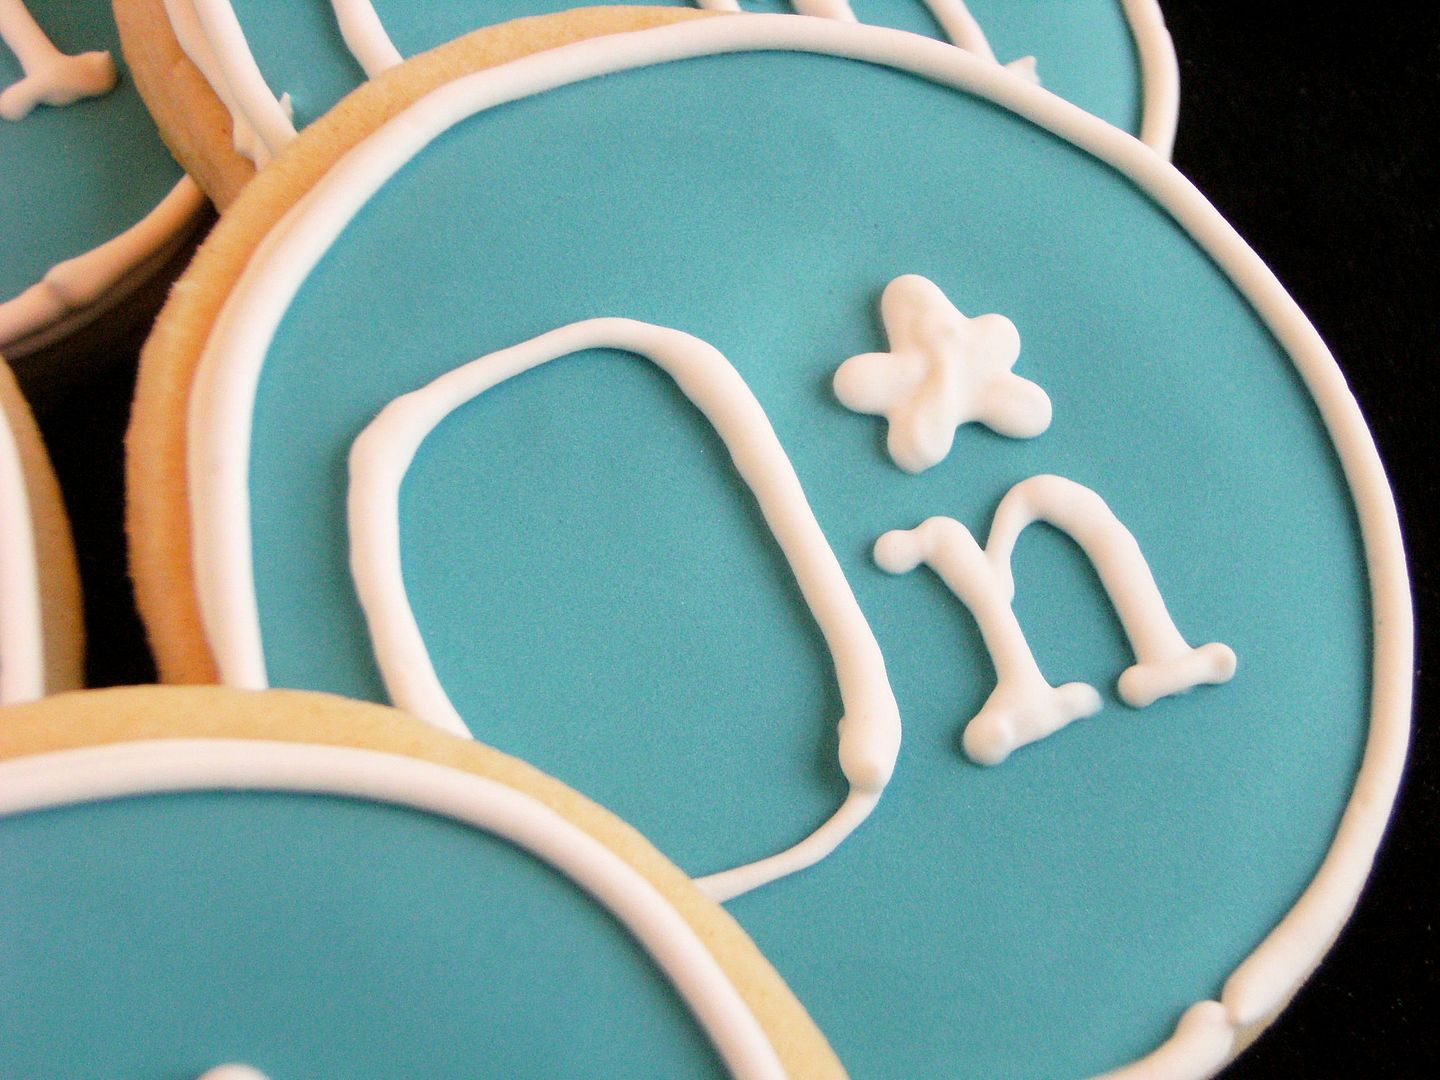
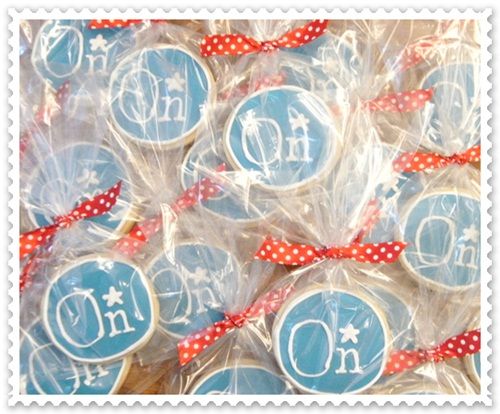
      I brought these cookies over to the Chevy dealership where I picked up the car two weeks ago.  Maybe they think I'm crazy professing my love for OnStar in cookie form? 

      Let's talk about making white icing...

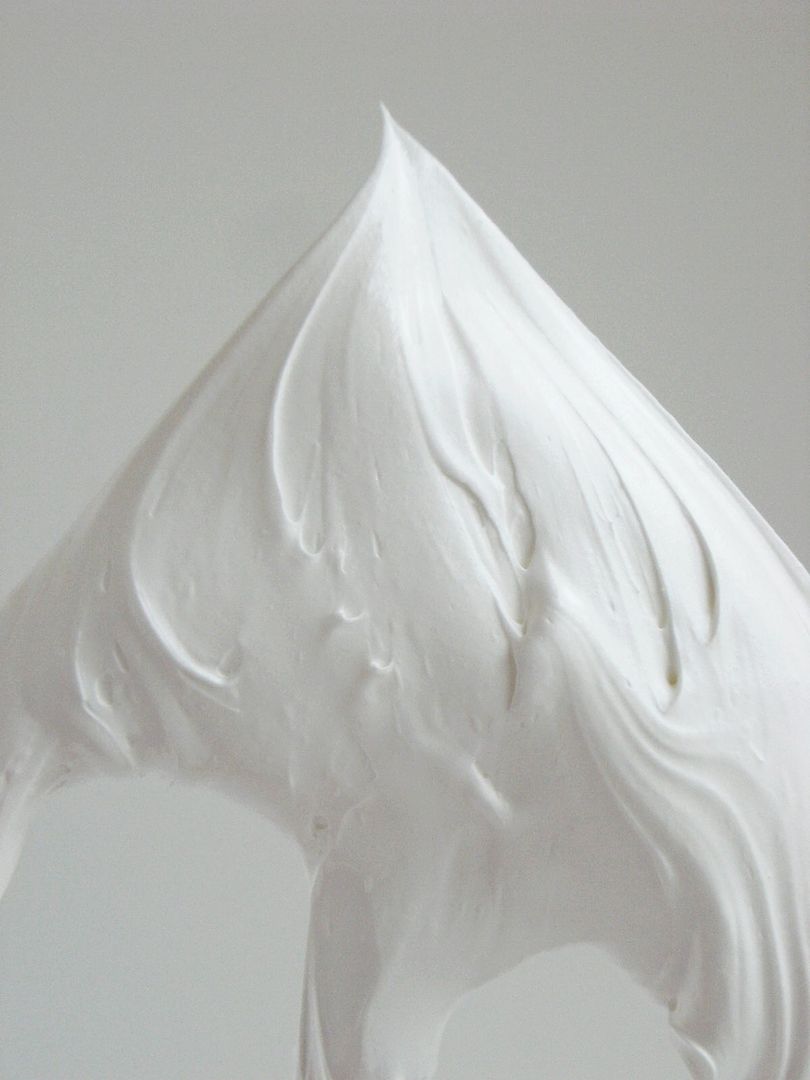
      Royal icing looks pure white when you make it, but have you ever had it change to an off-white color as it dries?  It happened to me only once in a blue moon, but that was enough to drive me insane.
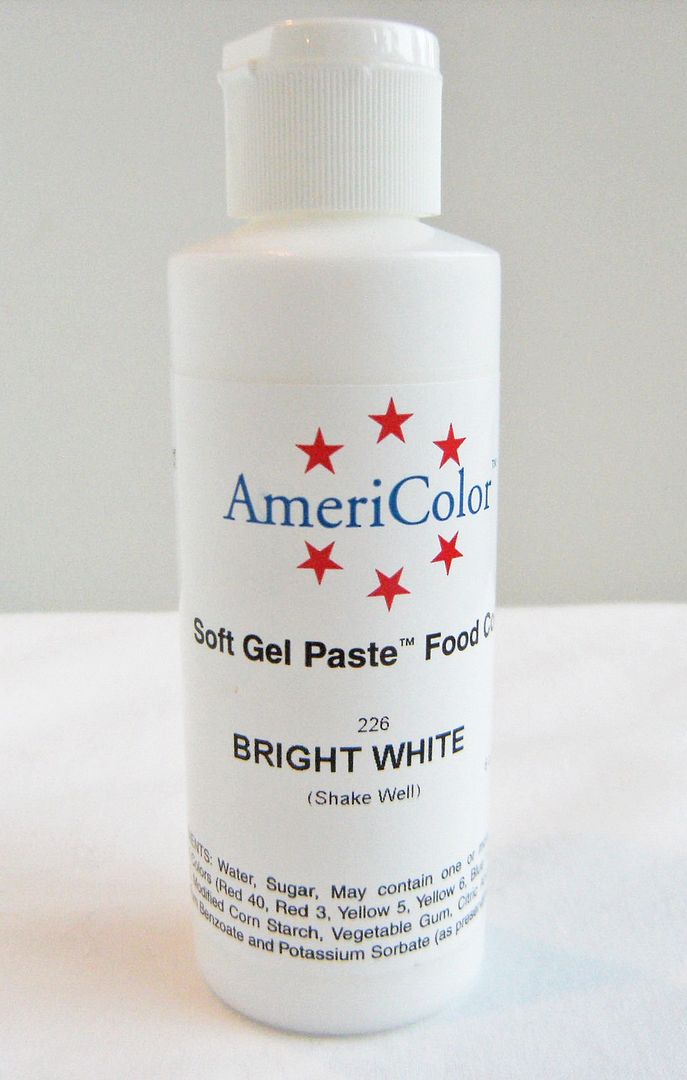
      Here's how to fix it: Americolor Bright White gel food coloring.  Add some to your white icing....and add more than you think you need. It's a toughie because your icing is going to look white already and it depends on how much icing you are coloring.  Pretend you are making a "color" icing and go from there.

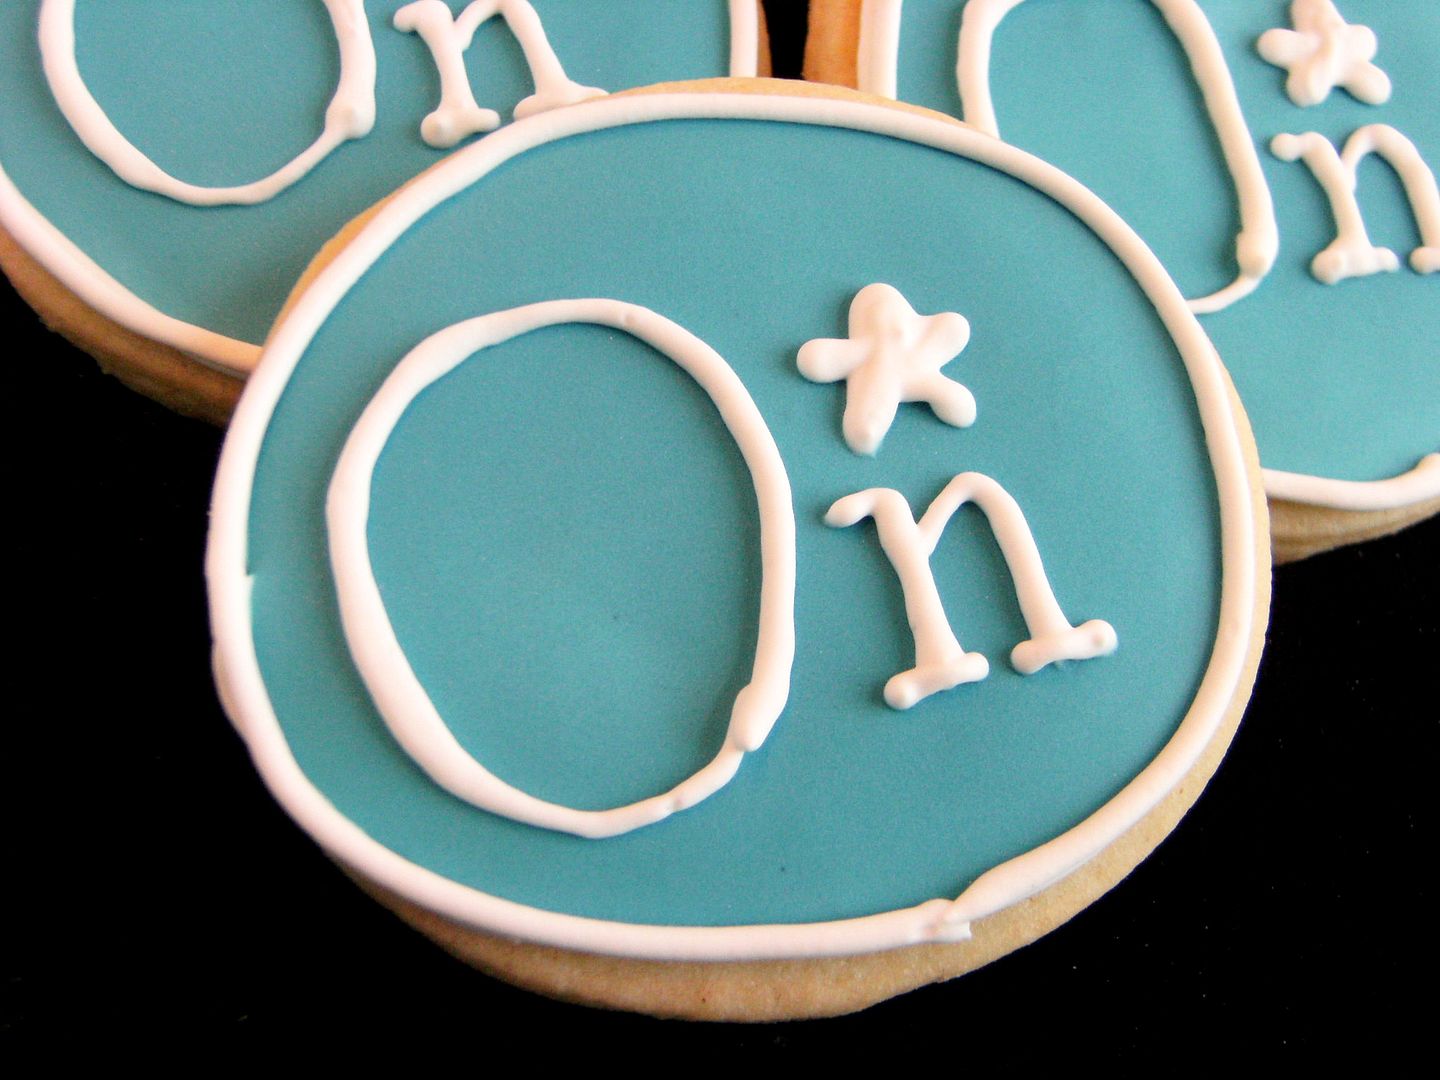
      (These cookies were made with royal icing colored with AmeriColor Bright White and Americolor Royal Blue mixed with Navy Blue.  Letters and star were piped with a #2 tip.)

      {psst....if you live in the Houston area, you can click here for a chance to win a trip for 2 to the Ojai Valley Inn & Spa from Gotta Love Chevy Houston!}