It was an . . .

...itsy bitsy, teenie weenie, yellow polka dot bikini!

I thought we'd finish off Desserts for Dudes month by giving the guys a little eye candy cookie.

As Mr. E probably has guessed, this is as close to a bikini as I'm getting in this lifetime (or the next).  Enjoy, honey.

The bikini cookies are really simple  I outlined and filled in yellow royal icing; I used a combination of AmeriColor Lemon Yellow & Egg Yellow for this color.  The dots were dropped on while the yellow icing was still wet.  (A video of this technique is available here.)

To make the palm trees:

  • Using #2 tips, outline the branches in green and the trunk in brown royal icing (AmeriColor Avocado and Leaf Green mixed, AmeriColor Chocolate Brown). 
  • Thin the royal icing with water to the consistency of thick syrup.  Cover with a damp dish towel and let sit several minutes.
  • Stir gently with a rubber spatula to break any air bubbles that have risen to the surface.  Transfer to squeeze bottles.
  • Fill in the trunk of the tree in brown.
  • Fill in the leaves in green.
  • After 1 hour or so, add the details to the truck in piping consistency royal icing, using a #2 tip.
  • Let dry overnight.
  • Prepare a "sanding sugar station."  You'll need:
  1. meringue powder mixed with an equal amount water
  2. sanding sugar
  3. small paint brush
  4. coffee filter
  • Paint the meringue powder/water mixture over the edge of the cookie.
  • Holding the cookie over the coffee filter, sprinkle on the sanding sugar. Shake off excess onto the filter.  
  • Use the filter as a funnel to refill container of sanding sugar.


    So, what did you guys think of Desserts for Dudes month?  I'll tell you our favorites:
    Alrighty...Desserts for Dudes month is officially over.  Bring on the pink and sprinkles!

    Carob-Almond-Banana Smoothie

    Carob and banana smoothie that is vegan and dairy-free delicious
    Almond milk smoothie with carob and banana.

    It's the little things in life. So they say. And today I would agree- wholeheartedly, in fact, with every rebel piece of my dairy-free chocolate verboten heart. The heart that beats without the comfort of gluten, without the silky swirl of cream, without the sexy burn of Tapatio sauce and raw red onion. The heart that misses Penne Arrabiata and roasted tomato salsa. The pragmatic heart that now beats on a mission, to quell this monkey gut of mine long enough to heal a stubborn duodenal ulcer.

    And that is why, Babycakes, no chocolate will grace my tongue. Or peppermint tea (which I drank by the gallon to calm said monkey gut). Apparently chocolate and mint exacerbate little things like hiatal hernias. And, oh yeah. Holes in your duodenum. 

    The things you learn. Better late than never.


    Continue reading

    Gluten-Free Blueberry Crumb Cake Recipe

    Gluten-Free Blueberry Crumb Cake Recipe
    Blueberry crumb cake- gluten-free summer goodness.

    Blueberries are in season so I thought I'd reprise a favorite recipe of mine. A tender blueberry crumb cake. Perfect for sharing with a friend.
    And a glimpse back. Blogging is like a time machine. You get to thumb through not only recipes but bits of life and places you no longer inhabit. A year ago we were stuck in New Mexico, chained to Ojo Caliente by the unraveling real estate market, watching our nest egg crack and wither and blow in the dust to oblivion.  A year ago I wrote this post about coming to Santa Monica. ~Karina

    Sometimes in life- when you least expect it- the stars are kind. Synchronicity smiles. And disparate pieces of your dreams bump up against one another and nestle snug into place. I'm referring, of course, to my dream of California. Summer by the Pacific, walking the beach, shopping the Farmers' Market, reuniting with my sons. Cooking. Writing. Haunting book stores and coffee shops.

    I've been trying to get there for two years.

    No, the house hasn't sold yet. But Plan B is under way. We found the elusive summer rental. Just when I thought it wasn't going to happen. A sublet in Santa Monica. In the nick of time. A lovely, light filled creative space. With a sweet kitchen. So I am back to making lists, mapping our drive south to Flagstaff, AZ, turning west to aim for the coast. I am lying in the dark alert, at 3 AM, pondering not the mysteries of the collective unconscious, not the properties of desire and effect, quantum attraction and Zen detachment, but favorite flavors of chocolate chip cookies. I am imagining herbed sandwich wraps (recipe soon!). Bags of salted popcorn. iTunes playlists. And this, a new blueberry cake recipe I felt inspired to bake. With a cinnamon crumb topping.

    I think it's perfect to pack for a two-day road trip, don't you? Or even a two minute trip, scooting across the back yard barefoot to visit your best friend and neighbor. She'll make the coffee. Or iced chai. While you unrap the cake you get to eat, too.

    Continue reading

    I Spy: At Santa Monica Farmers' Market

    Fresh lavender at the Farmers' Market.

    My favorite childhood book- hands down- was Harriet The Spy. Have you read it? Harriet- the anti-heroine- helped change my life back in the Dark Ages. It was 1964 and girls were expected to giggle and take ballet and dream of party dresses. We were encouraged to walk with books on our heads to cultivate a ladylike gait, and practice buttoning the baby teeth pearls on our slim white gloves with nimble, dainty fingers. 

    But, as you may have guessed, I was neither dainty or particularly infatuated with the girly stuff of being a girl. I was bored to tears with feminine training. I didn't long to be an object that was admired. I wanted to actually do something. To create something. I wanted to be Harriet the Spy. I bought a notebook just like Harriet, scribbled down stories and drew pictures. I created a world. It was my book of secrets. 

    Today I roam the streets of Santa Monica with an iPhone. I take pictures. I walk and look and catch snippets of conversation. I photograph street life and shop windows, found art and empty spaces. The iPhone is my notebook now. I am recording my observations

    And today, here is what I saw. Hope you enjoy it.


    Continue reading

    Kiddo in the Kitchen : Zucchini Spice Cupcakes

    Desserts for Dudes
    I don't know about you, but when kiddo and I go to the farmer's market, our minds turn to big, farm-fresh salads cupcakes.  I'm pretty sure he chose this recipe so that zucchini I bought wouldn't show up on his dinner plate.

    {Don't worry...I'll torture him with the tomatoes.}

    The cupcake and frosting recipes come from Martha Stewart's Cupcakes. We halved the recipe (I really don't need 24 cupcakes sitting around the house). 

    Zucchini Spice Cupcakes
    {modified from Martha Stewart's Cupcakes}

    1 and 1/2 c. all-purpose flour
    1/2 tsp. baking soda
    1/4 tsp. baking powder
    1/2 tsp. coarse salt
    2 tsp. cinnamon
    1/4 tsp. freshly grated nutmeg
    1/8 tsp. ground cloves
    1/2 c. vegetable oil
    1 egg, room temp.
    1 and 1/2 tsp. vanilla
    1/2 tsp. grated lemon zest
    1 c. light brown sugar, packed
    1 and 1/2 c. grated zucchini
    1/2 c. walnuts, toasted and chopped

    Preheat oven to 350.
    Line a muffin tin with 12 paper liners.

    Whisk together the flour through cloves.  In another bowl, whisk together the oil, egg, vanilla and zest.  Whisk in the brown sugar until smooth.

    Stir in the zucchini.  Add the flour mixture just until combined; stir in the walnuts.

    Divide the batter evenly between the cups.  Bake, rotating halfway through, about 20-24 minutes.  Cupcakes will spring back when lightly toughed in the center and a toothpick should come out clean.

    Cool in the pan for 10 minutes.  Remove cupcake to a cooling rack and let cool completely.


    {Aren't they pretty? I'm thinking we could stop here and call them muffins. But, we won't.}


    Cream Cheese Frosting
    1 stick unsalted butter, room temp.
    6 oz. cream cheese, room temp.
    2 c. powdered sugar
    1/2 tsp. vanilla

    Beat the butter and cream cheese on medium-high until fluffy, about 3 minutes.  Reduce speed to low, and1/2 c. sugar and vanilla.  Mix until smooth and combined.  Add the remaining sugar 1/2 cup at a time, beating after each addition until smooth.

    Now it's time to frost the cupcakes...
    Kiddo said he wanted to try piping instead of spreading the icing.
     
    He did a really great job...and I couldn't get enough of watching him. 


    These cupcakes are wonderful...moist and full of flavor.  And, you can never go wrong with cream cheese frosting!  We think you'll like them!

     The verdict?


    Here...we saved one for you....


    {OH! I almost forgot....there are a couple new videos over at University of Cookie.  Be sure to check how the method TidyMom uses to roll her cookie dough.  Genius!}

    Gluten-Free Baguettes with Greek Olive Tapenade Recipe

    Gluten free baguettes made from Pamela's Bread Mix
    Rustic, easy gluten-free baguette.

    Why do you always crave the things you can't have? Is it because desire dims upon acquisition? Is it the crusty chestnut that the chase is more interesting than the catch? Do we simply take for granted the things we hold, the things we use, the things we eat, day after day? Familiarity breeds perhaps not contempt but a subtle numbness. We slowly turn off to the everyday beauty, the generosity of the simple luxuries in our life. It seems to me a form of forgetting. A spiritual amnesia that coaxes us into believing we want what we don't have. And we neglect to appreciate what we do possess.

    Which brings me, I'm sorry to say, not to any esoteric mystery, but. To bread.


    Continue reading

    One of Mr. E's Favorites : Mocha Toffee-Crunch Terrine

    Desserts for Dudes

    {We just call this "layered ice cream dessert", because we're fancy like that.}

    Mr. E can't decide on his very favorite dessert, but this is one of them.  Frozen and creamy...it's like a combination of cheesecake and ice cream. 

    You know what I love about it?  It HAS TO be made ahead of time.  In my book, that makes it perfect for holidays and company! 

    Mocha Toffee-Crunch Terrine {or Layered Ice Cream Dessert}
    (modified from Everyday Food , issue #2)

    19 chocolate wafer cookies
    2 tsp. instant espresso powder
    11 ounces cream cheese
    1/2 c. sugar
    1 TBSP vanilla bean paste (or vanilla extract)
    1 & 1/4 c. heavy cream
    1/2 c. toffee bits
    1/3 c. chocolate chips, melted and cooled
    1 TBSP dutch-process (or natural) cocoa powder

    Line a 9x5" loaf pan with 2 sheets of plastic wrap, long sides overhanging by about 3". Arrange 3 wafers, flat side up in the bottom of the pan.

    Dissolve the instant espresso powder in 1 tsp. water and set aside.

    Beat the cream cheese with the sugar several minutes until light and fluffy.  Beat in the vanilla bean paste.  Set aside.

    In another bowl, beat the cream until soft peaks form.  Fold the whipped cream into the cream cheese mixture in 3 additions until fully combined.

    In one bowl, mix 1 and 1/3 cup of the vanilla cream mixture with the toffee bits.  In another bowl, add the cooled chocolate and cocoa with another 1 & 1/3 cup of vanilla cream.  Finally, add the coffee mixture into the remaining cream.

    With a rubber spatula, spread the coffee mixture into the bottom of the pan.  Cover with 8 wafers, overlapping if necessary.  Add the chocolate mixture and spread evenly; cover with 8 more wafers.  Add the toffee mixture and spread.

    Press the plastic wrap onto the top and freeze at least 4 hours.  Invert onto a serving platter; remove plastic.  Let sit 5 minutes and cut into slices.


    Are you guys feeling lucky?  The dancing queens, Molly & Amanda, from idance ordered cookies, but not for themselves, for YOU!!! They are giving away a half dozen cookies baked by little ol' me!


    {Have you been to idance?  It's so fun!  Be sure to read their "revolution" page...I think it's something a lot of us can relate to!}

    So, GO!  Go enter!  What are you waiting for?!?

    Father's Day Savory Gouda Biscotti


    Thank you, Dad...

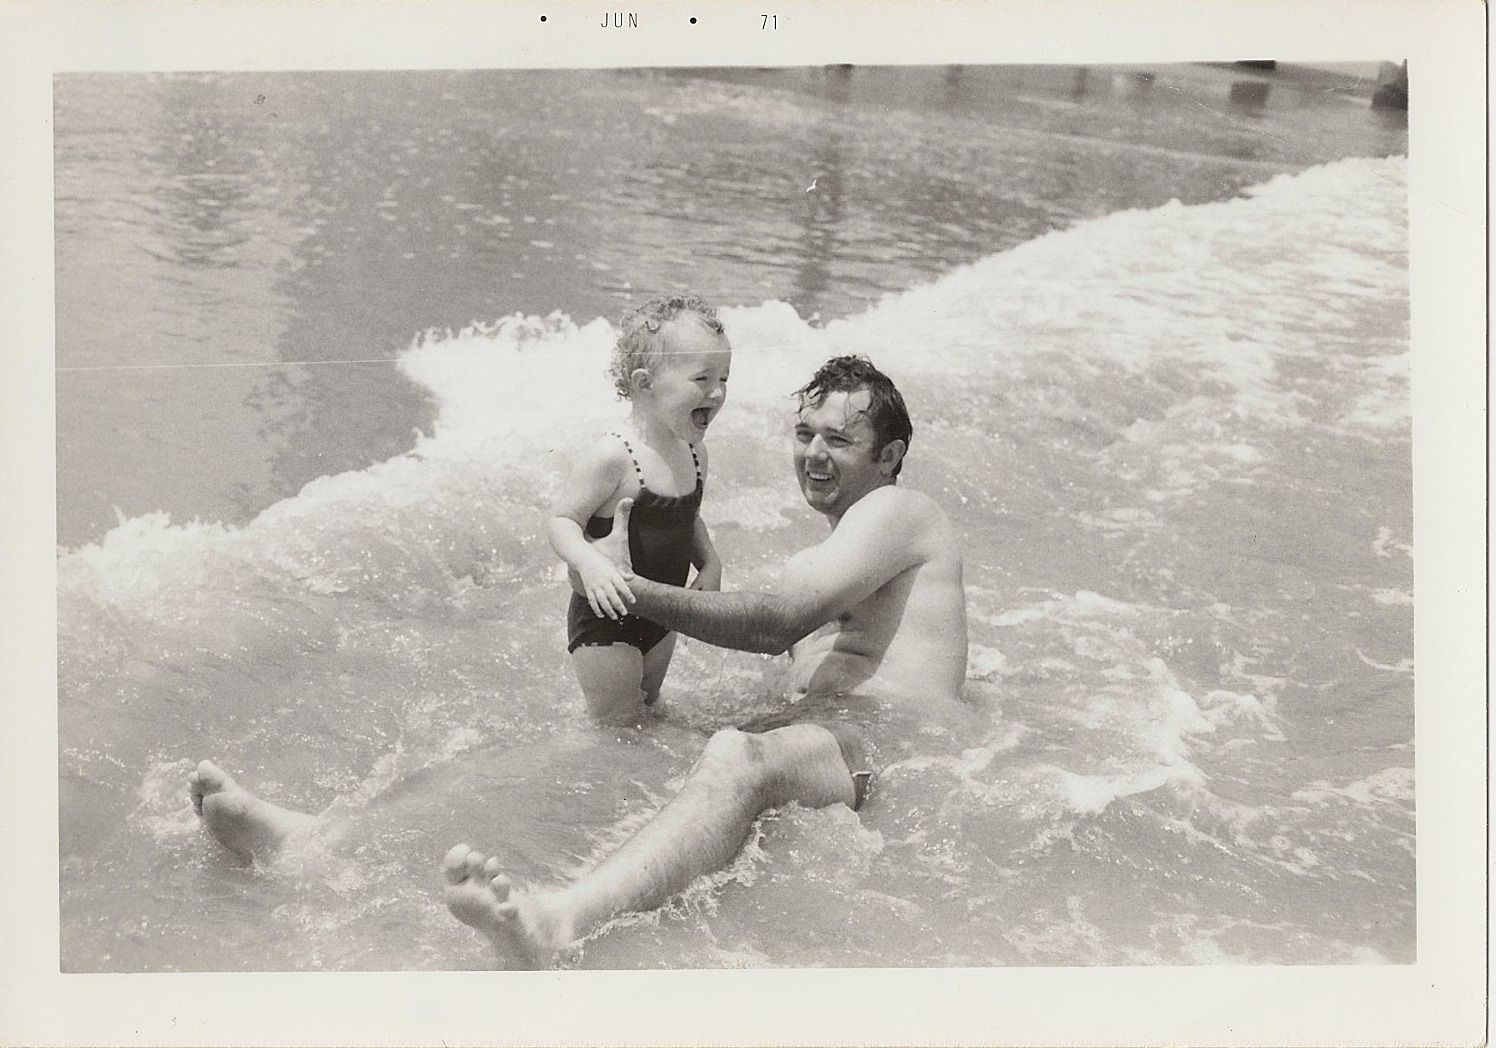
    Thank you for instilling in us the love of old cars, cold beer, the jalapeno and stove-popped popcorn.


    Thank you for...
    • making pancakes for breakfast,
    • climbing the stairs to wake me for school in the mornings, even climbing them twice most mornings when I asked for "5 more minutes,"
    • leaving the light on in the hall.


    Thanks for forgiving me when...
    • I backed the car into the side of the house,
    • I rear-ended your car with mine when following you home from the mall,
    • I "cleaned" your entire car with Windex....paint and all.
     
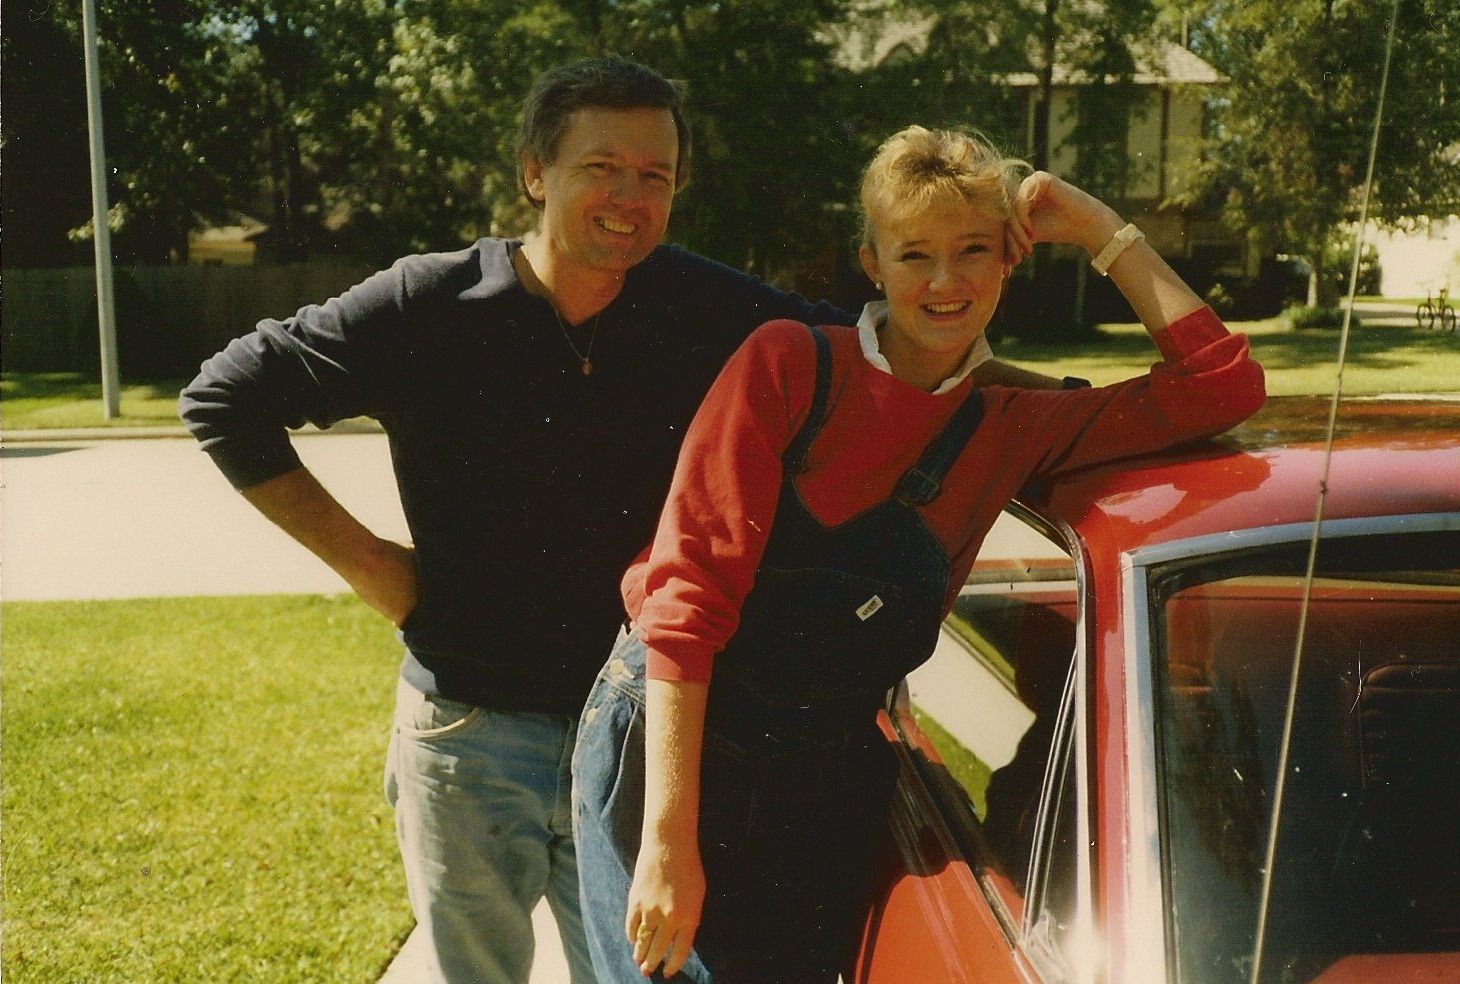
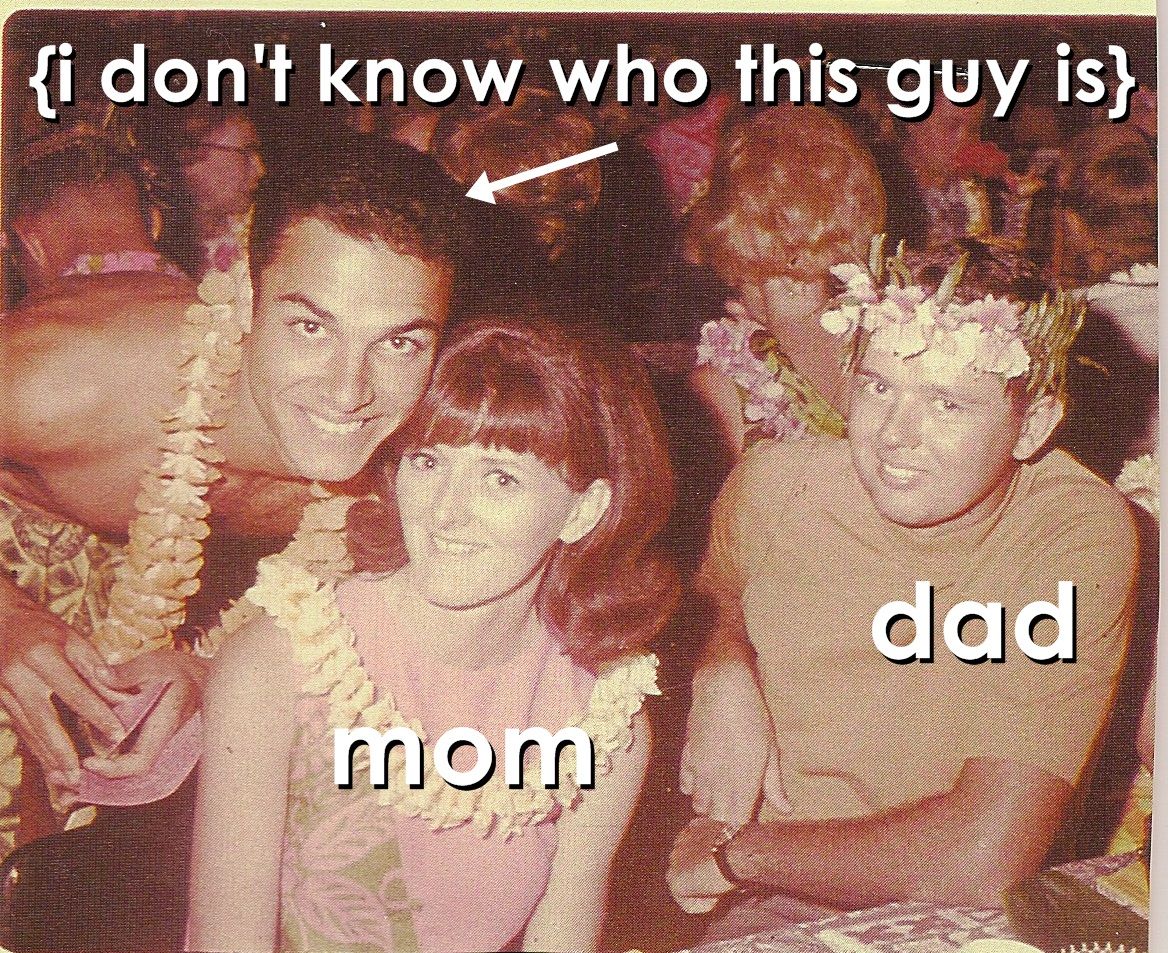
    {I have no idea why Texas women have a reputation for BIG hair.} 

    I love that you...
    • will hop in the car and drive 10 hours spur of the moment,
    • accompanied us to every concert we attended in high school {and I'm sorry about all of my screaming at Rick Springfield},
    • are always the life of the party and ready for a laugh.


    Thanks Dad, for...
    • being at every swim meet, not just to watch, but to set-up, tear-down and time every race,
    • coaching Molly's soccer team,
    • chaperoning all those choir trips...
    ...and looking like you were having fun doing it all. :)


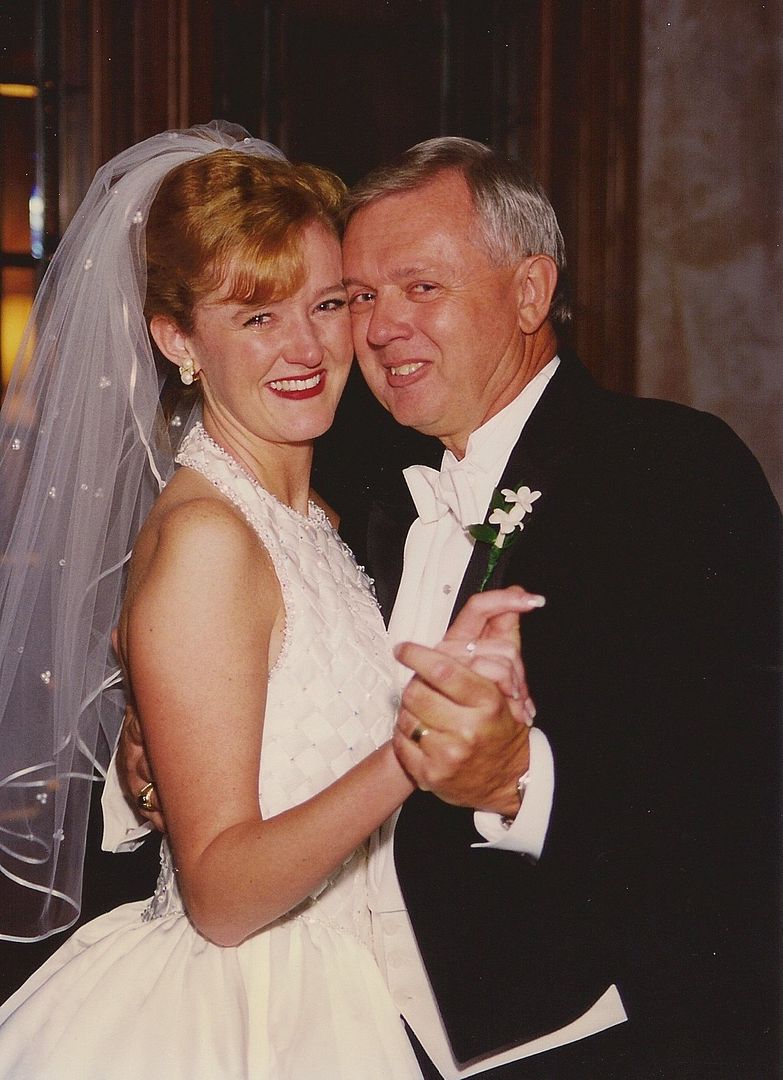
    Thanks for getting us through when Mom died.

    So much more to thank you for, but you get the idea.  We love you.  Happy Father's Day.  These biscotti are for you.

    When I saw this recipe in Food & Wine, I immediately thought of my dad who loves Gouda cheese...although, normally on a Ritz cracker. :)

    Gouda Biscotti (ie: cookies for beer)
    {adapted from Food & Wine magazine}

    2 & 1/4 tsp. instant yeast (active dry is what the original recipe calls for. Click here for more info/instructions.)
    3/4 c. plus 2 TBSP warm water, divided
    1 TBSP sugar
    2 & 3/4 c. all-purpose flour, divided, plus more for dusting
    8 oz. Gouda , grated
    1/2 c. walnuts, finely chopped
    1/8 tsp cayenne
    1 teaspoon kosher salt
    6 TBSP unsalted butter, softened

    In a medium bowl, combine the instant yeast with 1/2 cup of the warm water, sugar and 3/4 cup of the flour. Cover and let stand about 30 minutes; it will rise and be spongy.  (If using regular yeast packets, please refer to the original recipe.)

    Line a baking sheet with parchment paper.

    In a large bowl, combine the remaining 2 cups of flour with the Gouda, walnuts and salt. Make a well in the center and add the yeast mixture with the remaining 1/4 cup plus 2 tablespoons water.  Stir in the softened butter until a dough is formed.
     
    Dump the dough  and any loose bits onto a lightly floured work surface and knead until smooth, about 5 minutes.  Divide into thirds (a bench scraper is great for this). Using your hands and a rolling pin, form each piece into a log, about 8-9" long and about 1" high.

    Place on the parchment lined sheet.  Cover with lightly damp paper towels and then plastic wrap.  Let rise 45 minutes.

    Preheat oven to 350.

    Remove the plastic wrap and paper towels and bake the logs for about 35 minutes, until they are golden and puffed. Place the baking sheet on a cooling rack and let cool for 20 minutes.

    {You could stop here and call this Gouda cheese bread.  How do I know? Because the 3 of us ate the ends off of all three pieces.}

    Meanwhile, reduce the oven temp. to 300 and put racks on the lower and upper thirds of the oven (use your oven mitts!). Line another baking sheet with parchment.

    Using a serrated knife, slice the logs on a diagonal 1/3 to 1/2 inch thick. Place cut pieces on 2 baking sheets and bake for 45 minutes to 1 hour, until golden and crisp.  Flip the biscotti halfway through and shift the baking sheets from top to bottom and front to back.

    Transfer the biscotti to a rack and let cool completely before serving.  Serve with an ice cold beer....iced tea is ok, too. Heck, I even ate 2 of these for breakfast with orange juice.

    {Printable labels from Martha Stewart.}

    What would you thank your dad for?