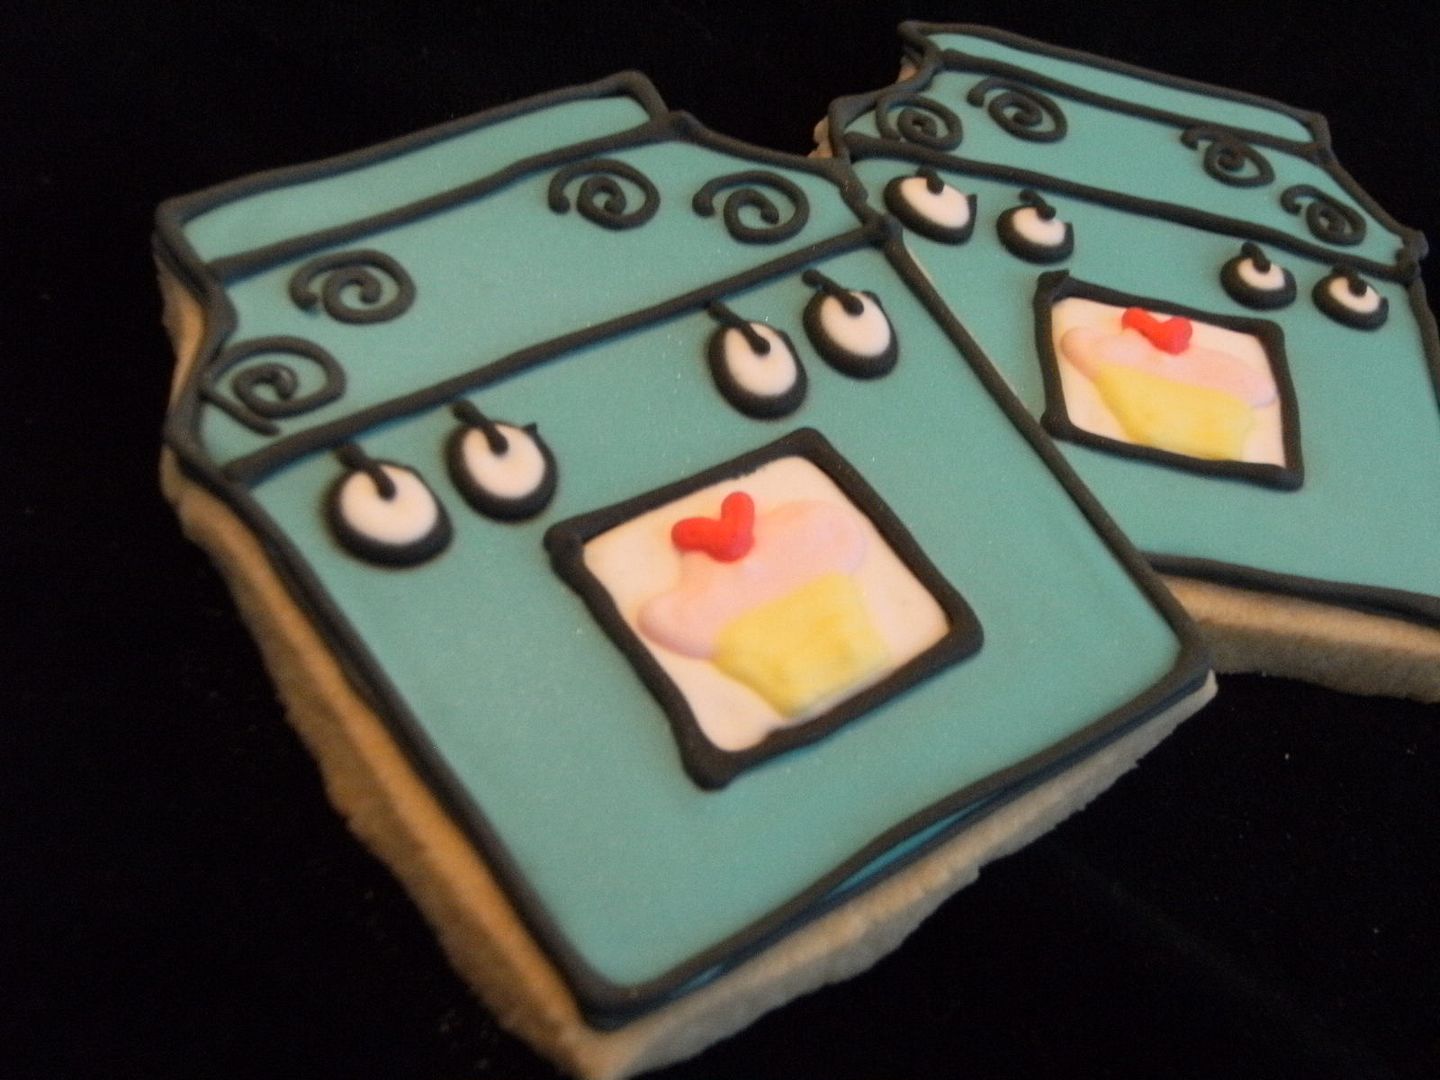
My sister's baby shower was yesterday and as you probably guessed, cookies were required. These "Bun in the Oven" cookies were the favors.
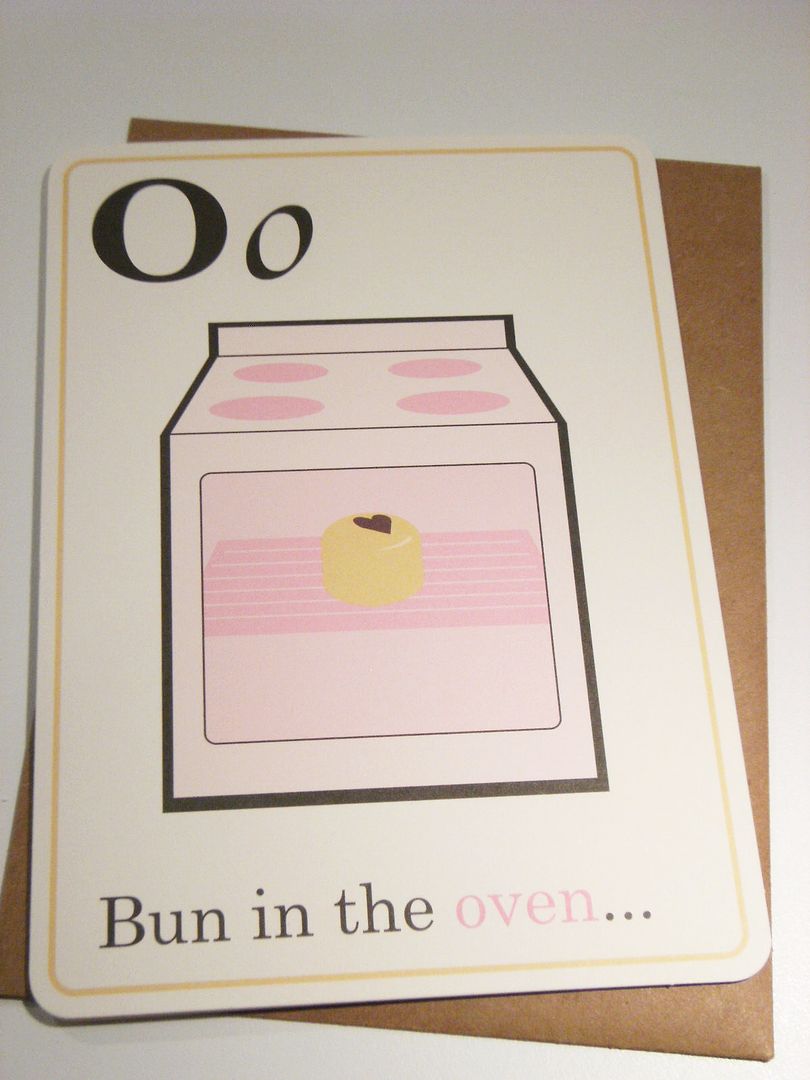
The idea for these cookies came from this card I bought a few years ago at Target.
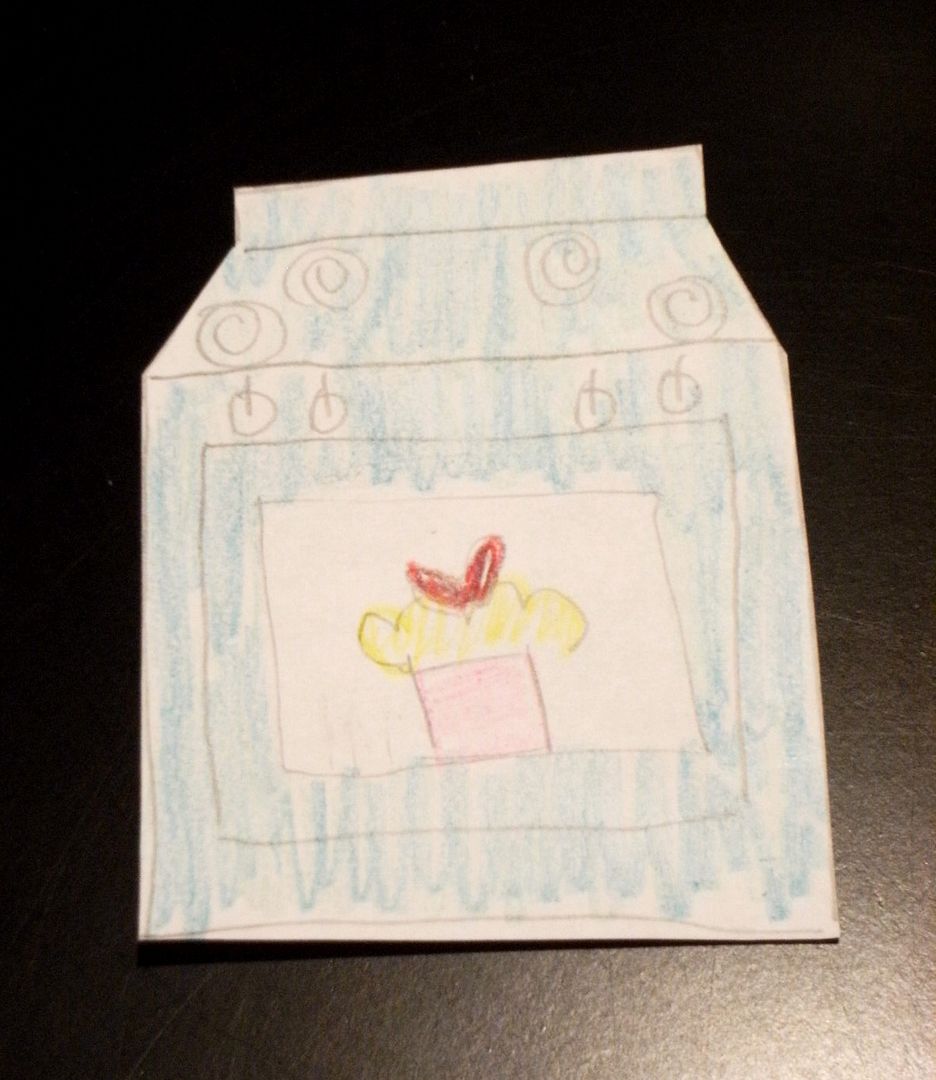
My husband made a template from my sketch for the cutter out of a manila folder.
I loved the pink on the card, but my sister doesn't know if she's having a boy or girl. I went with turquoise ovens...I wanted them to look a little retro and turquoise seemed to fit the bill. I think these would be really cute in yellow, too.
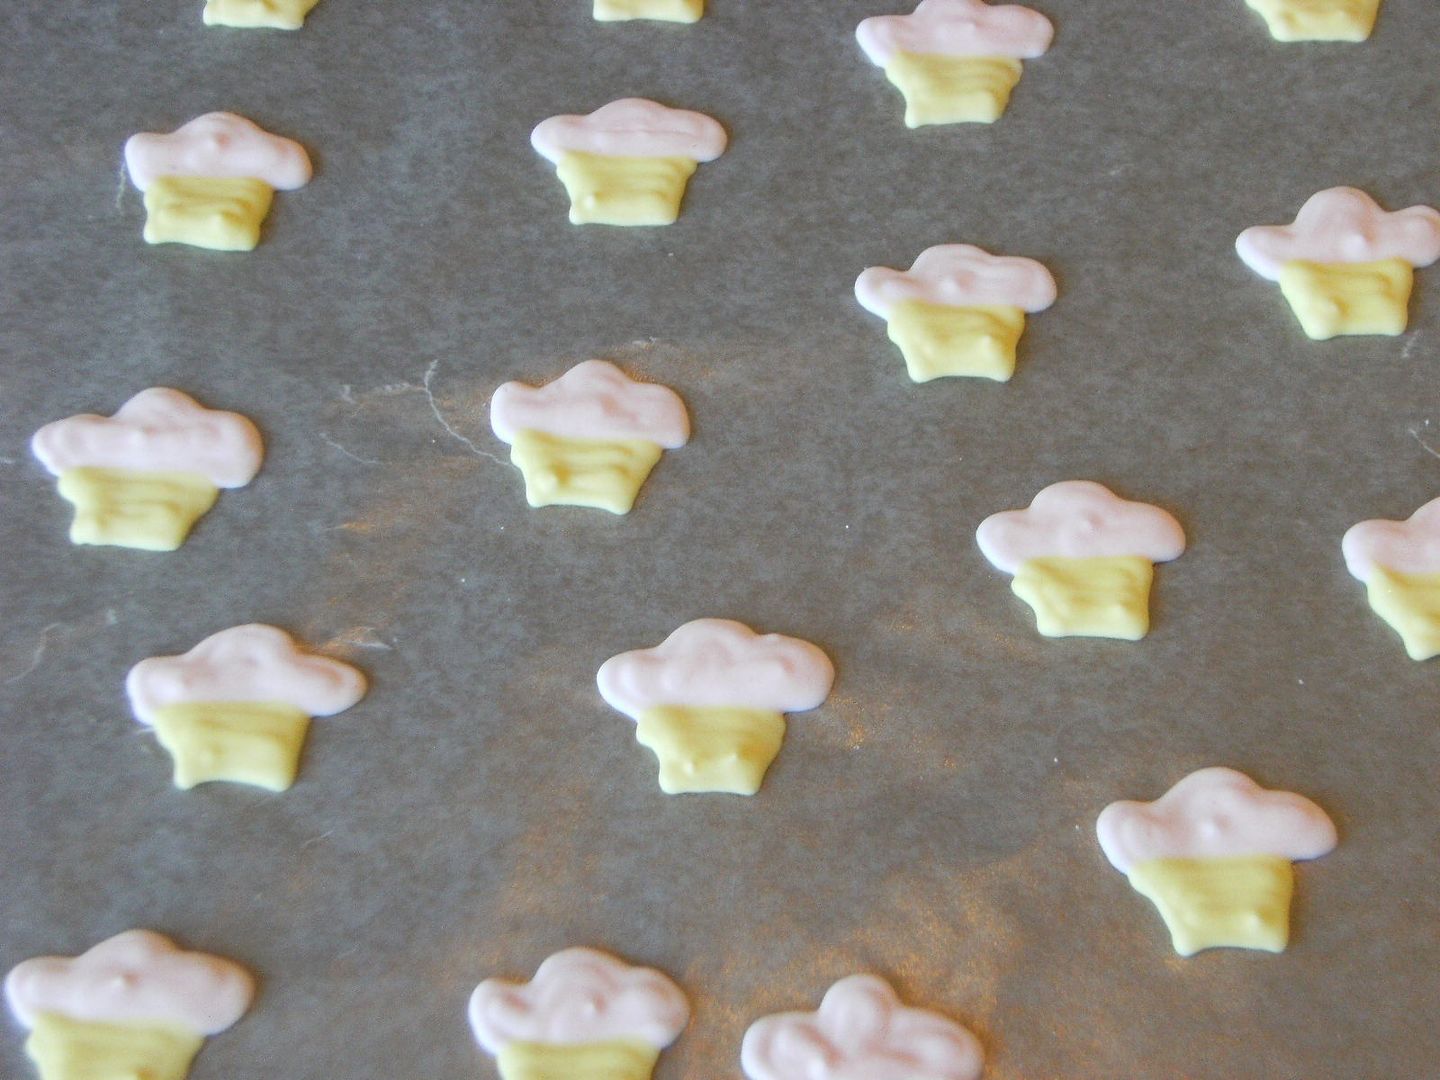
A few days before making the cookies, I made the buns. They are made the exact same way that you would make a royal icing monogram. (Click here for more info.) They store perfectly at room temperature.
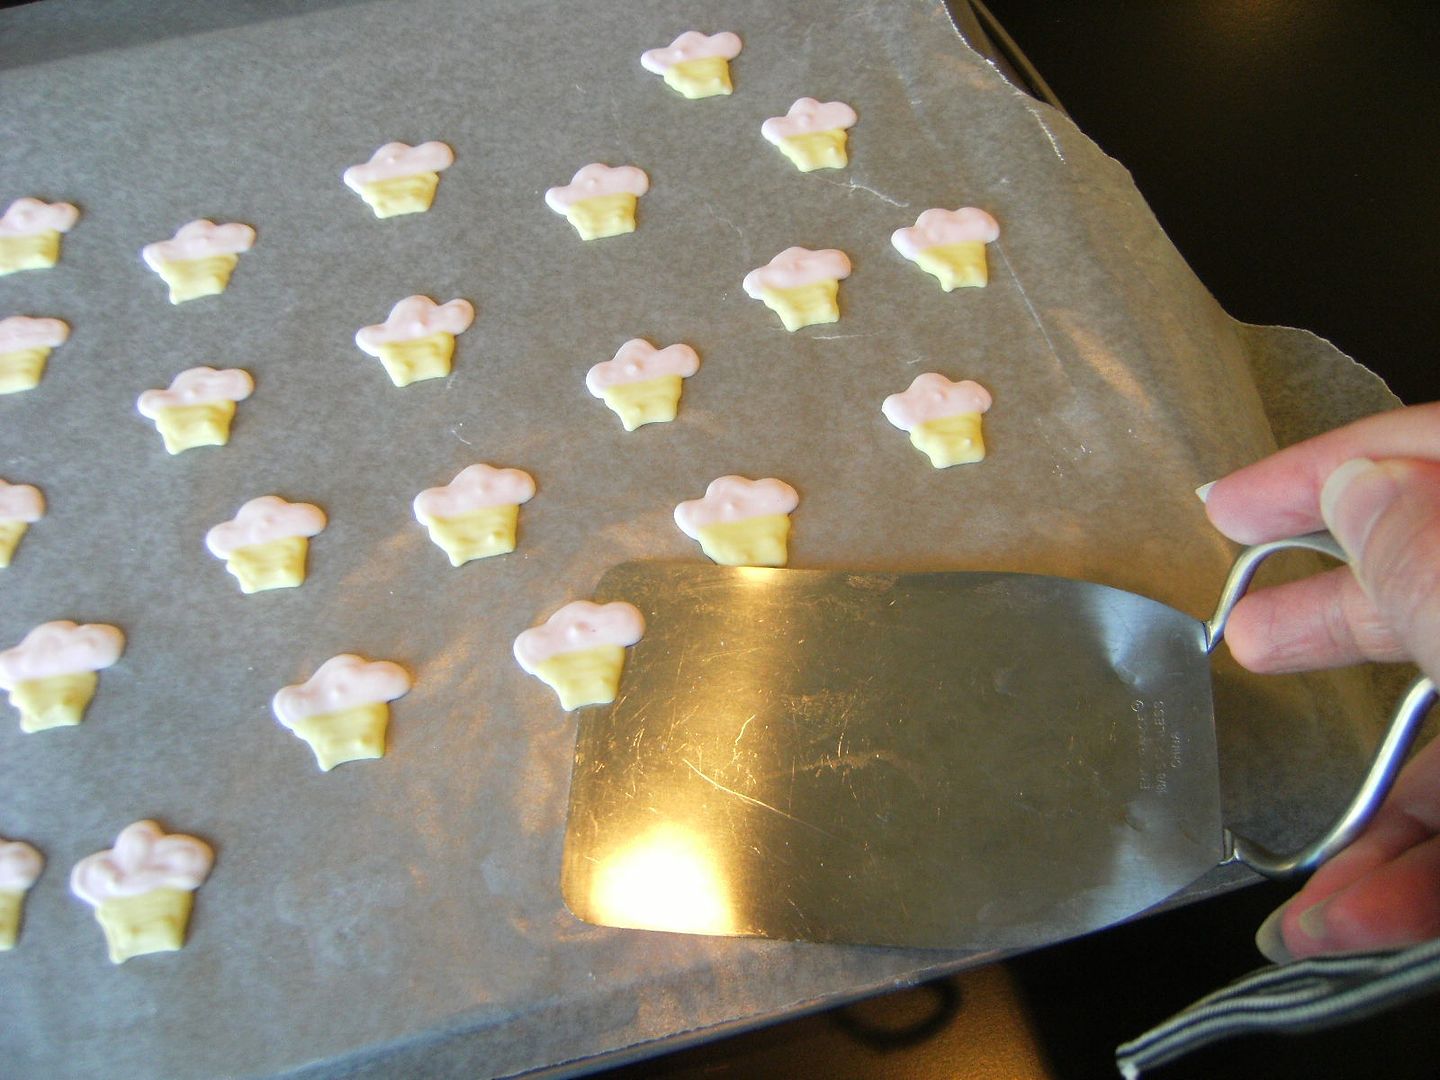
{This is the one and only time I've ever asked my husband, "How do you like my buns?" ;) }
To make the cookies:
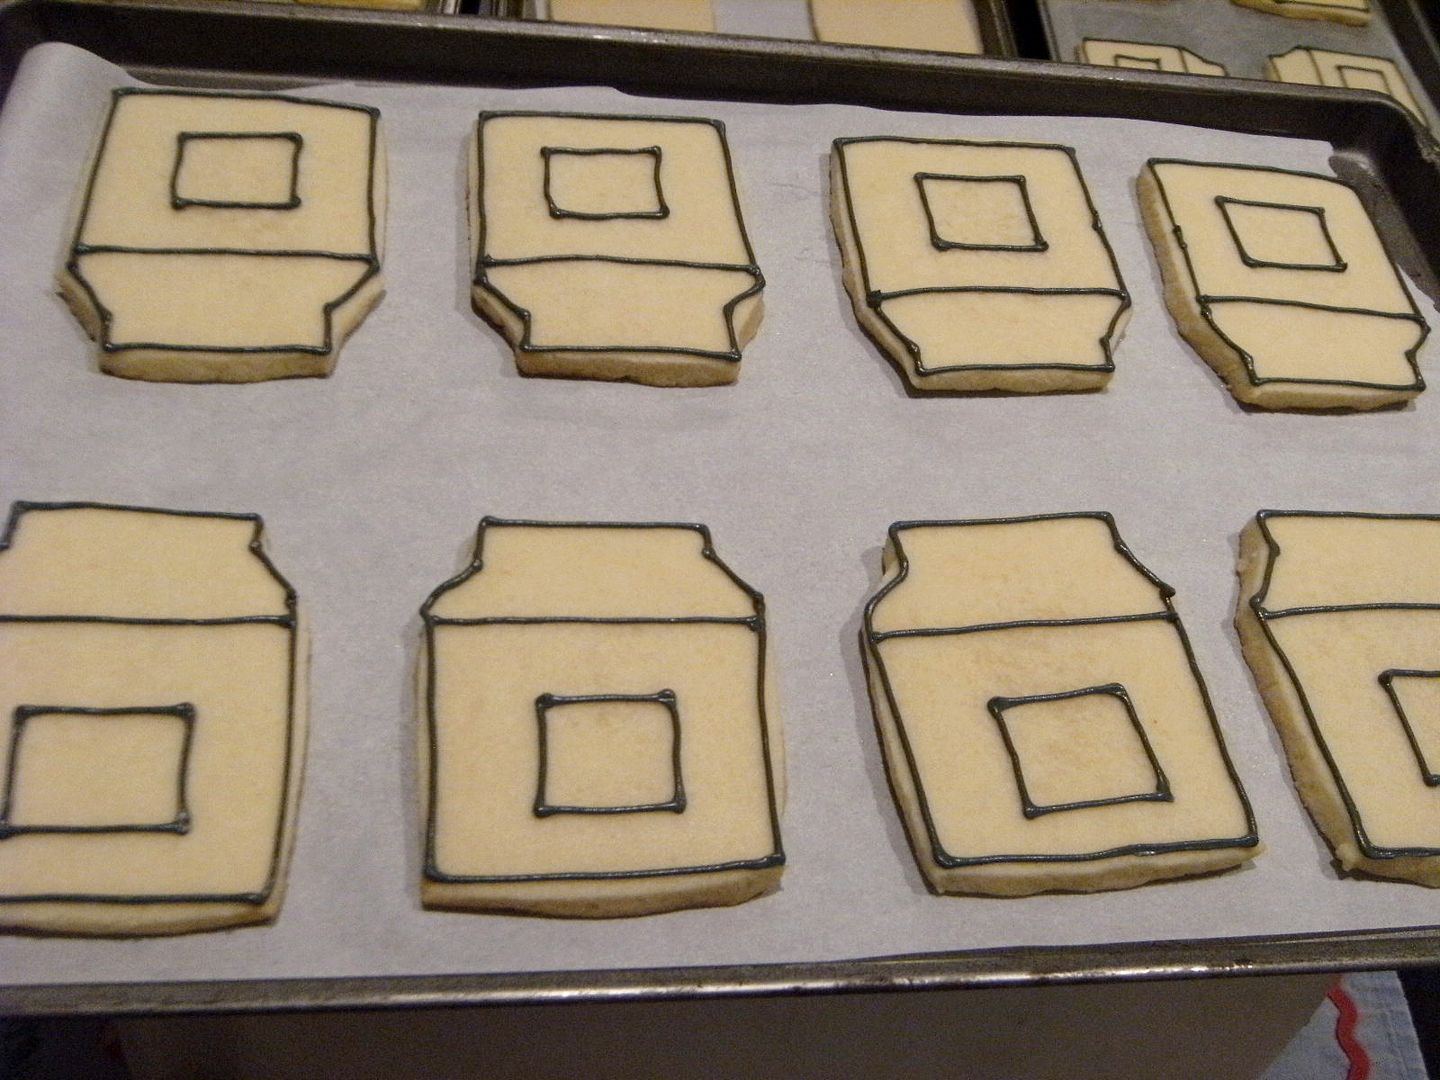
- Outline the oven shape and "window" in black with a #2 tip. (AmeriColor Super Black)
- Thin white and turquoise icing with water until it reaches the consistency of thick syrup. Cover with a damp dishtowel and let sit several minutes. (AmeriColor Turquoise)
- Run a rubber spatula through the icings to pop any large air bubbles that have formed. Transfer to squeeze bottles.
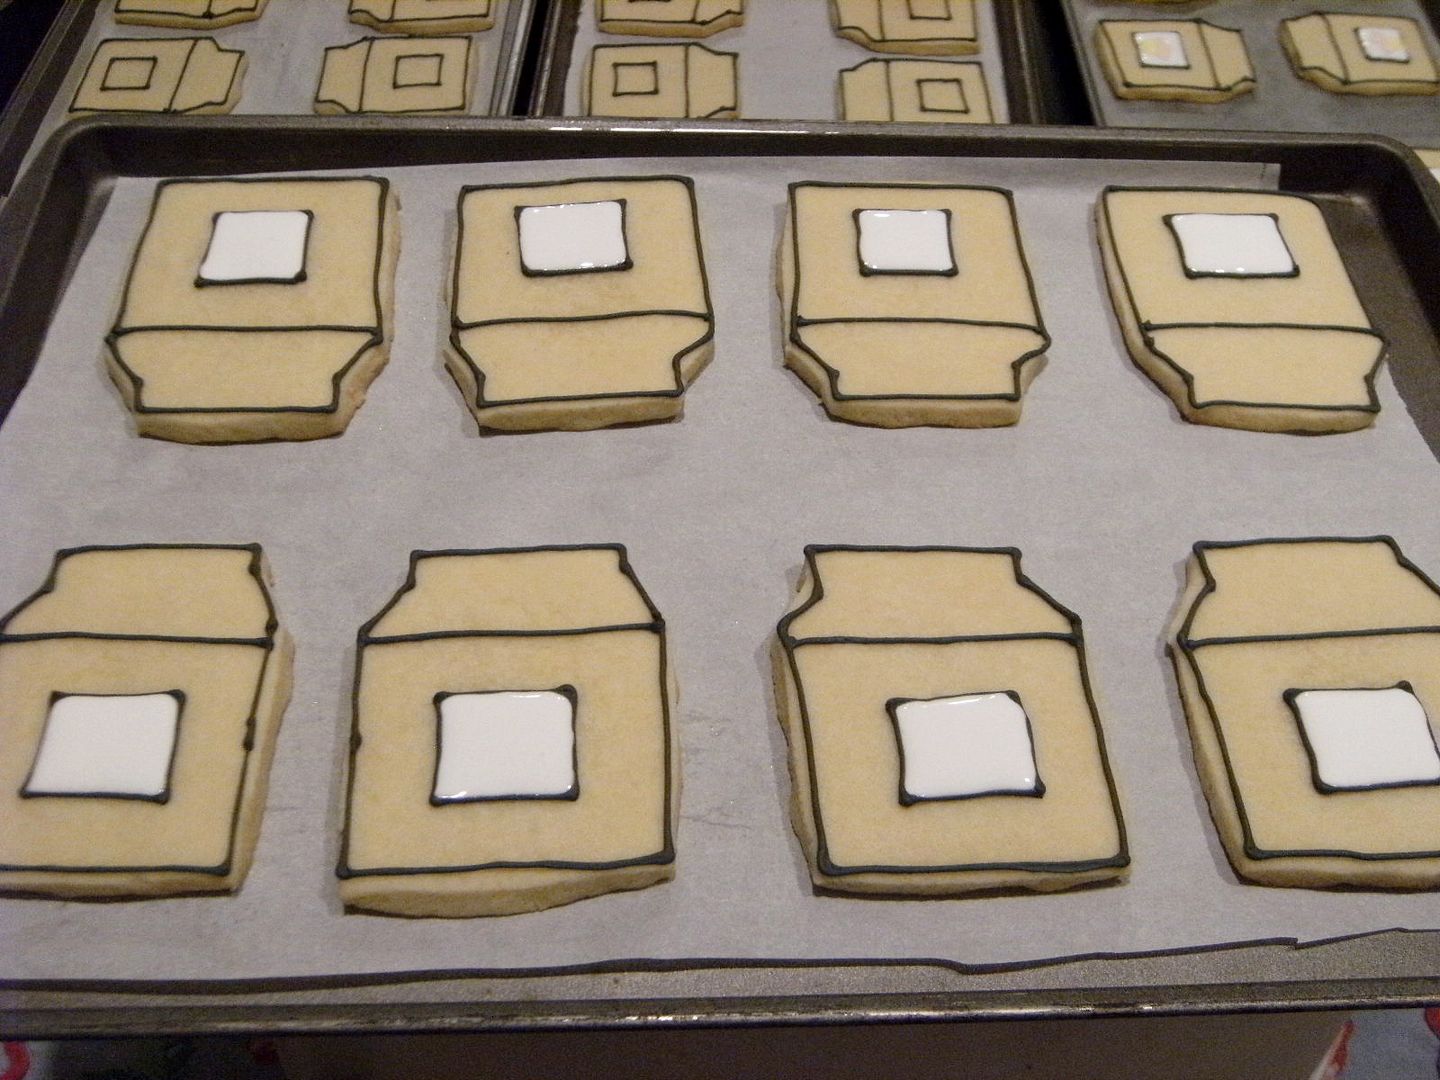
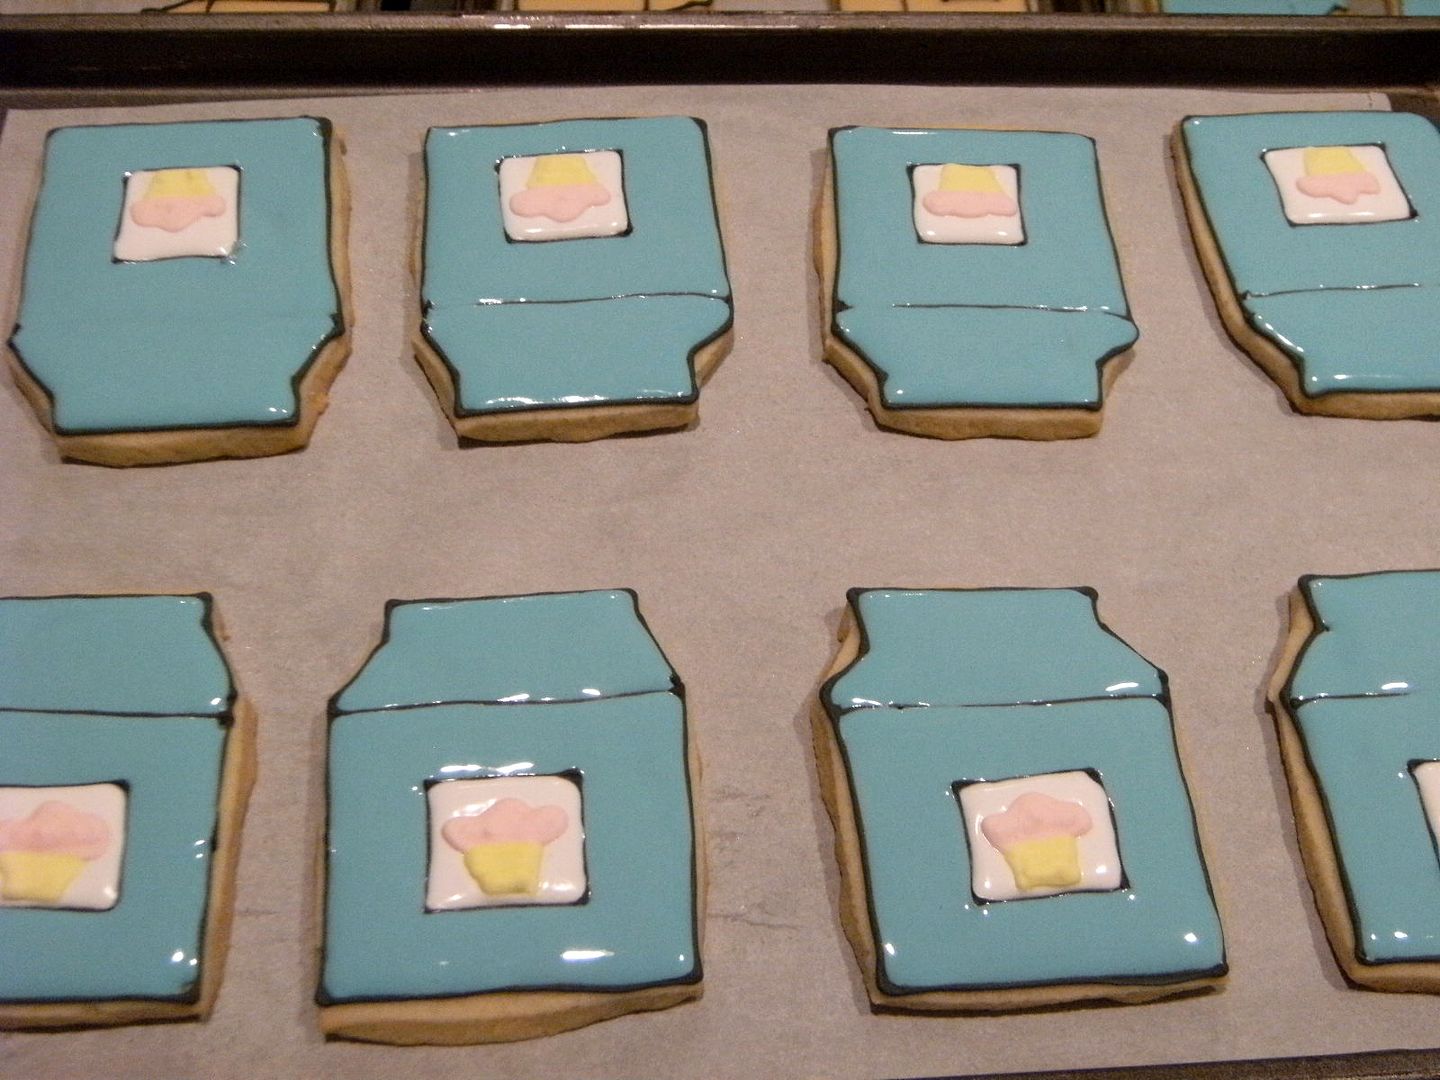
- Fill in the "window" in white flood icing.
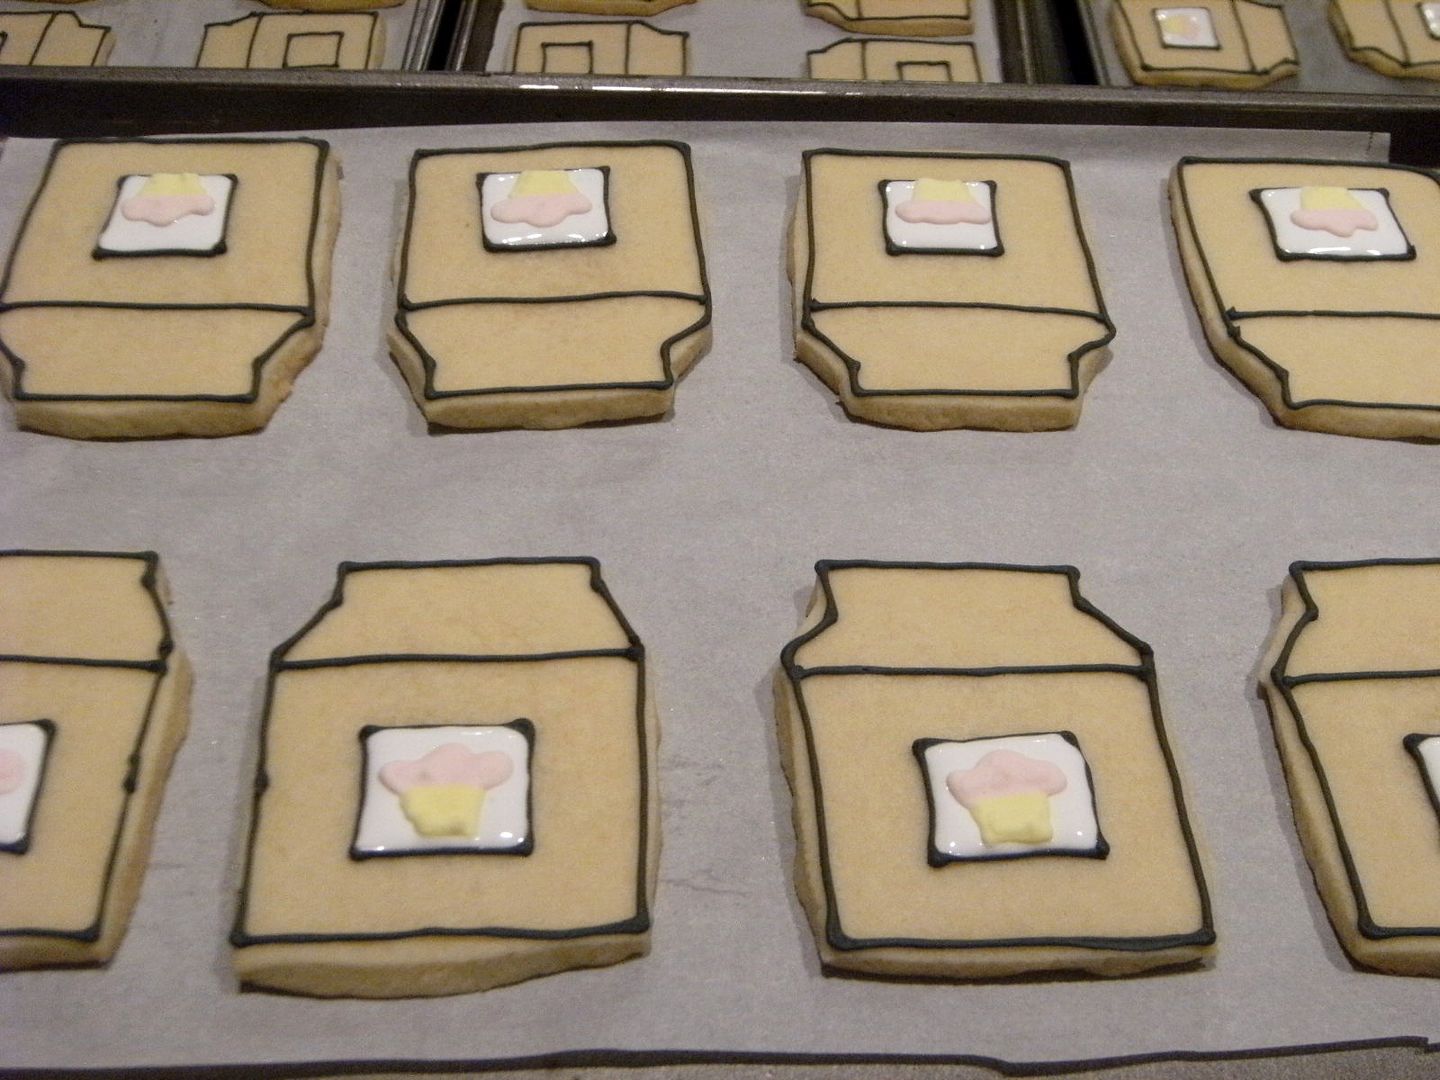
- Add pre-made "bun" on wet icing.
- Fill in the remainder of the oven in turquoise.
- Let sit for at least one hour.
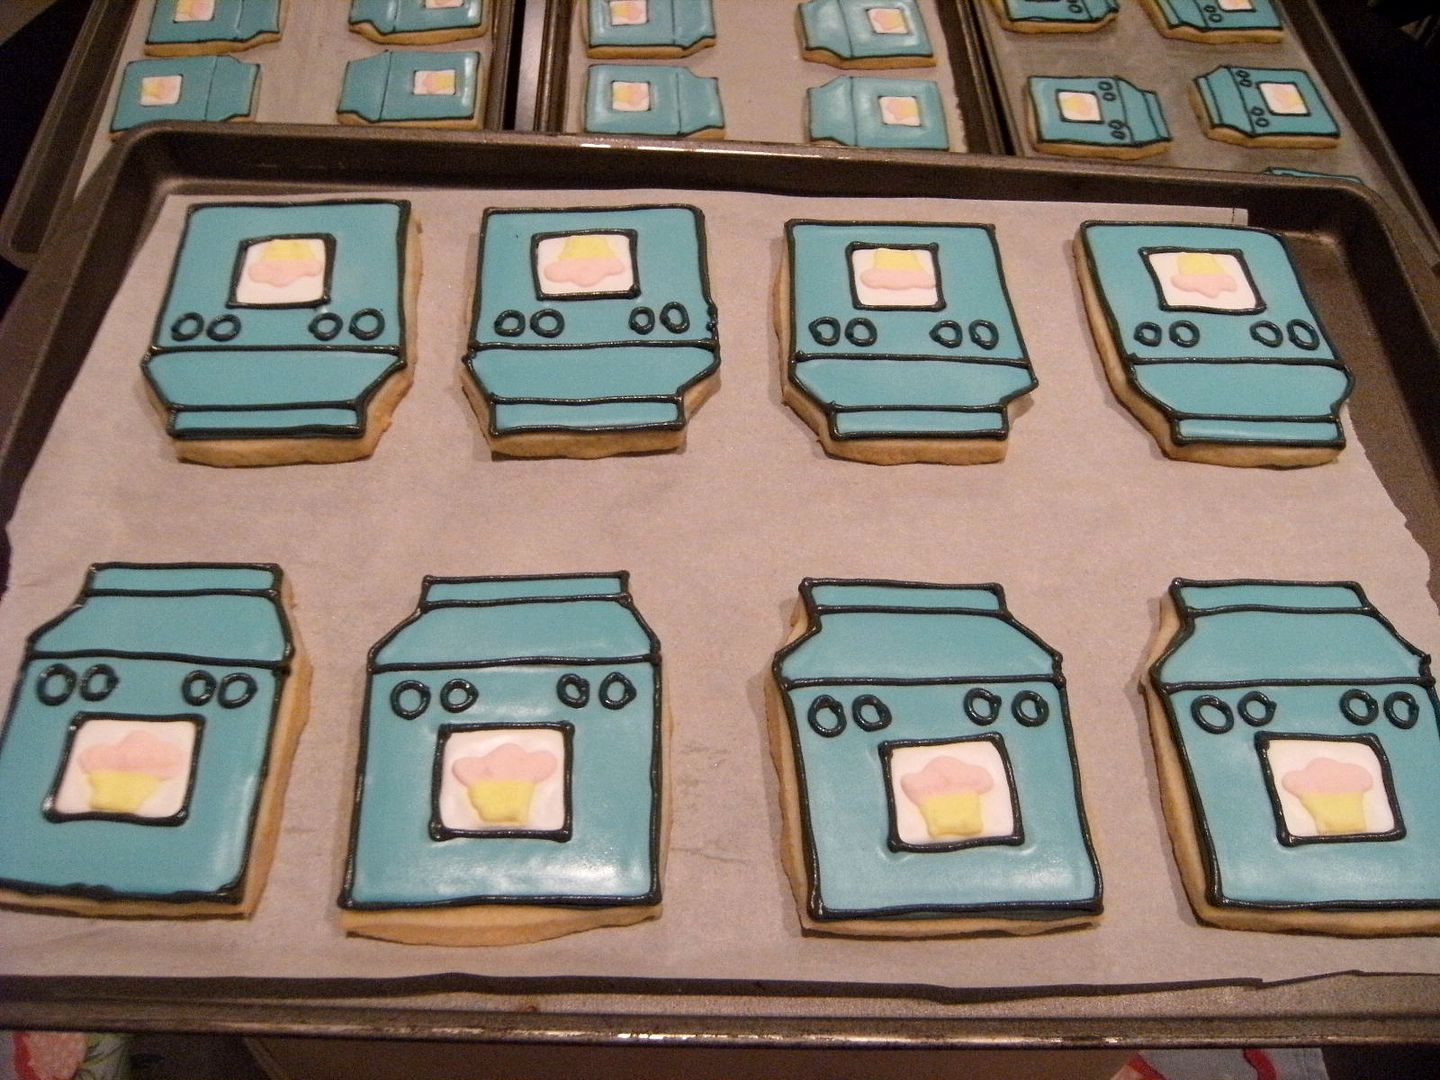
- Using a #2 tip, go back over the black outlines of the oven. Add circles for knobs.
- Fill the knobs with white flood icing.
- Add red hearts on the buns. (AmeriColor Super Red)
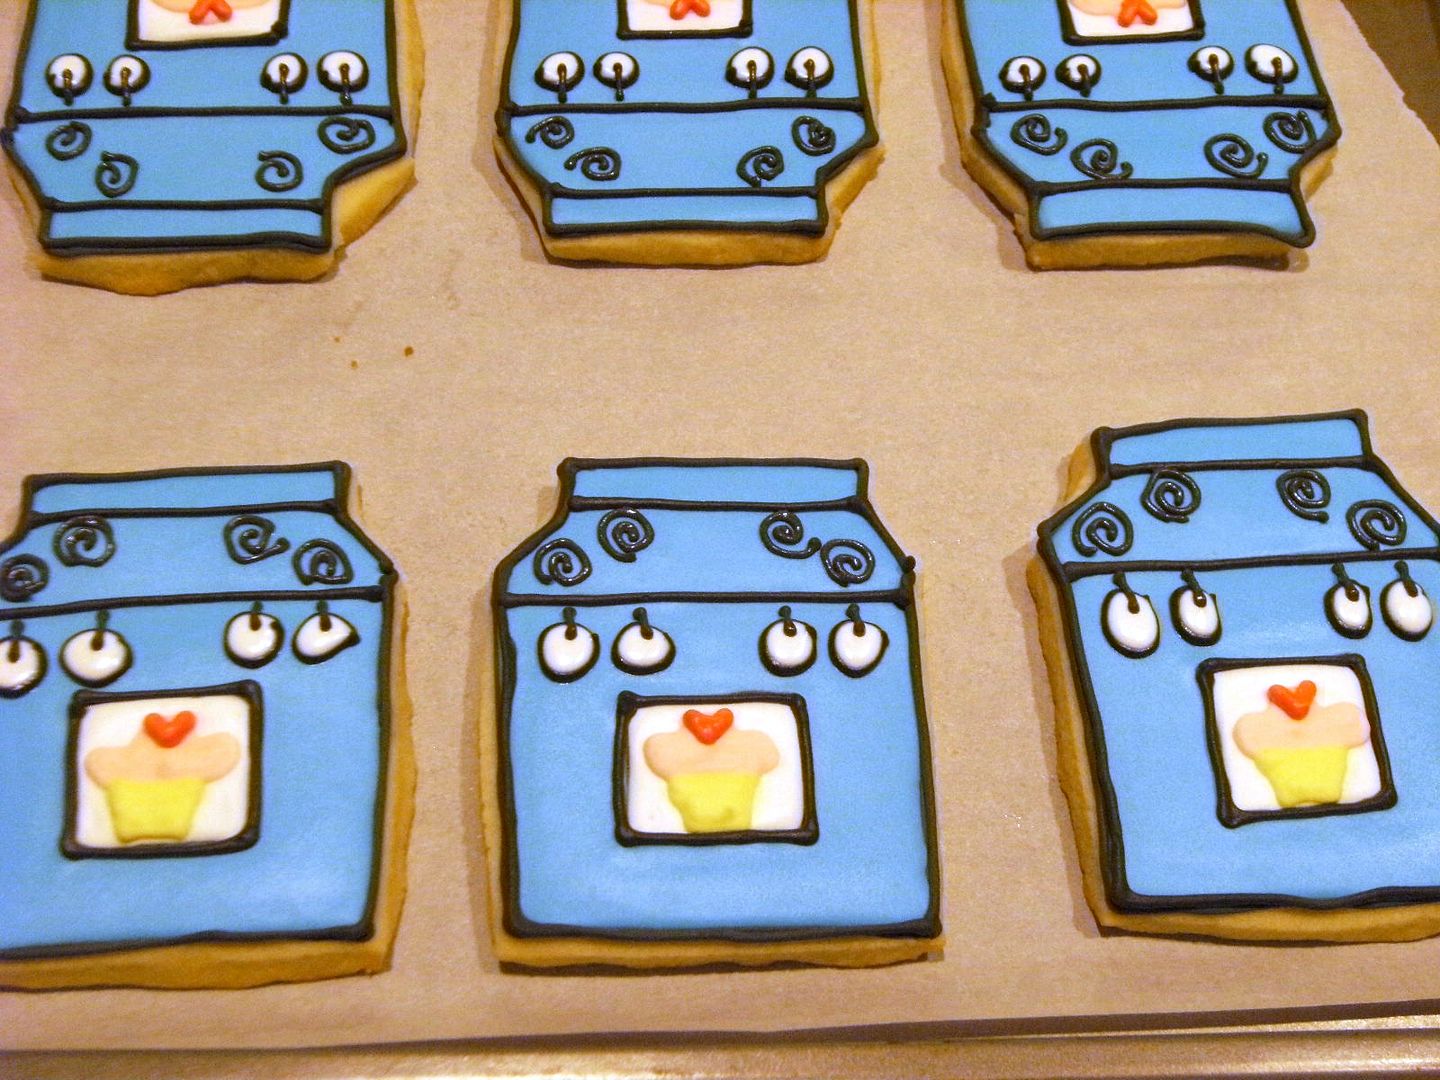
- Change the black tip to a #1. Add burners to the oven and detailing to the knobs.
- Let dry overnight.
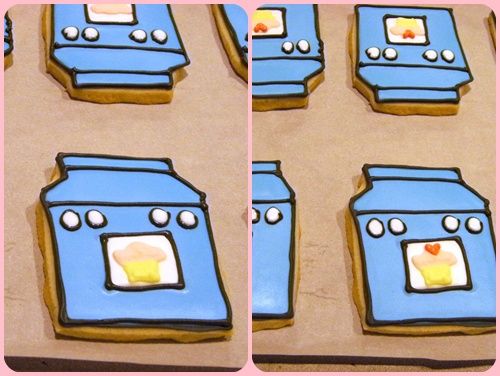
{For some reason, the ovens look blue here, not turquoise...bad lighting.}
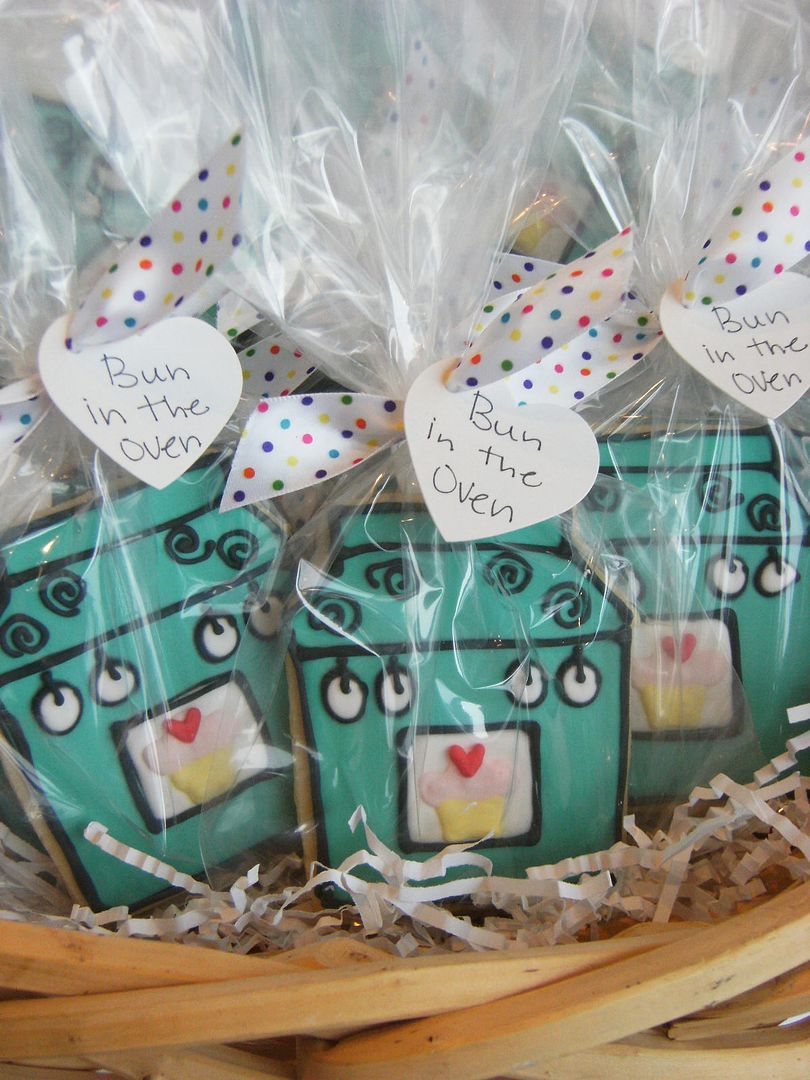
I was a little nervous that people wouldn't know what the cookies were supposed to be, so I found some little heart-shaped tags and added them to the ribbons.
Related posts:
No comments:
Post a Comment