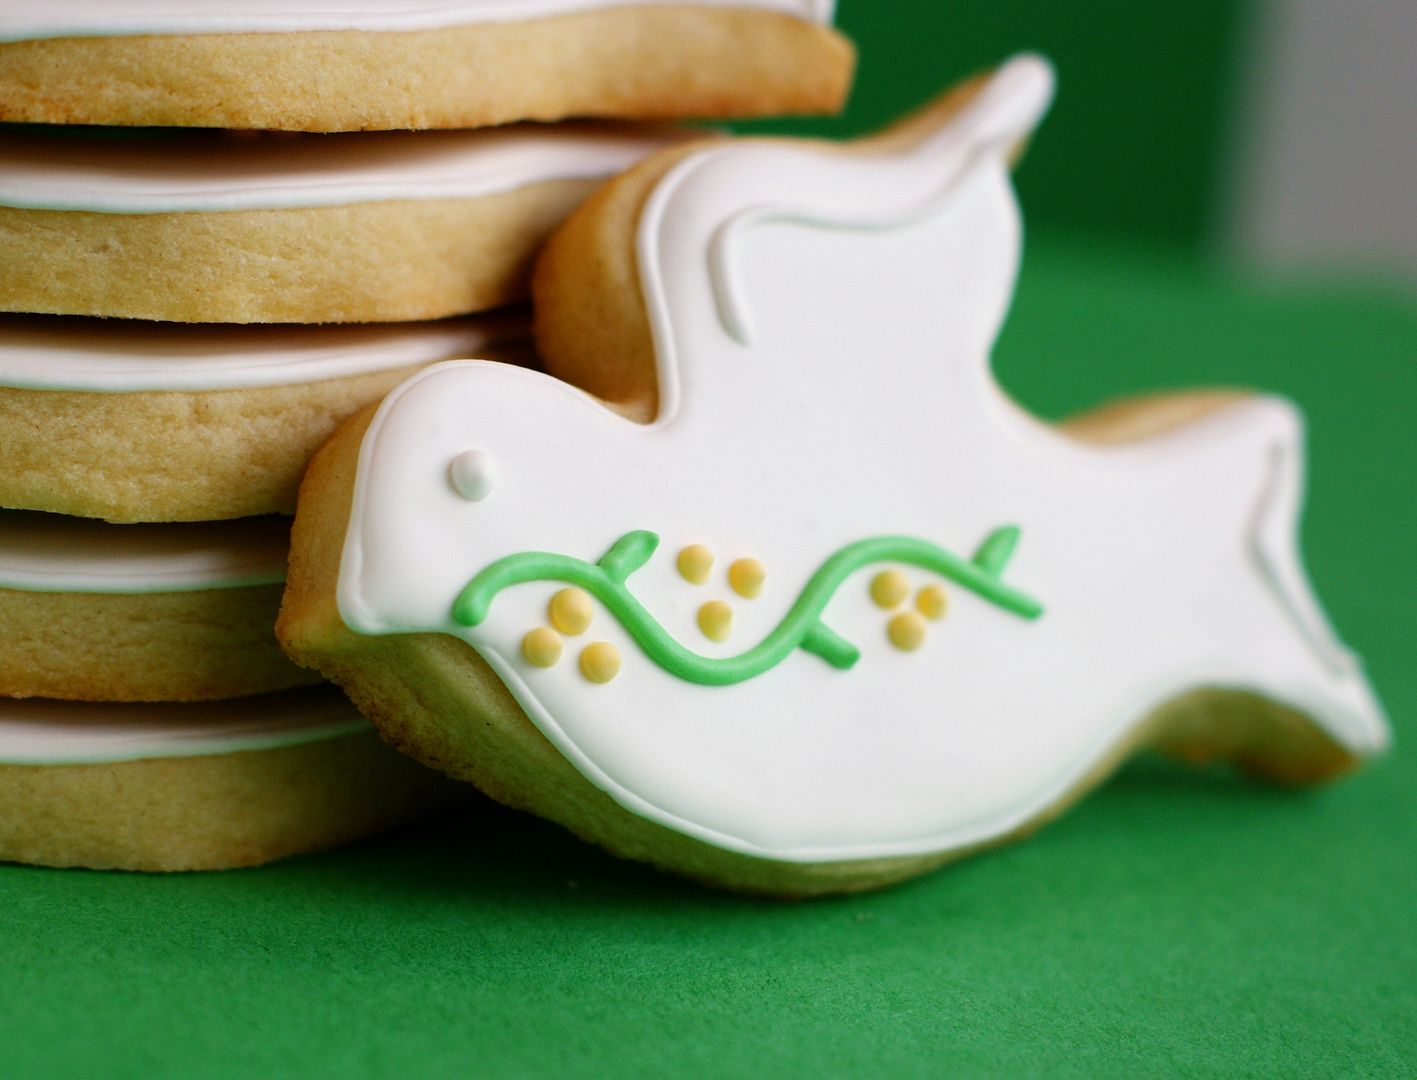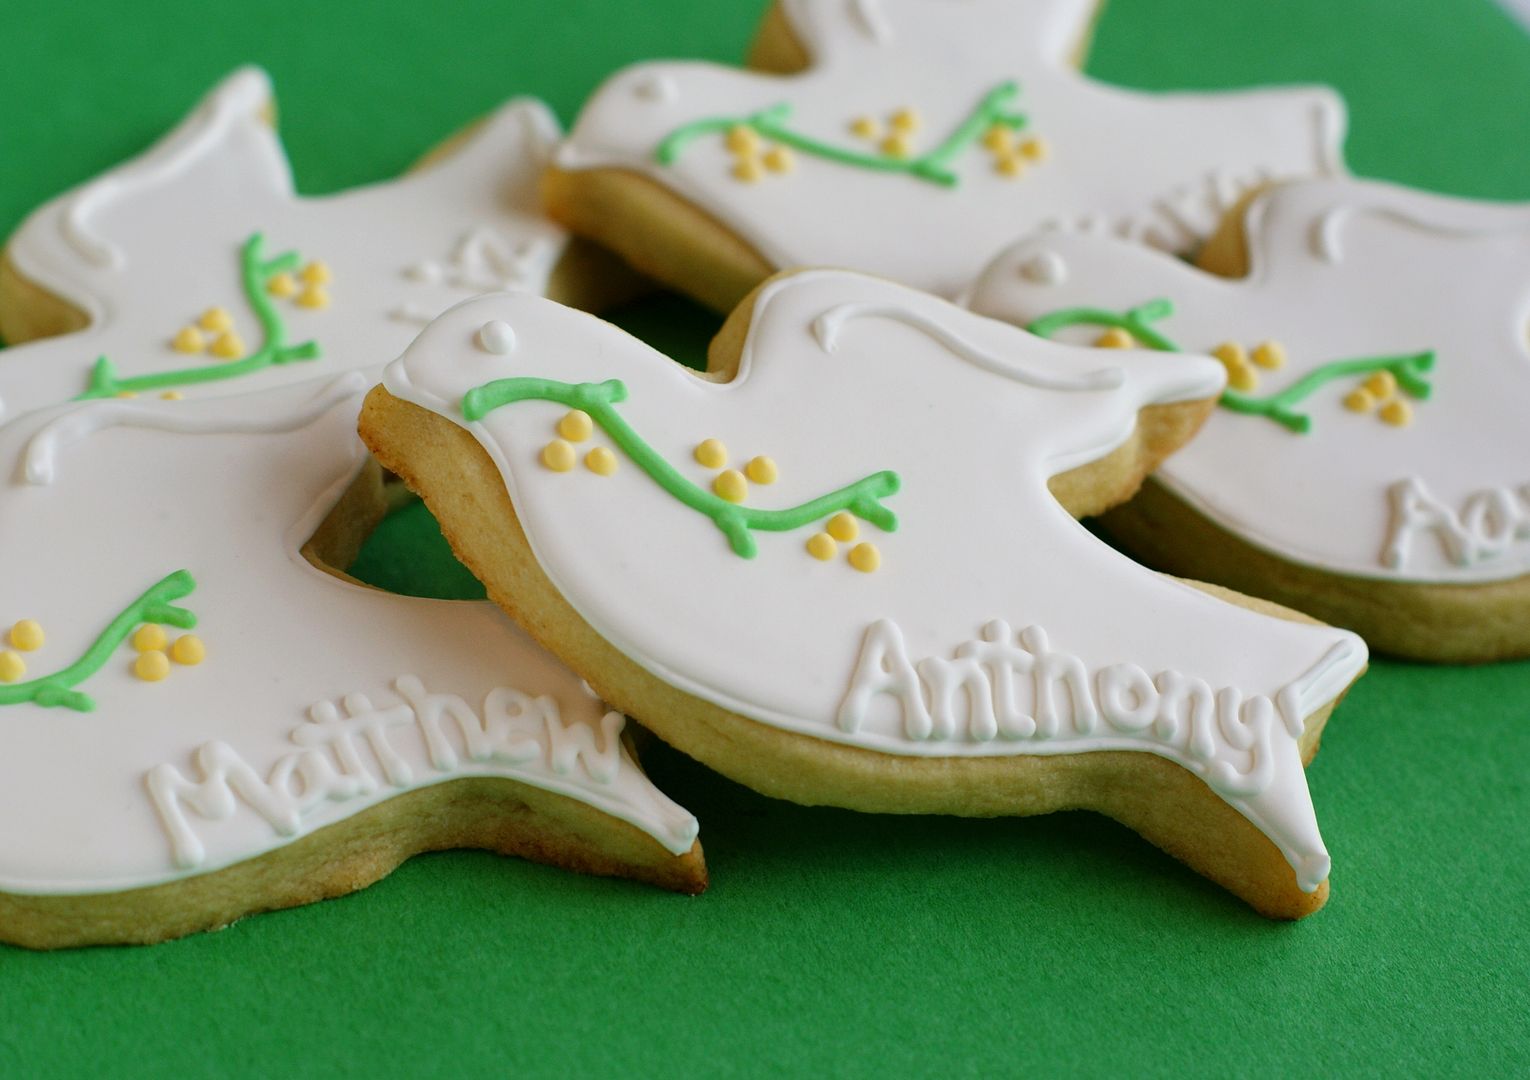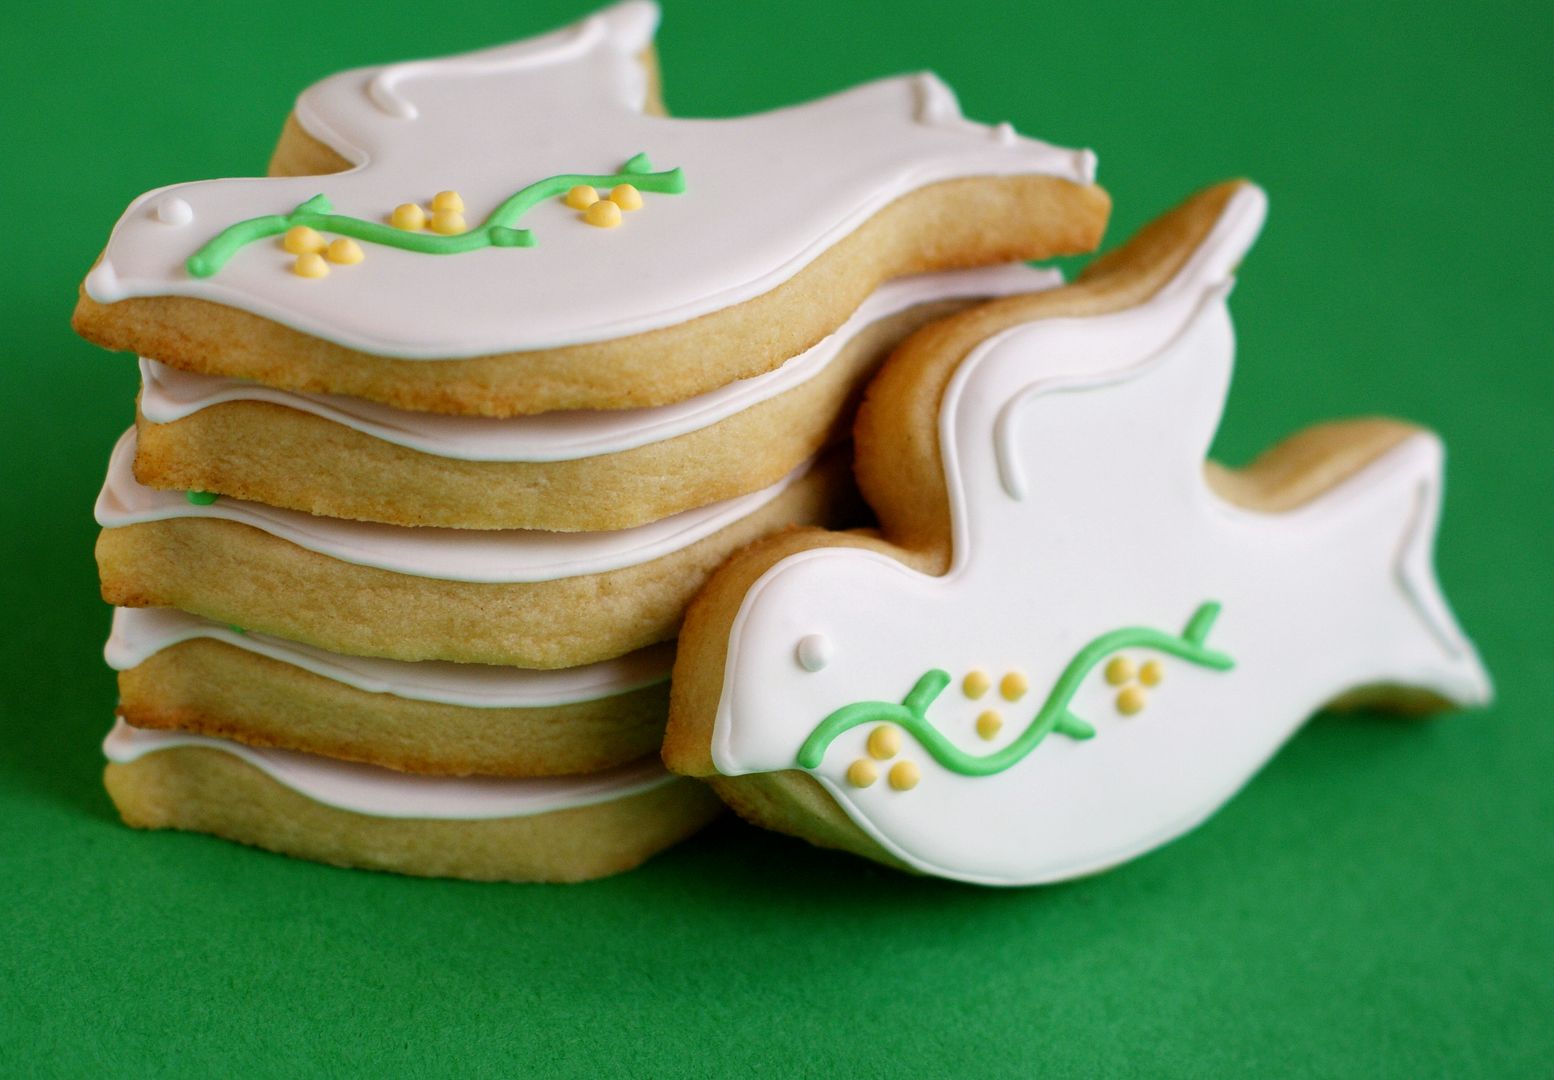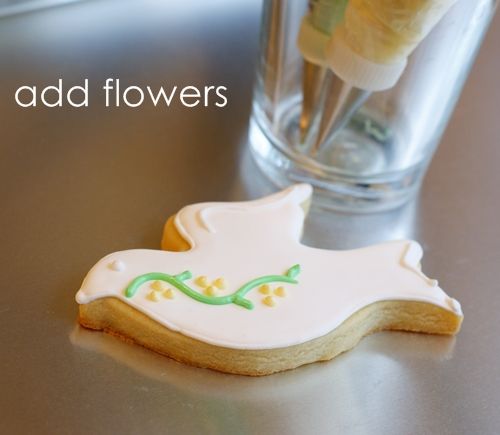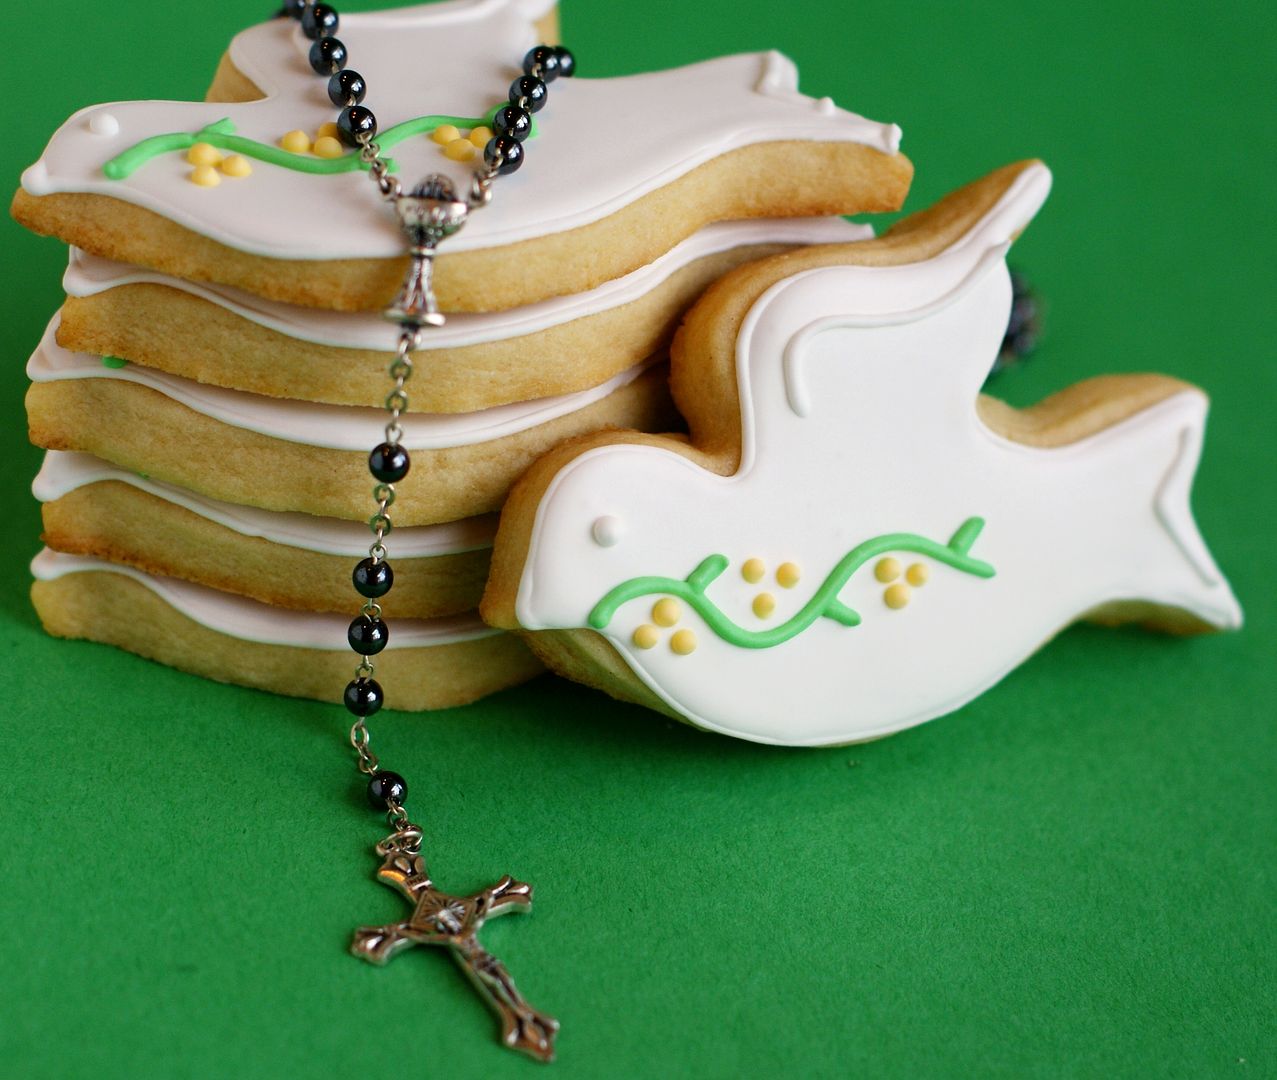
Continuing on with the sacrament cookie motif ;)... (Remember the
confirmation cookies earlier this week? These are for the same sweet family.)

I was really looking forward to making these cookies again. The last time I made them was for kiddo's First Communion....FOUR years ago.

{That picture on the left is one of my favorites ever.
Rockin' the powder blue suit, yo. Maybe we can find a blue tux for prom in a few years.}
OK...thanks for letting me reminisce.
 These cookies start out with the perfect cutter.
 I love this cutter...it's pricey because it's copper, but so worth it.
For the cookies, you'll need:- chalice and host cookies
- royal icing tinted with AmeriColor
 Gold, Bright White, Regal Purple and Leaf Green
 - disposable icing bags
- squeeze bottles
- decorating tips (#1 & #2) and couplers
- gold luster dust
- vodka (yep.)
- small paintbrush

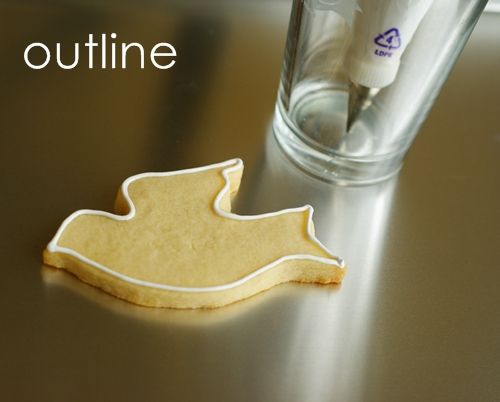
With a #2 tip, outline the chalice.

With another #2 tip, outline the host.
Thin the white & gold icings (reserve a bit for later) with water, a little at a time, until it is the consistency of thick syrup. Cover with a damp dishtowel and let sit several minutes.
Stir gently with a rubber spatula to pop any large air bubbles that have formed. Transfer to squeeze bottles.

Fill in the chalice with the thinned gold icing. Use a toothpick to guide into corners.

Fill in the host with the thinned white icing. Use a toothpick to guide into corners.
Let dry at least one hour.
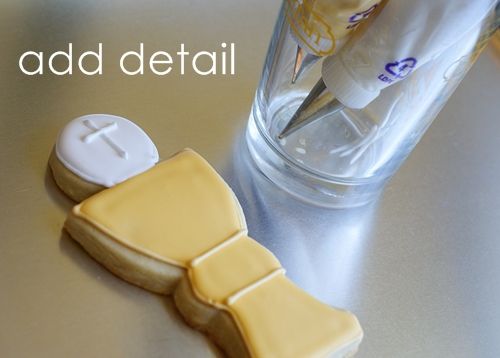
Add the detail with the reserved white and gold piping icing.
Let dry overnight, or at least 6 hours.

Get out your luster dust supplies: Luster dust, small ramekin, small paintbrush and vodka (a good excuse to always have vodka in the house).

This is "Golden Charm" luster dust. I LOVE it and bought it at a little shop in Houston. Can't seem to find it online, but any
gold luster dust
will do.
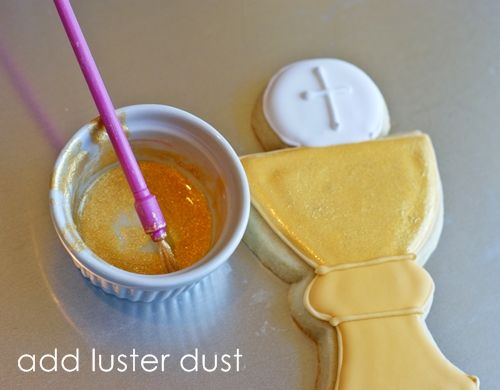
Mix up your luster dust with a few drops of the vodka and brush it on. (The alcohol will evaporate, leaving just the gold sheen.) Add a few drops of vodka to the ramekin as you're working if it starts to get clumpy on you. A little goes a long way, so don't worry about using all of the container in one shot. (
Here's a video about applying luster dust...)
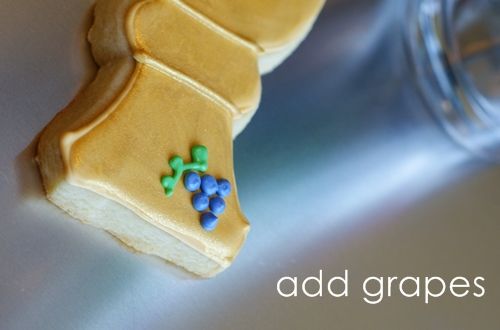
Then, with #1 tips, add the grapes and leaf/stem detail.

All ready for First Communion!


